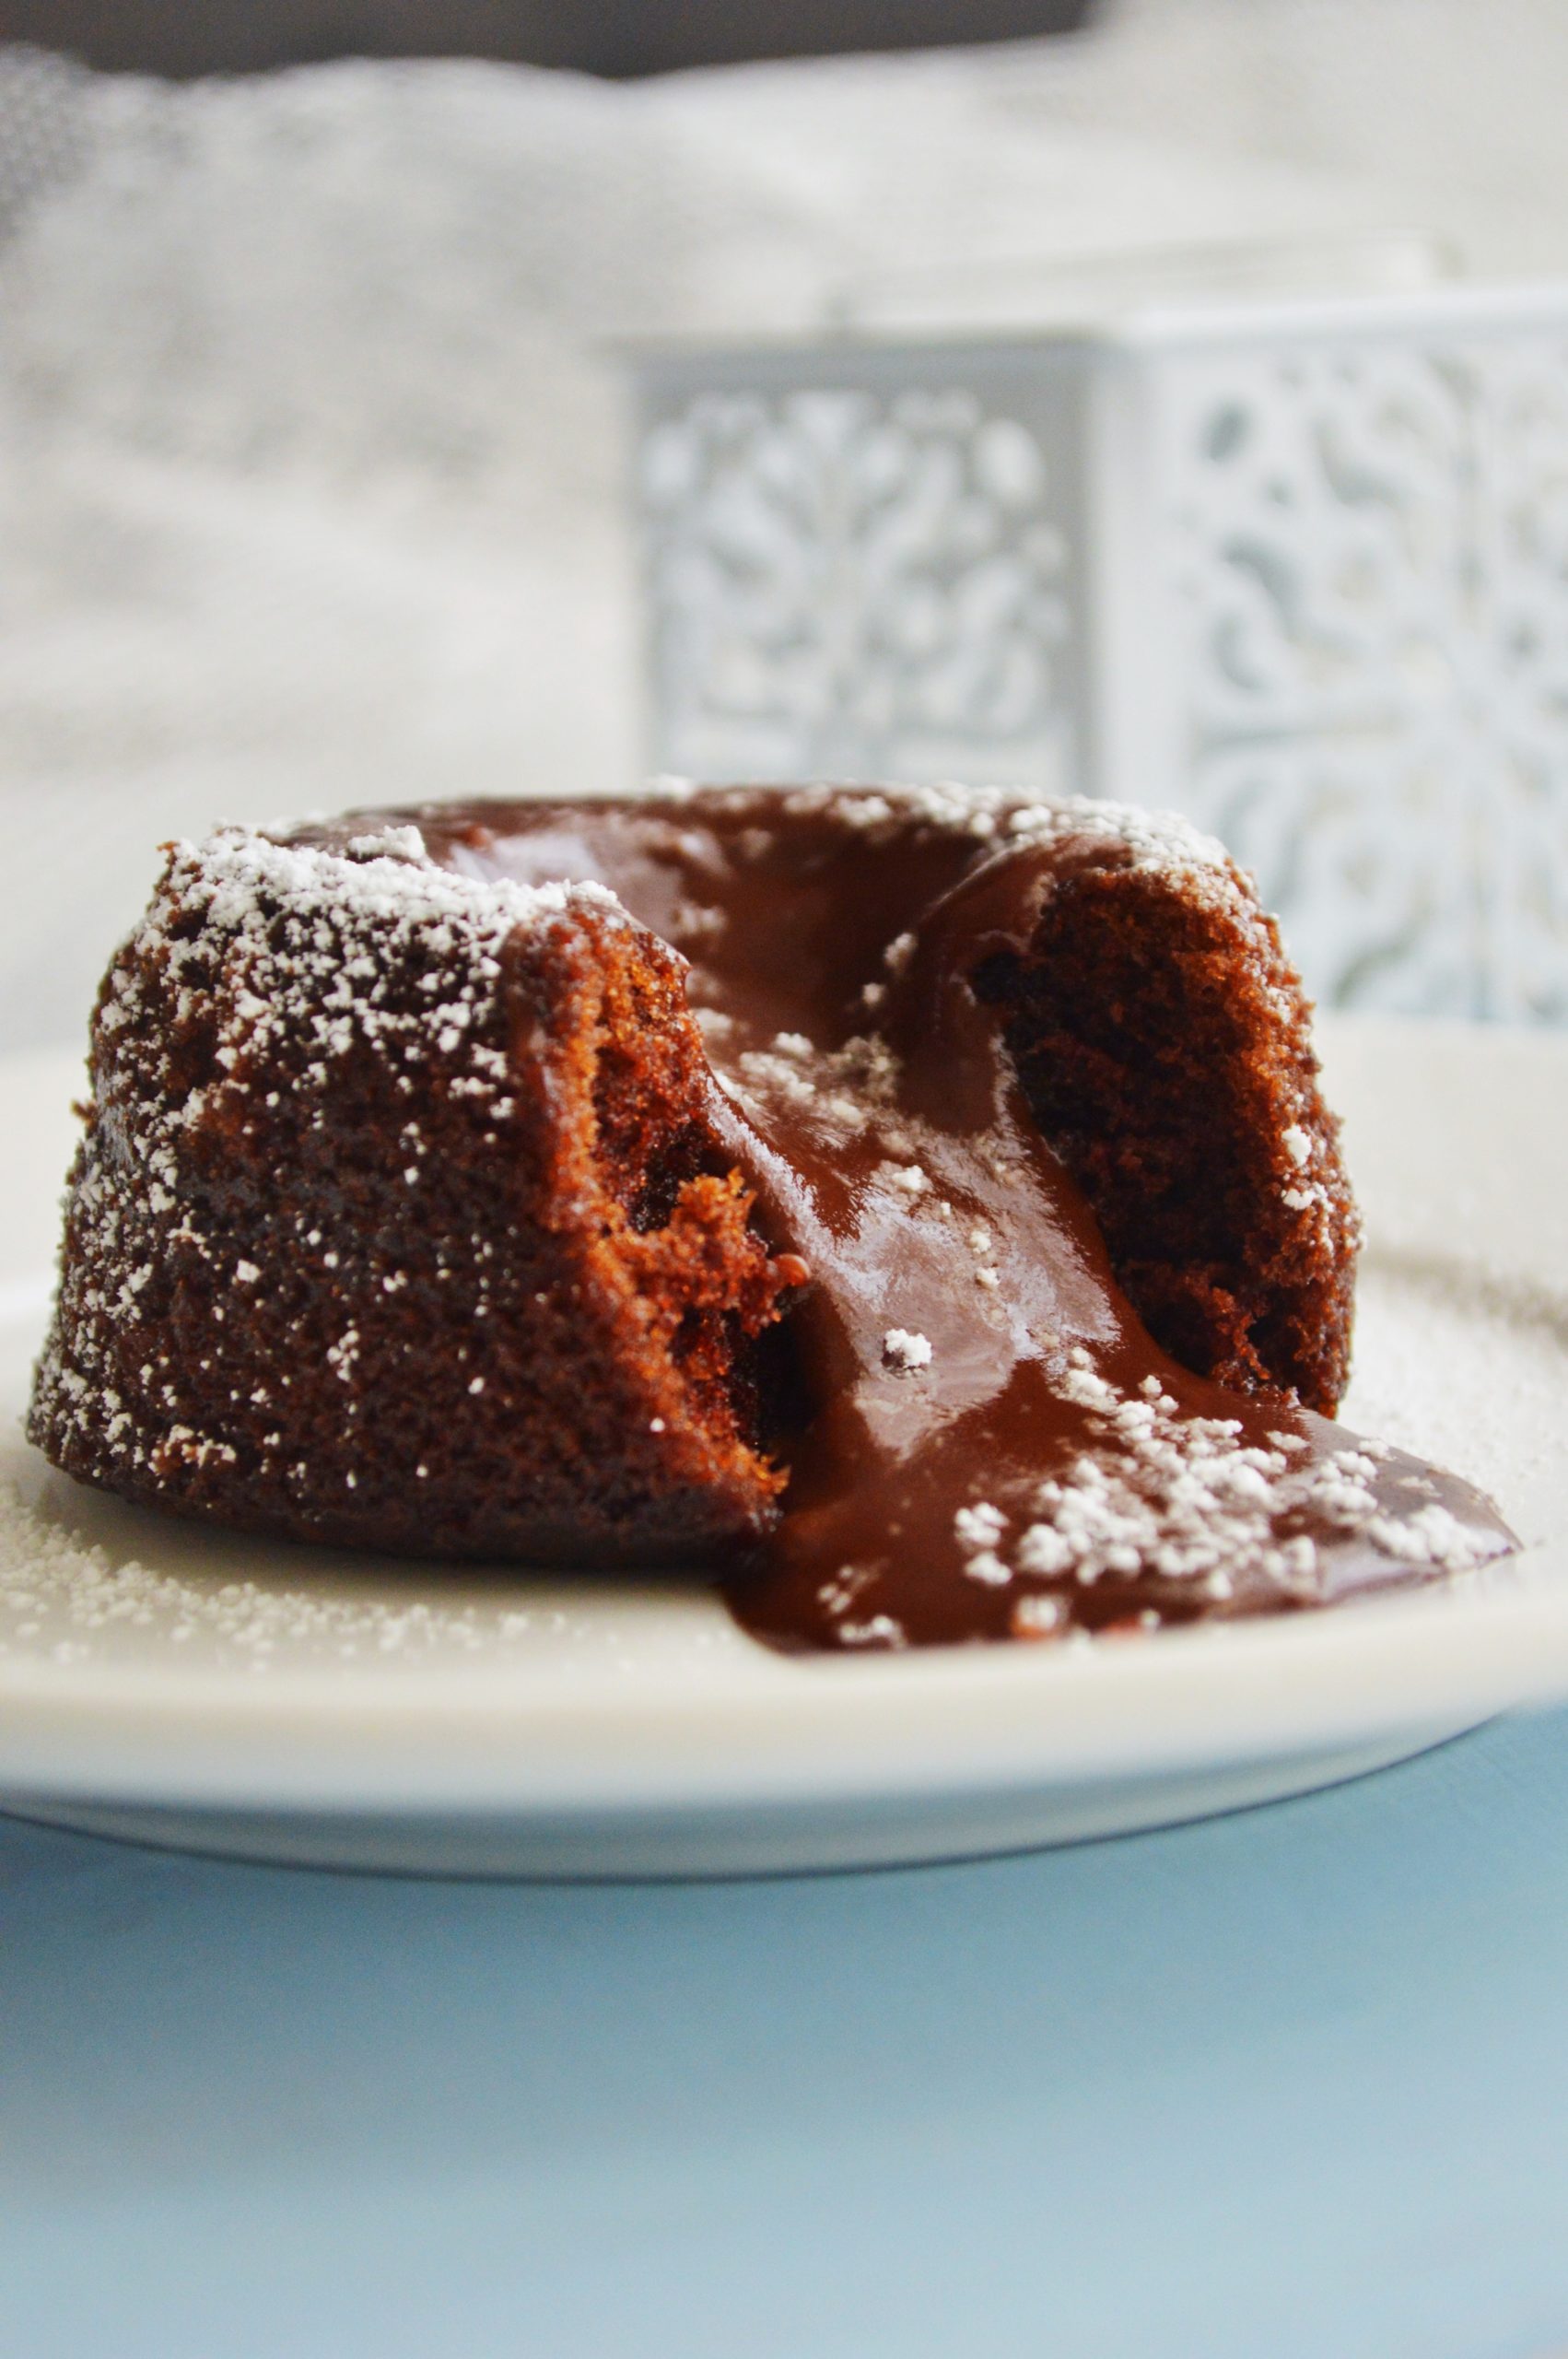
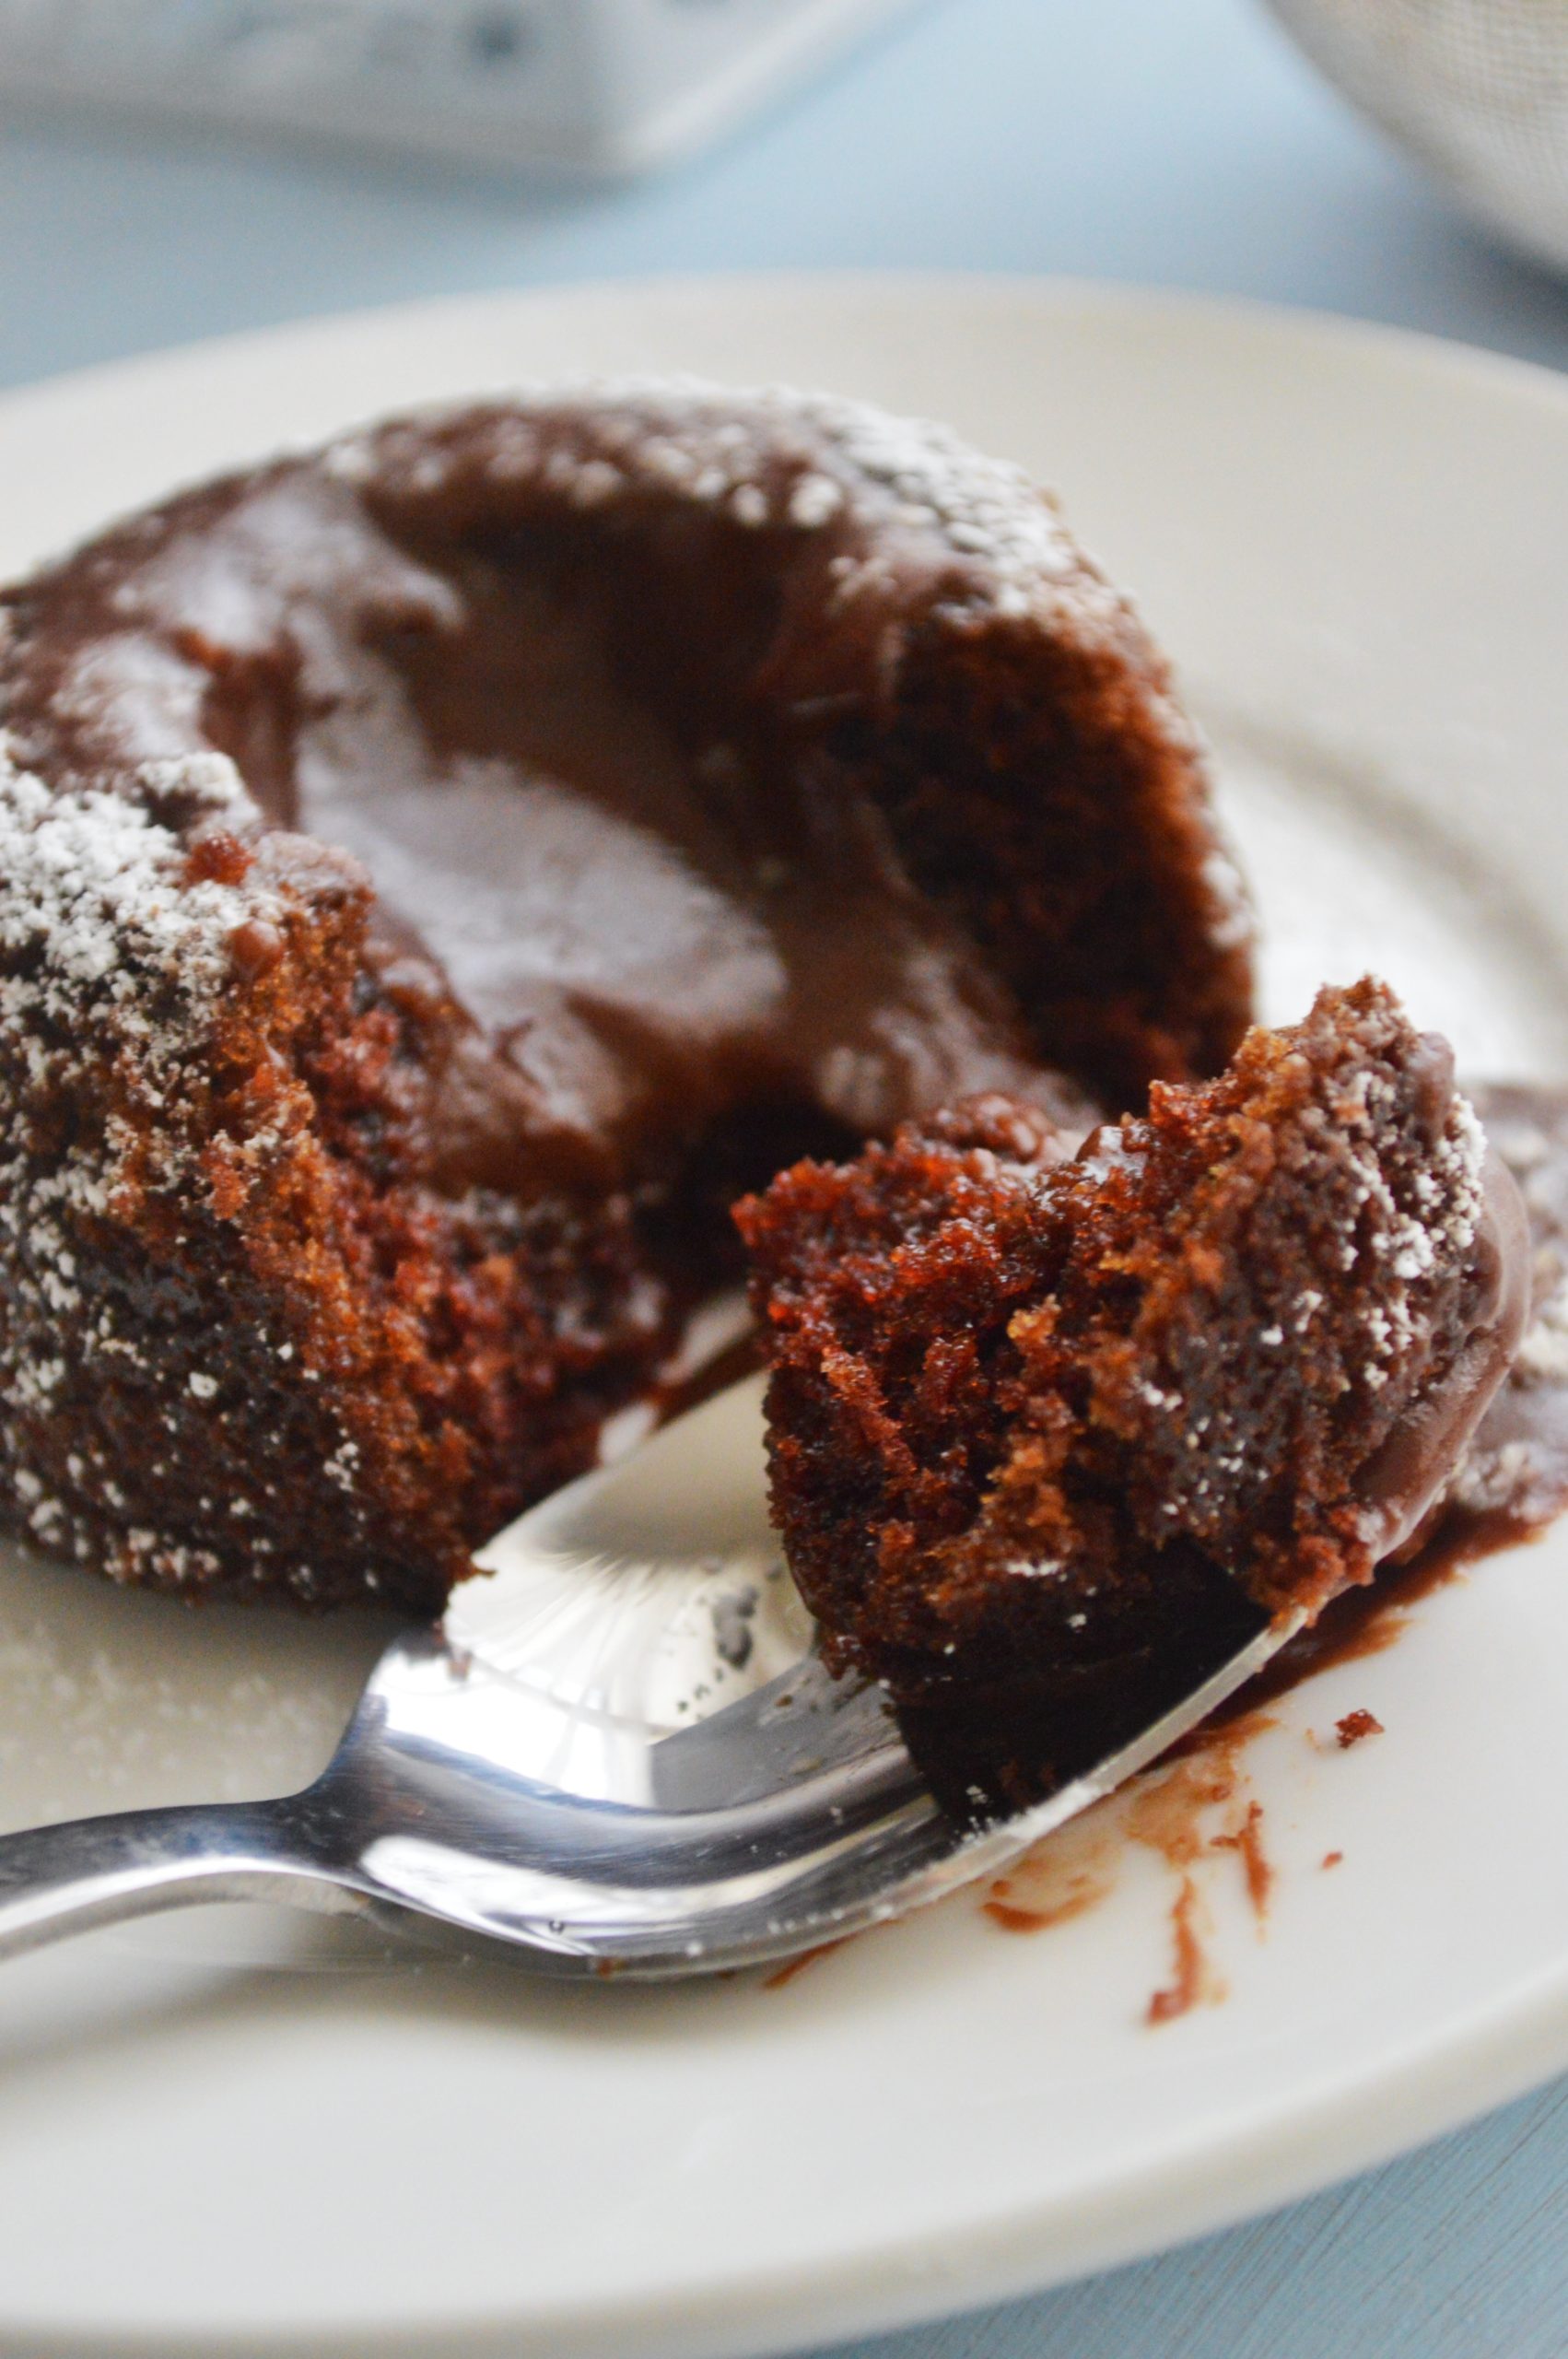
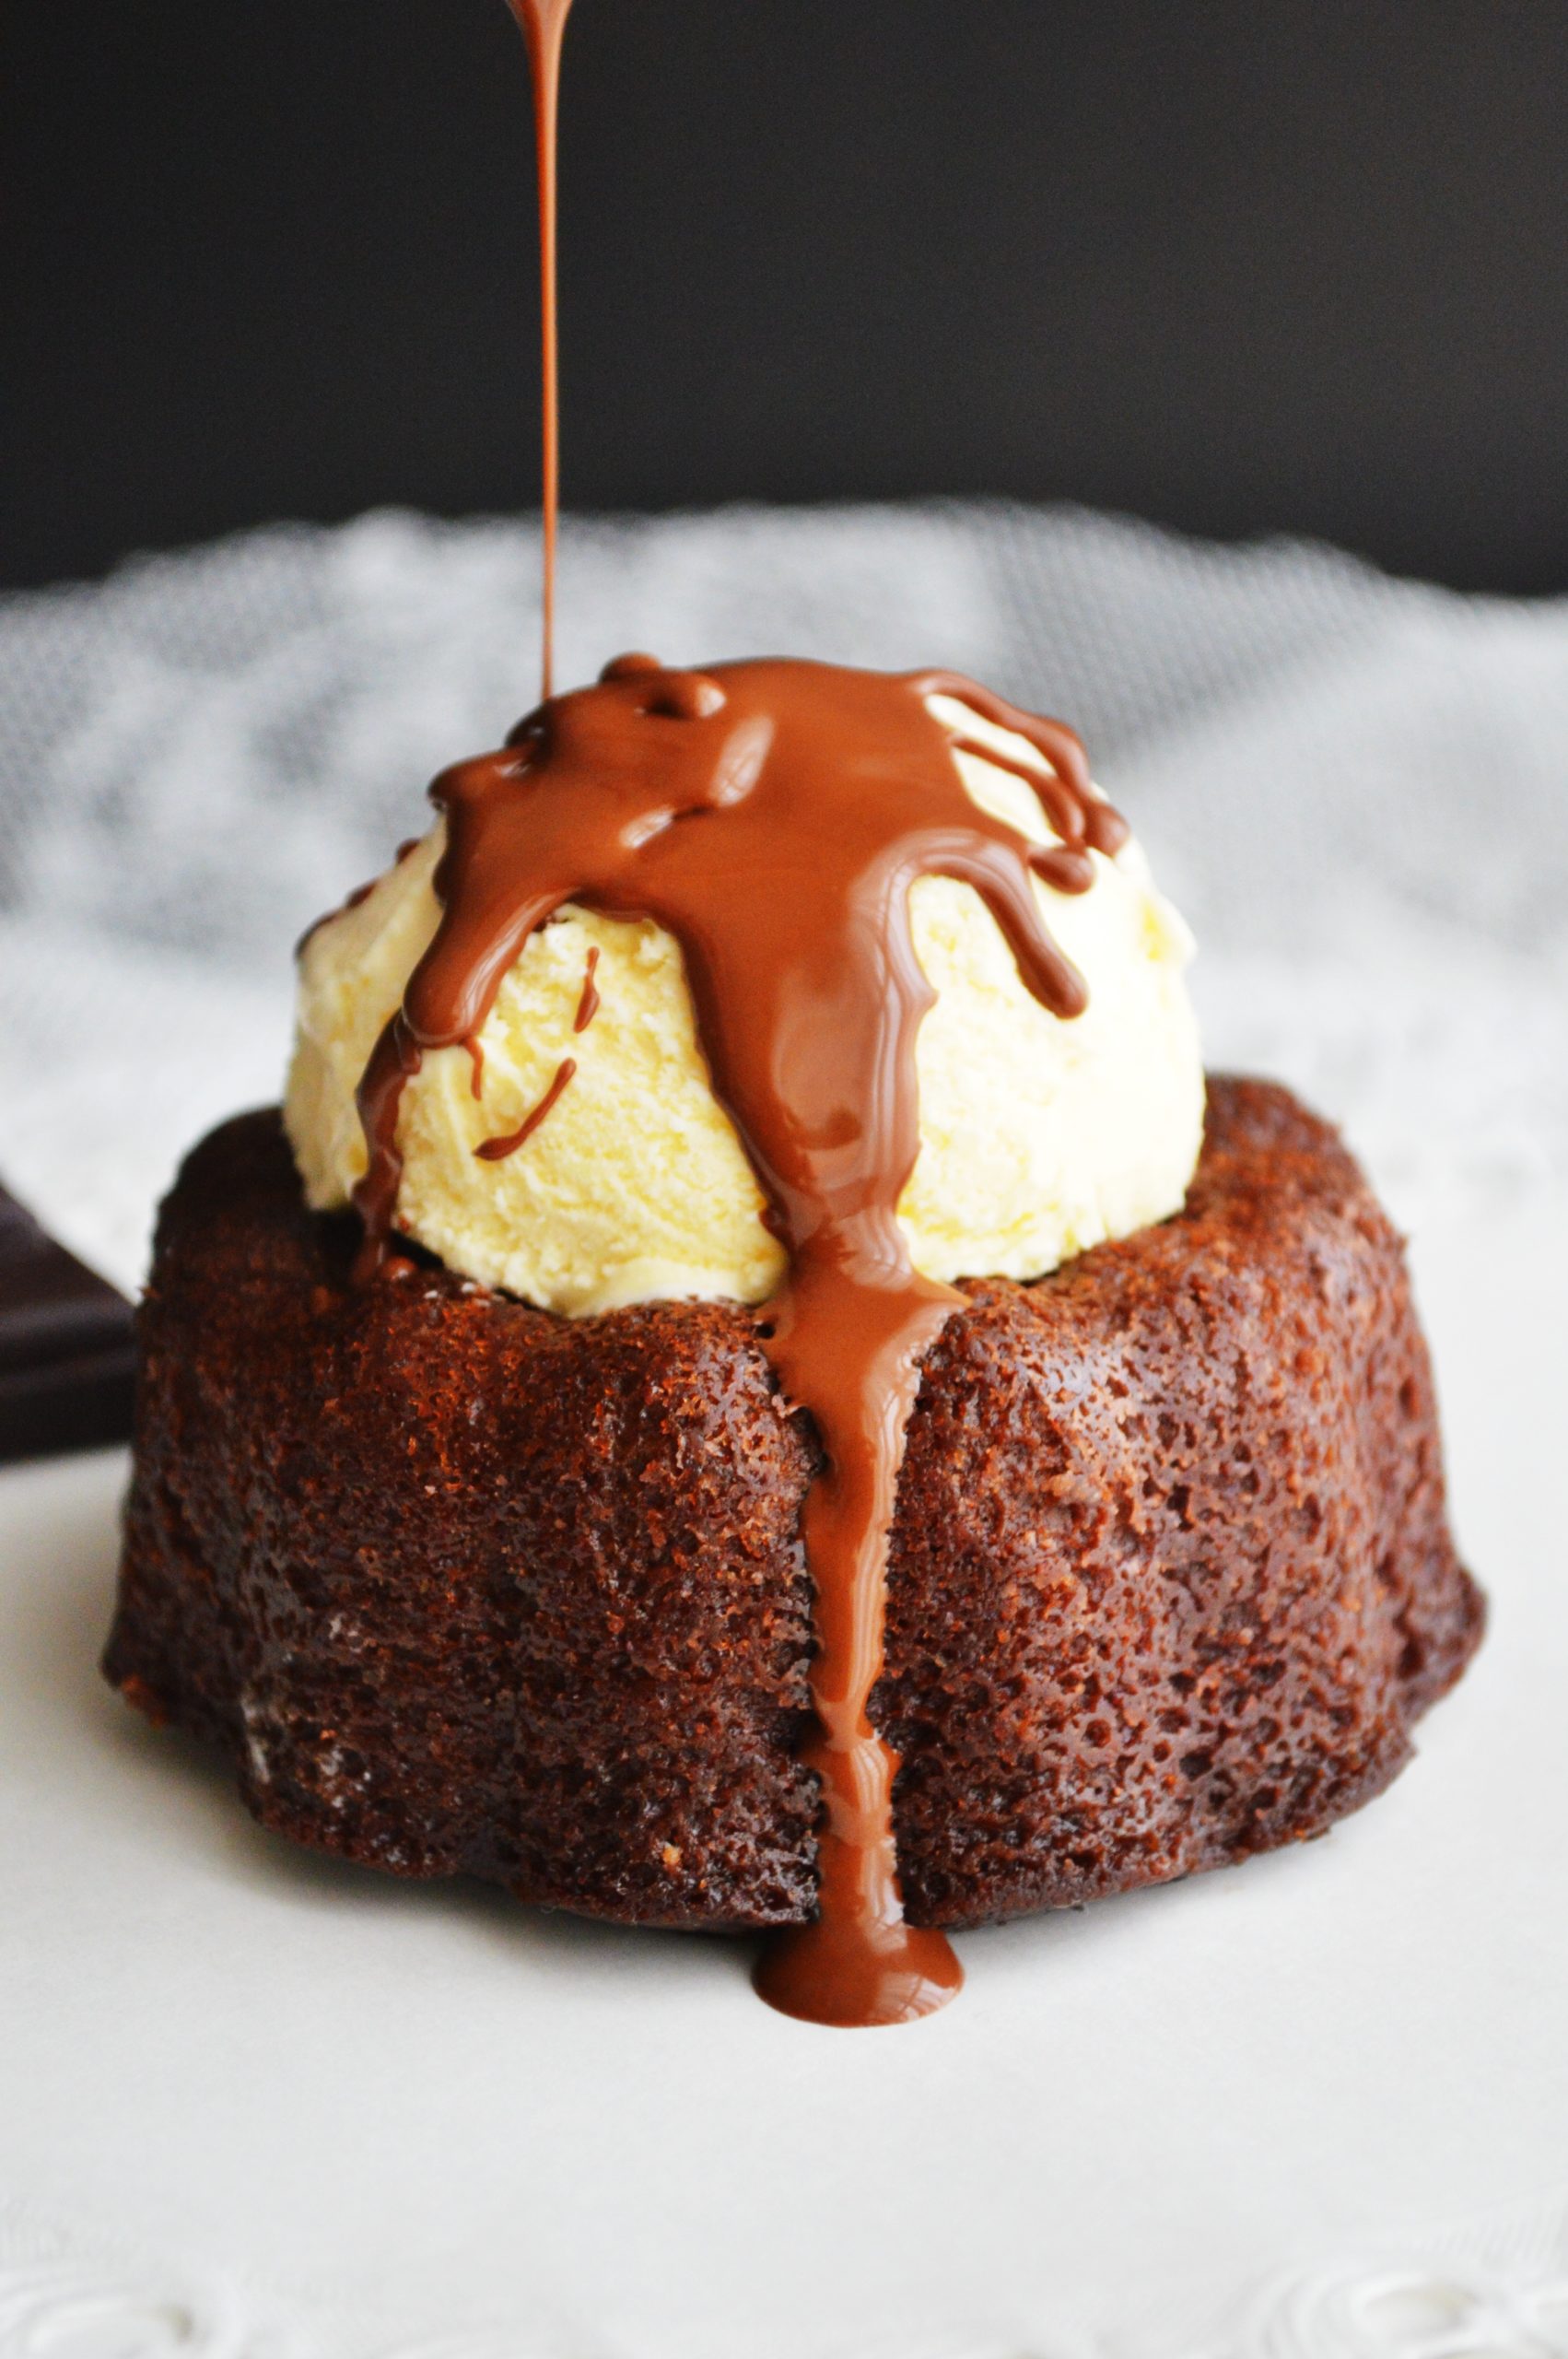
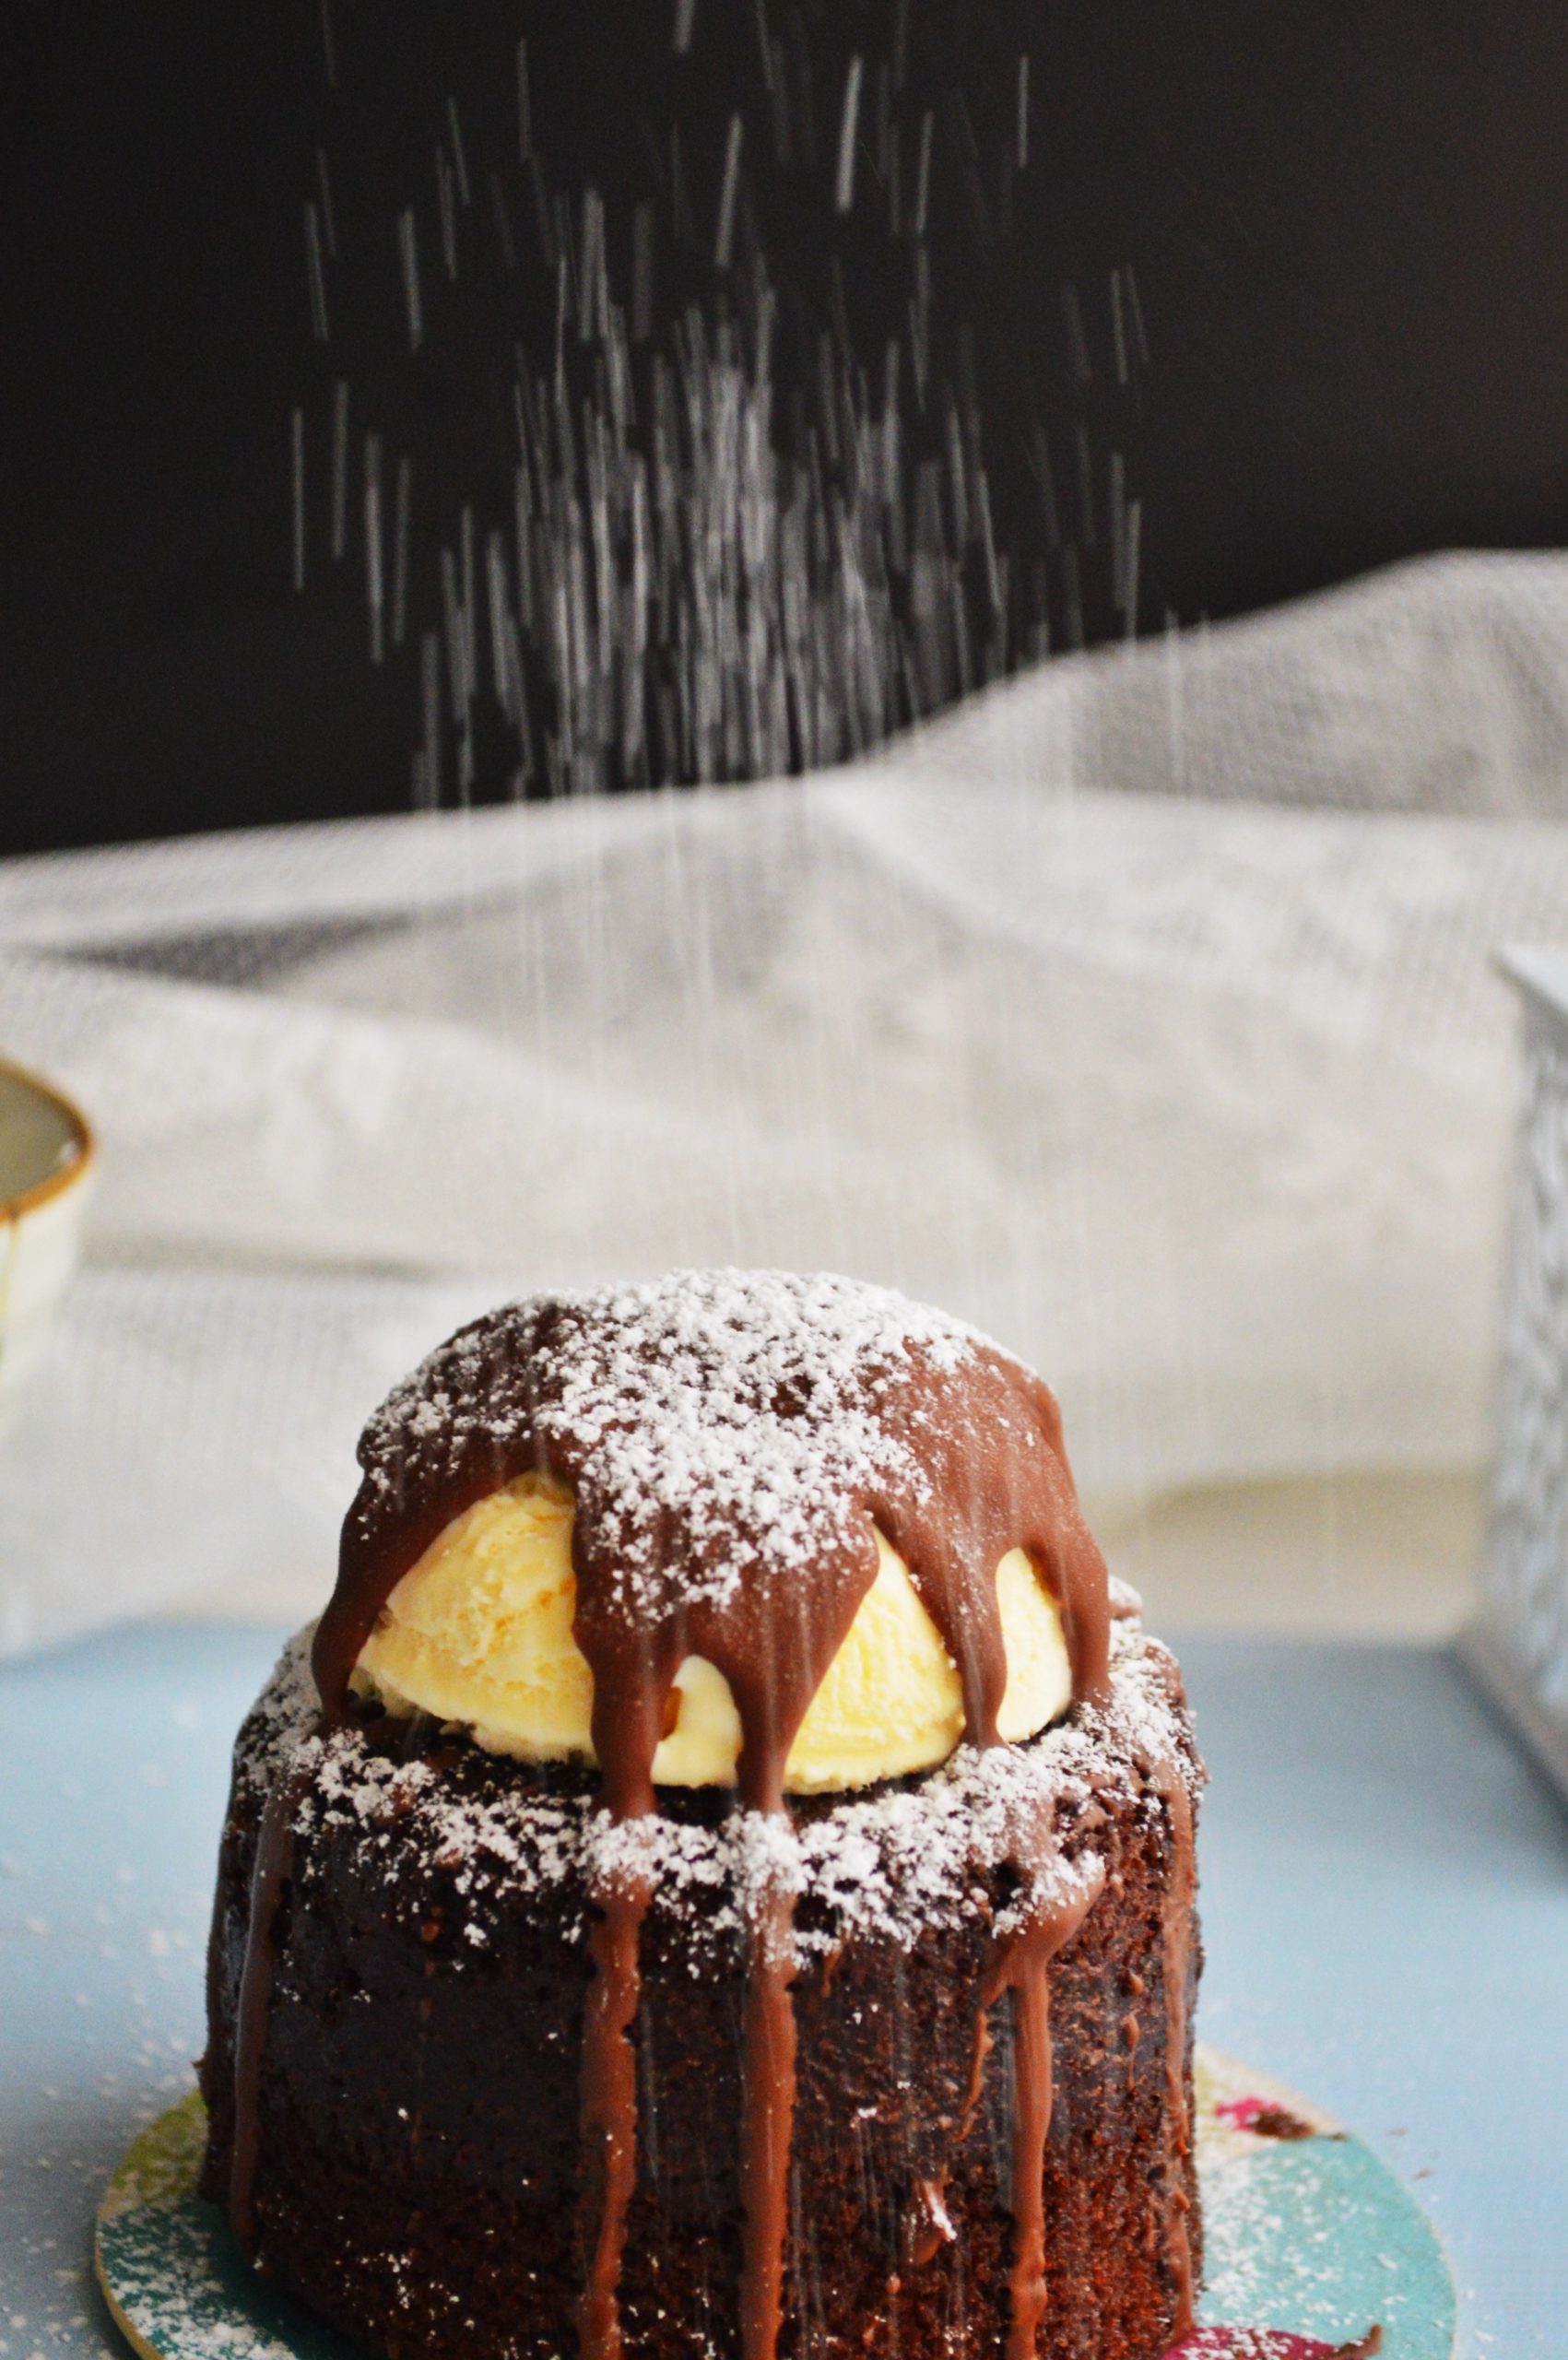
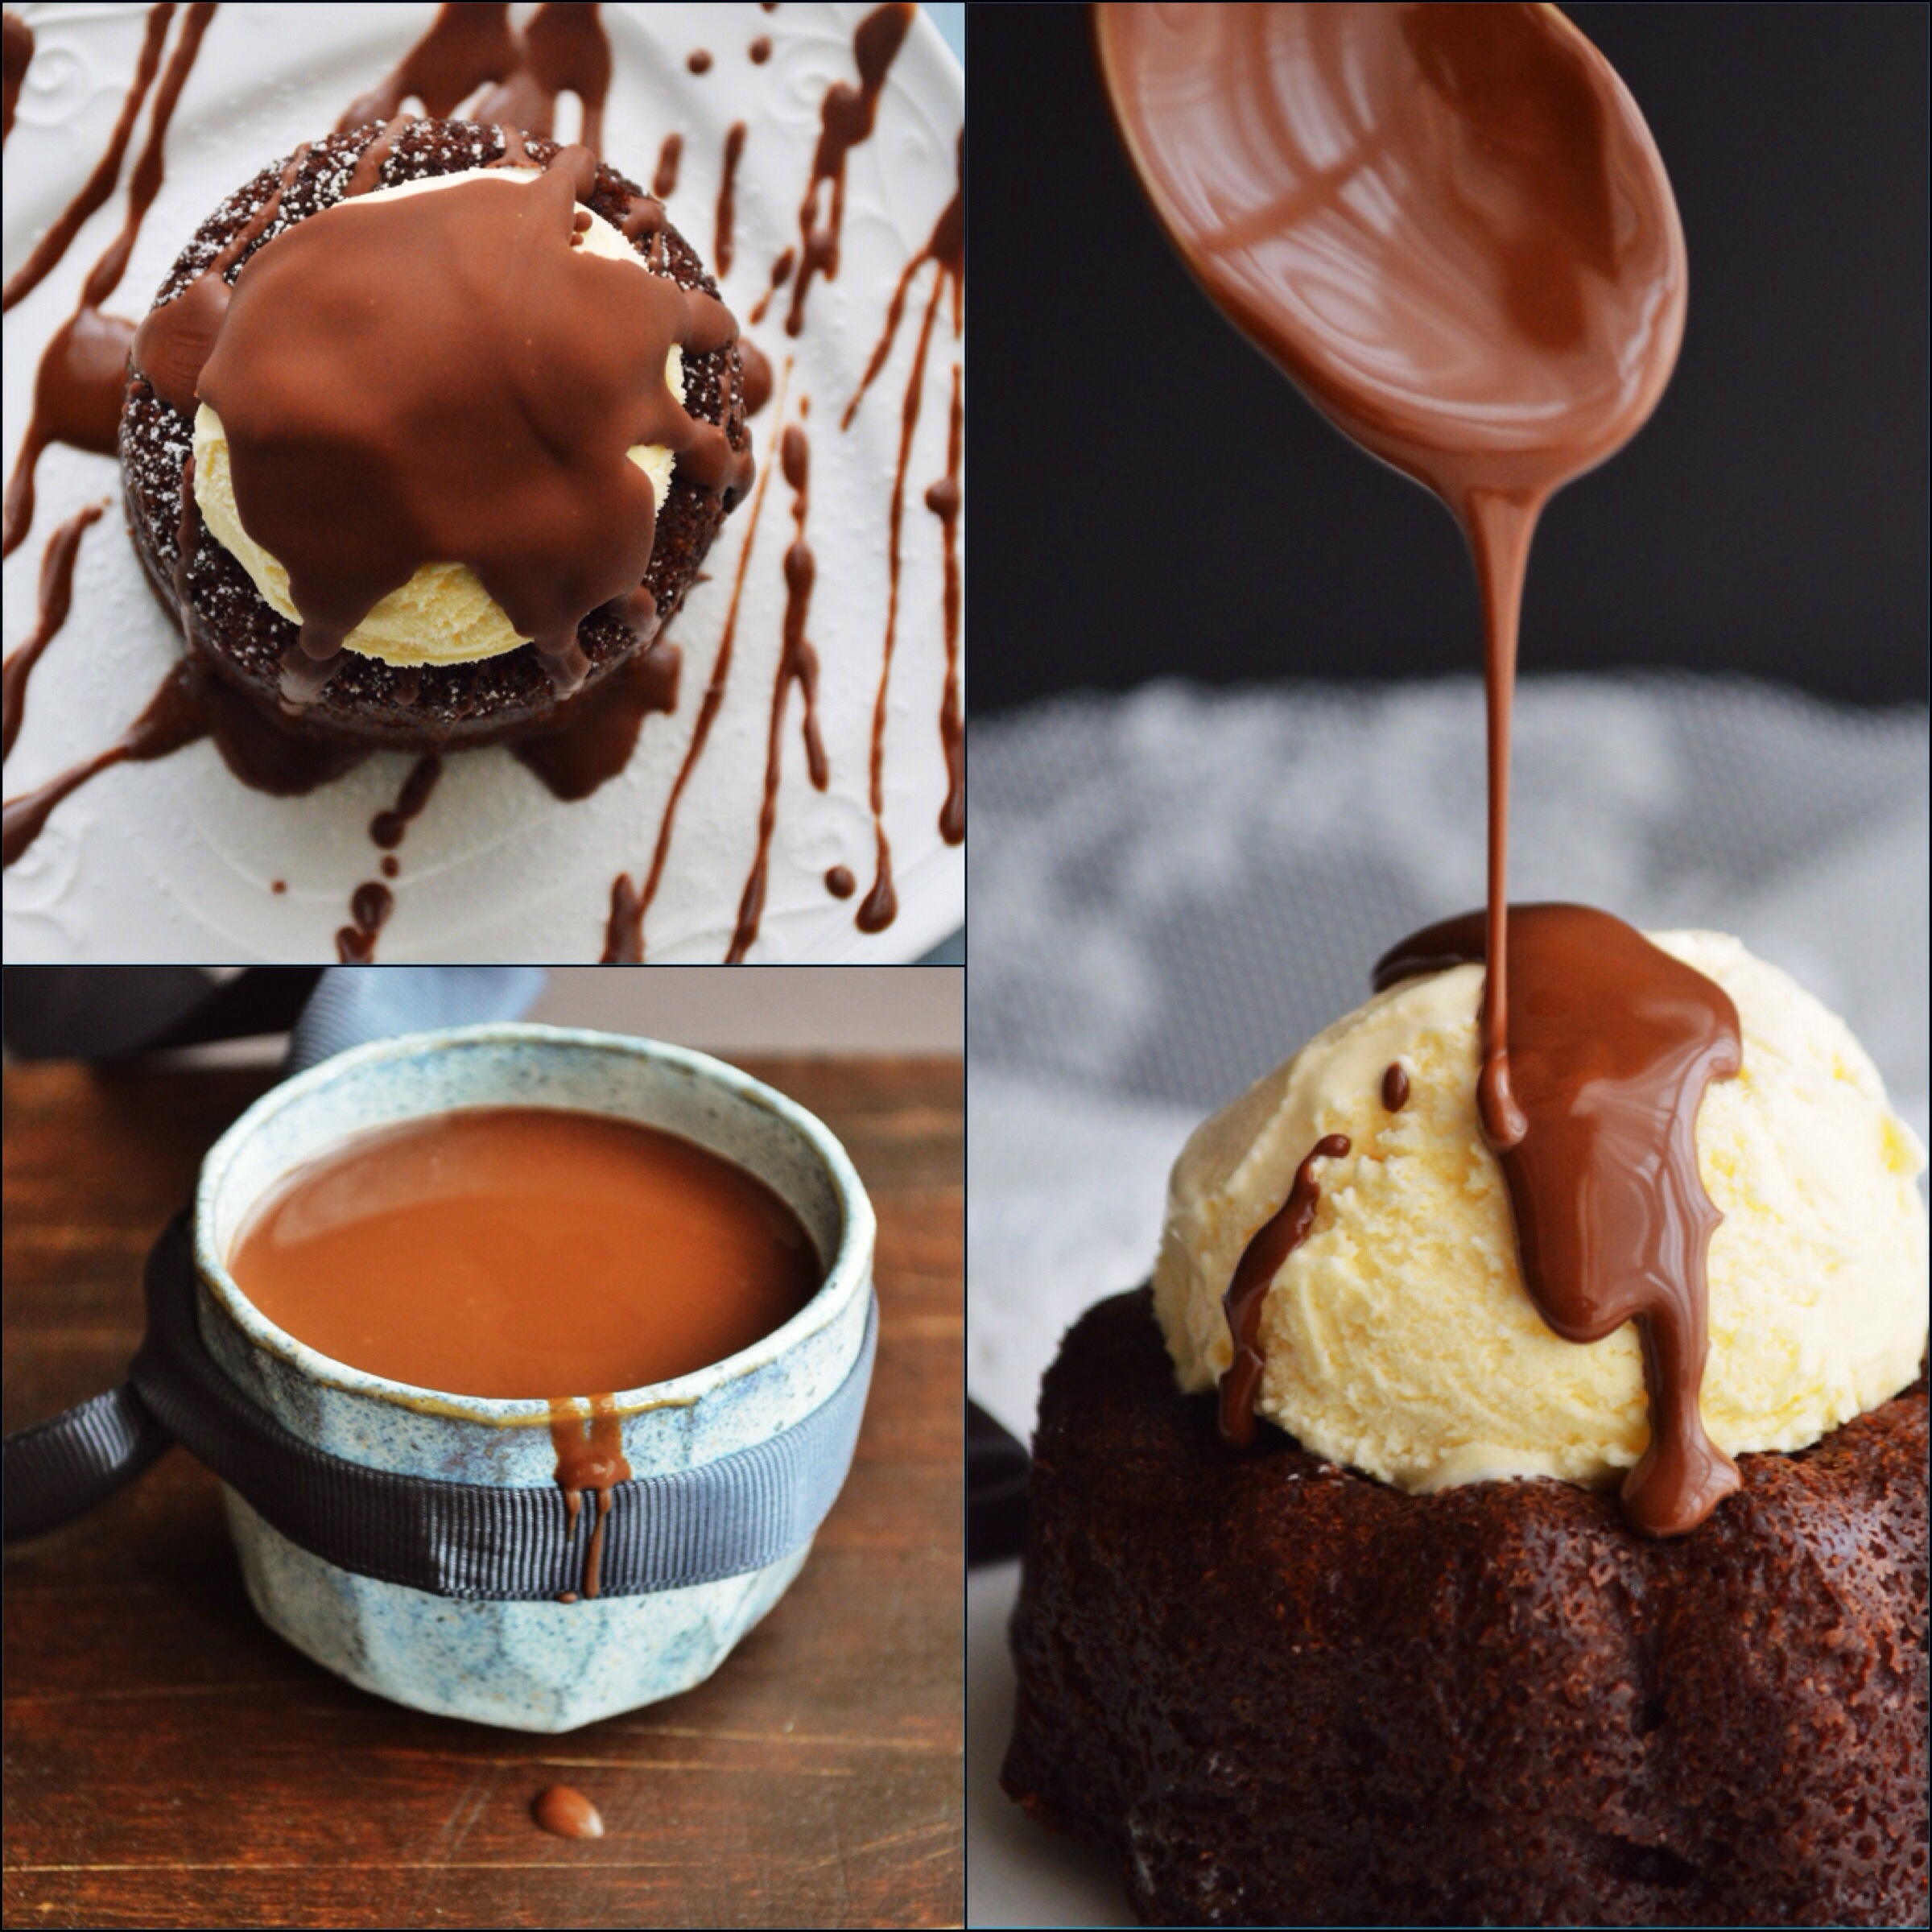
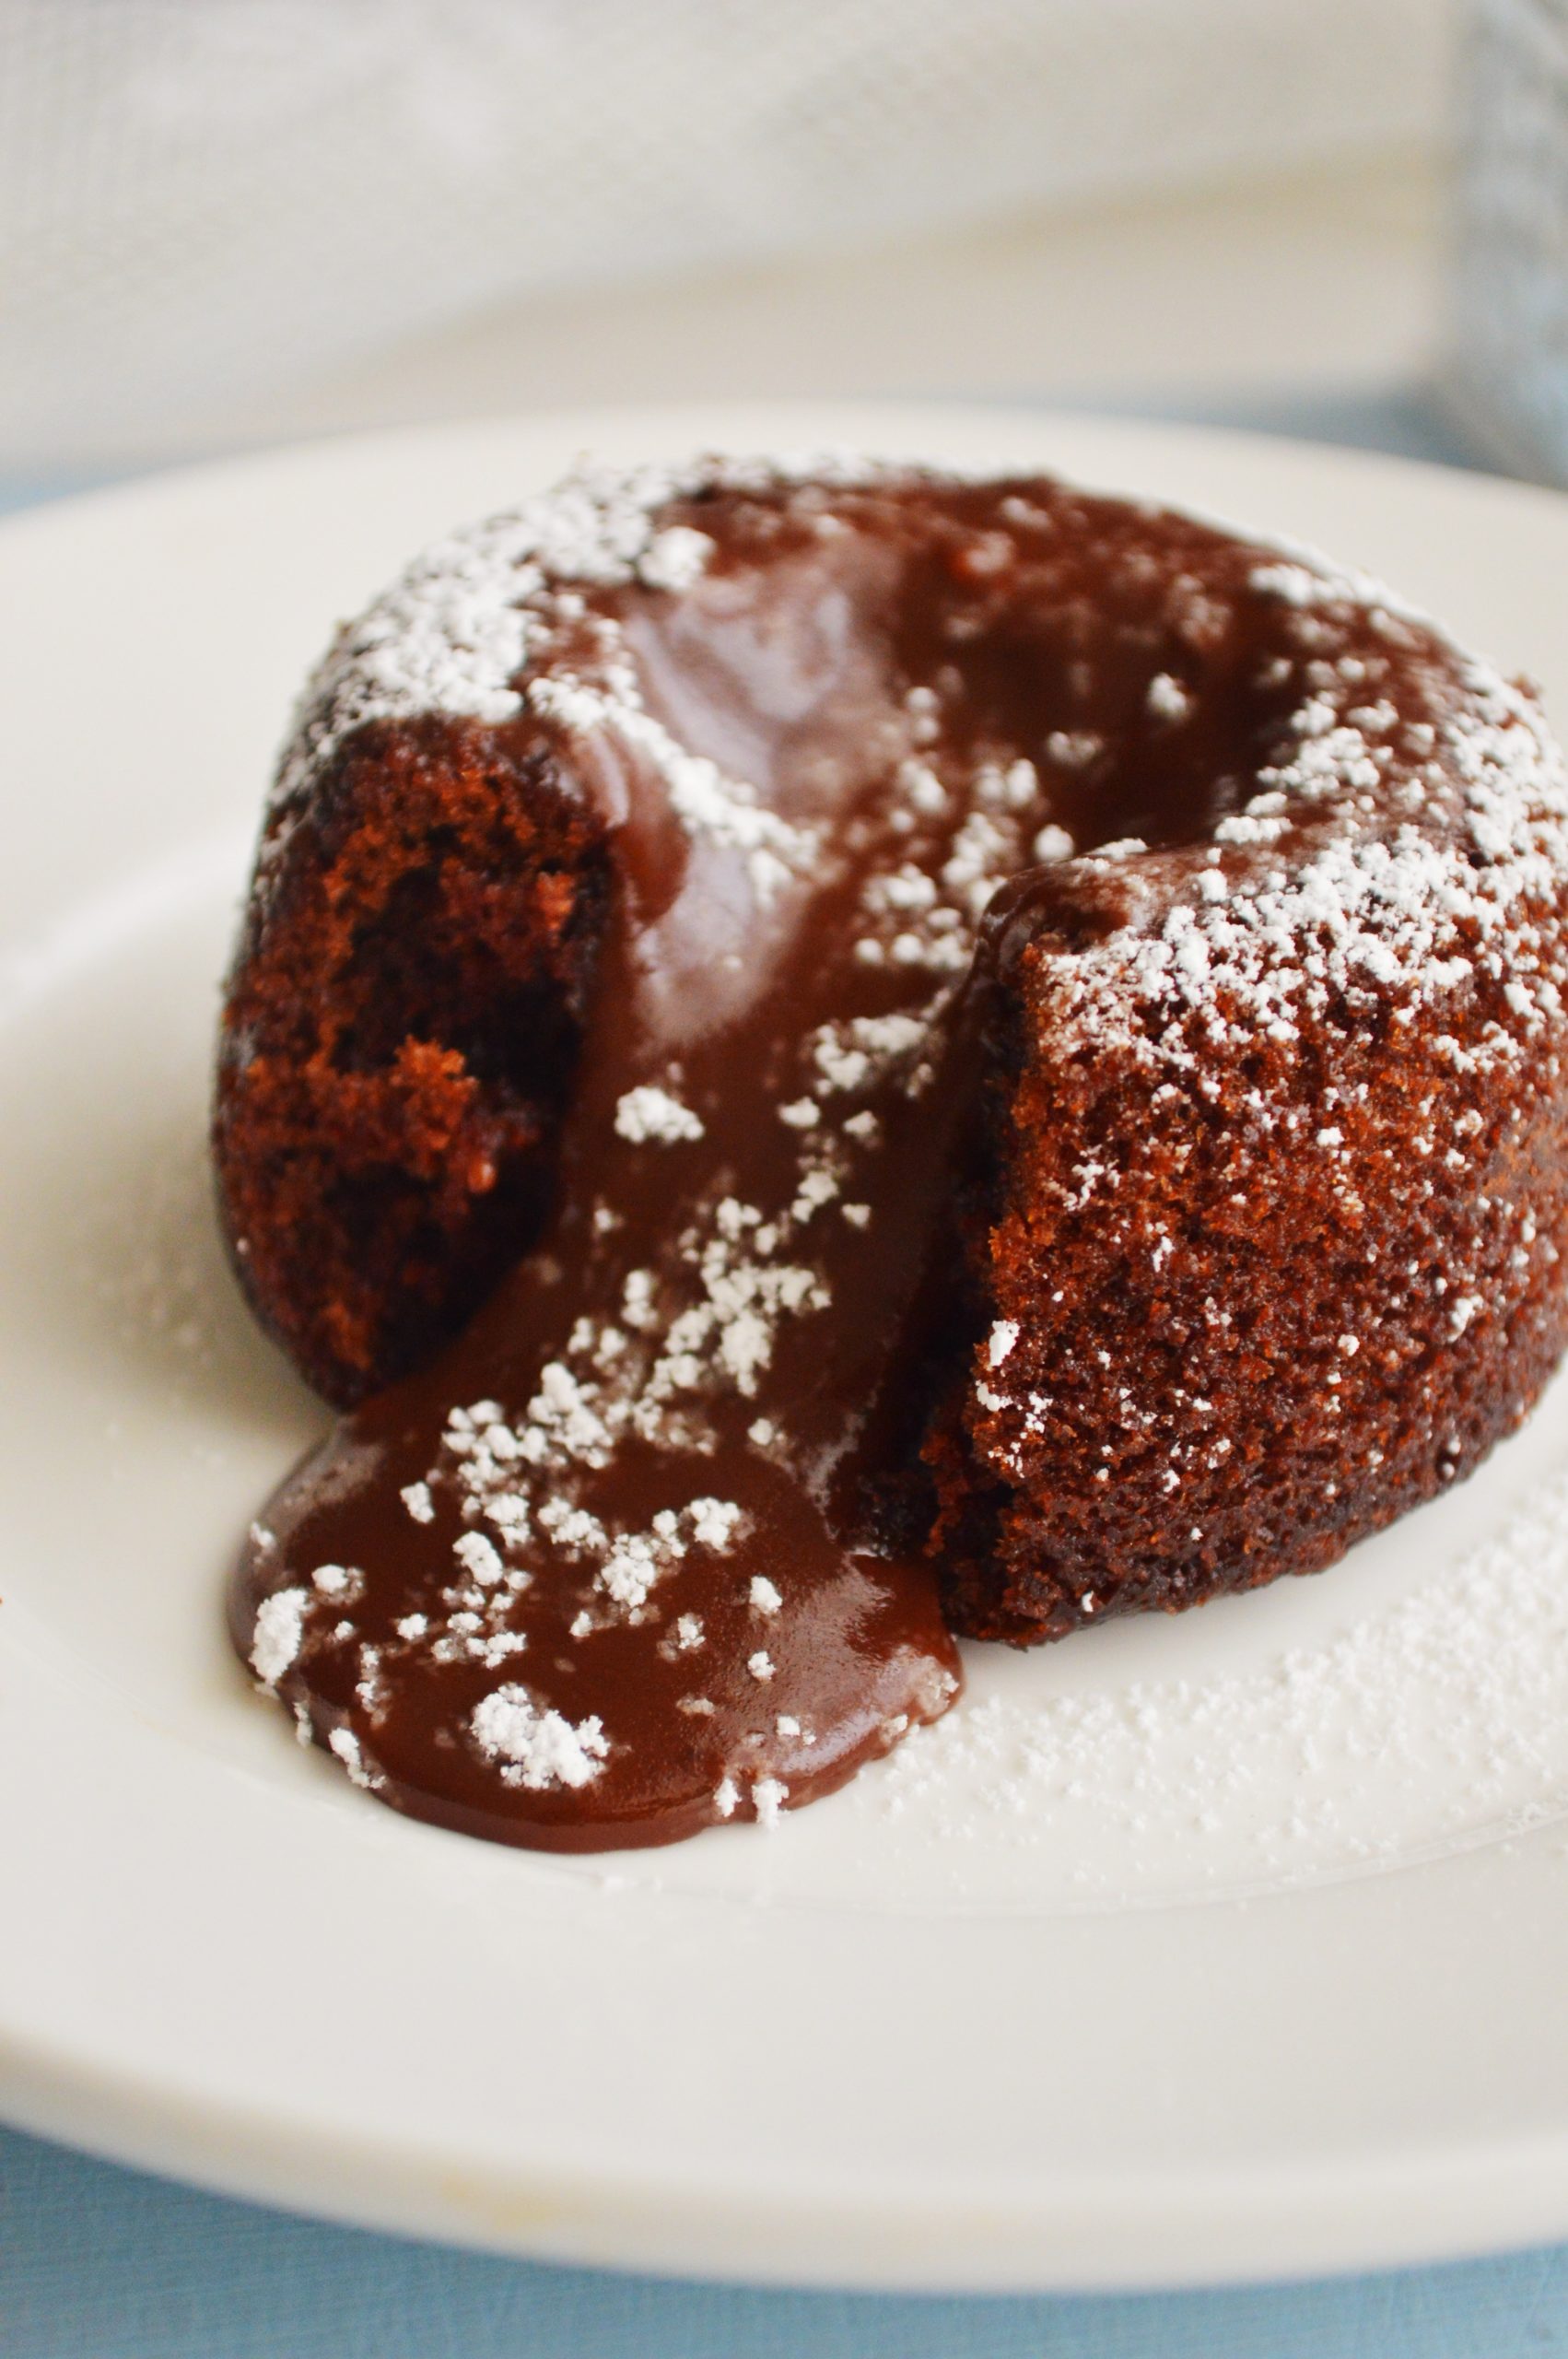
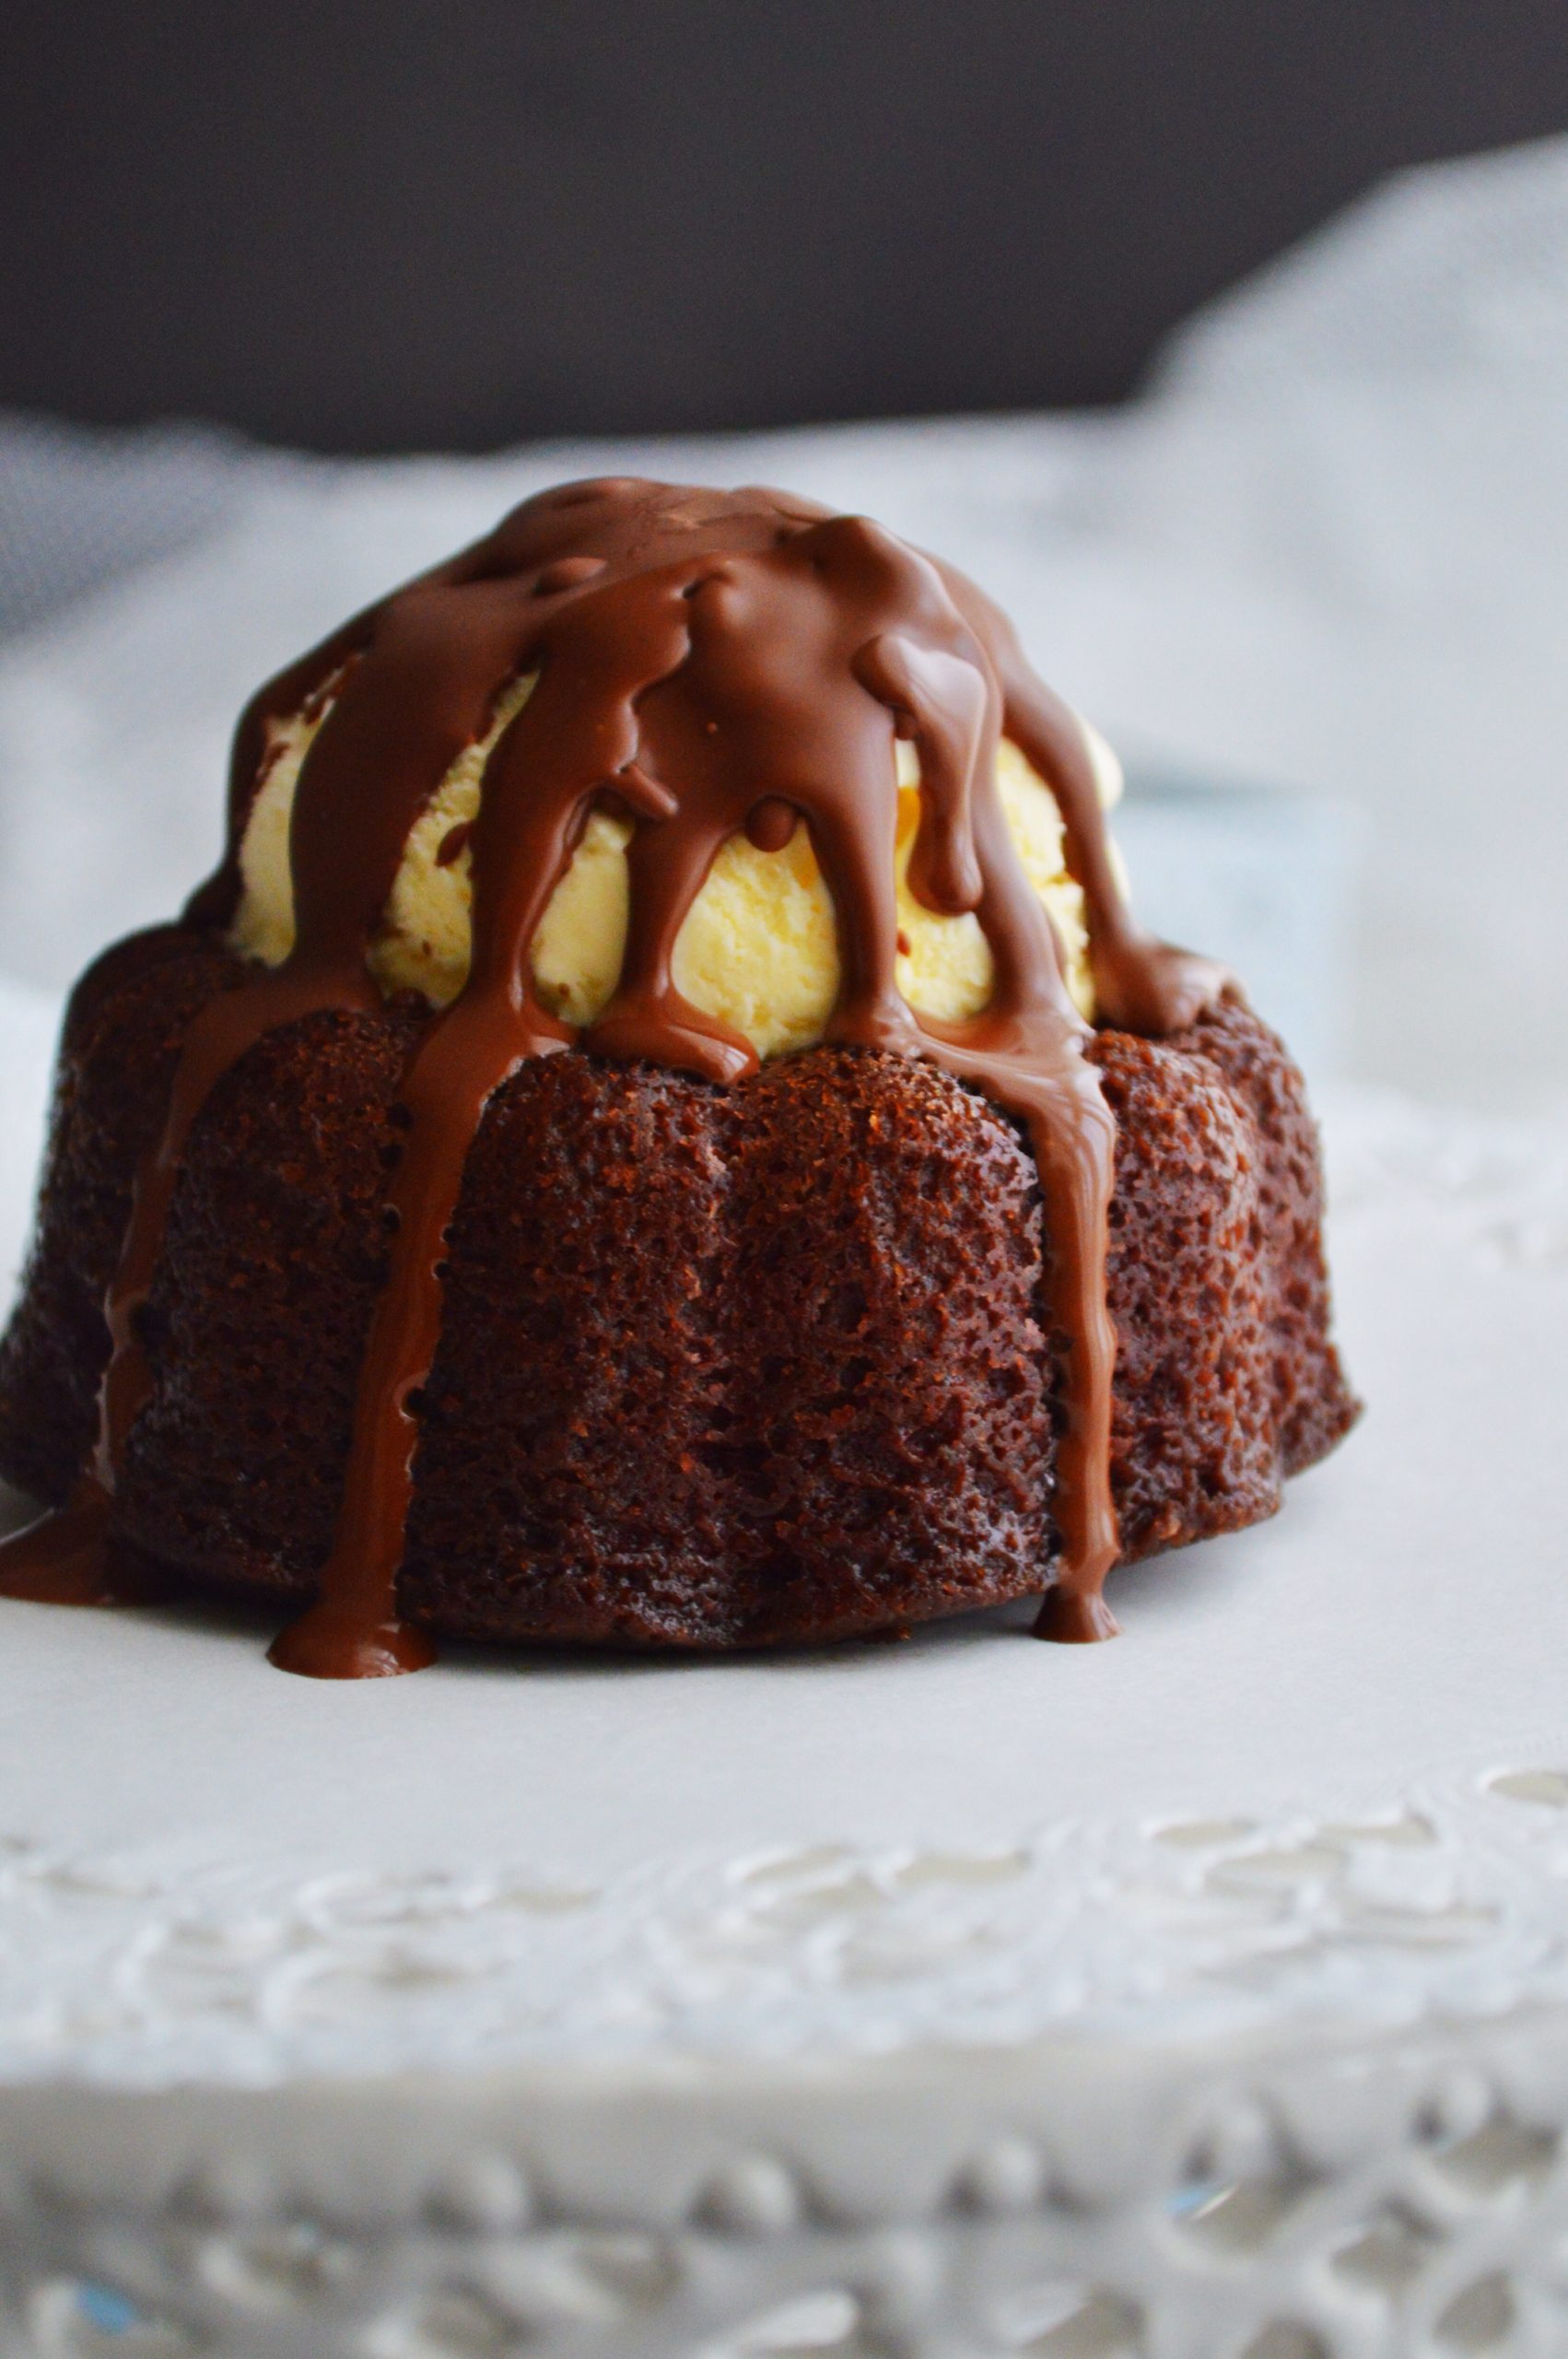
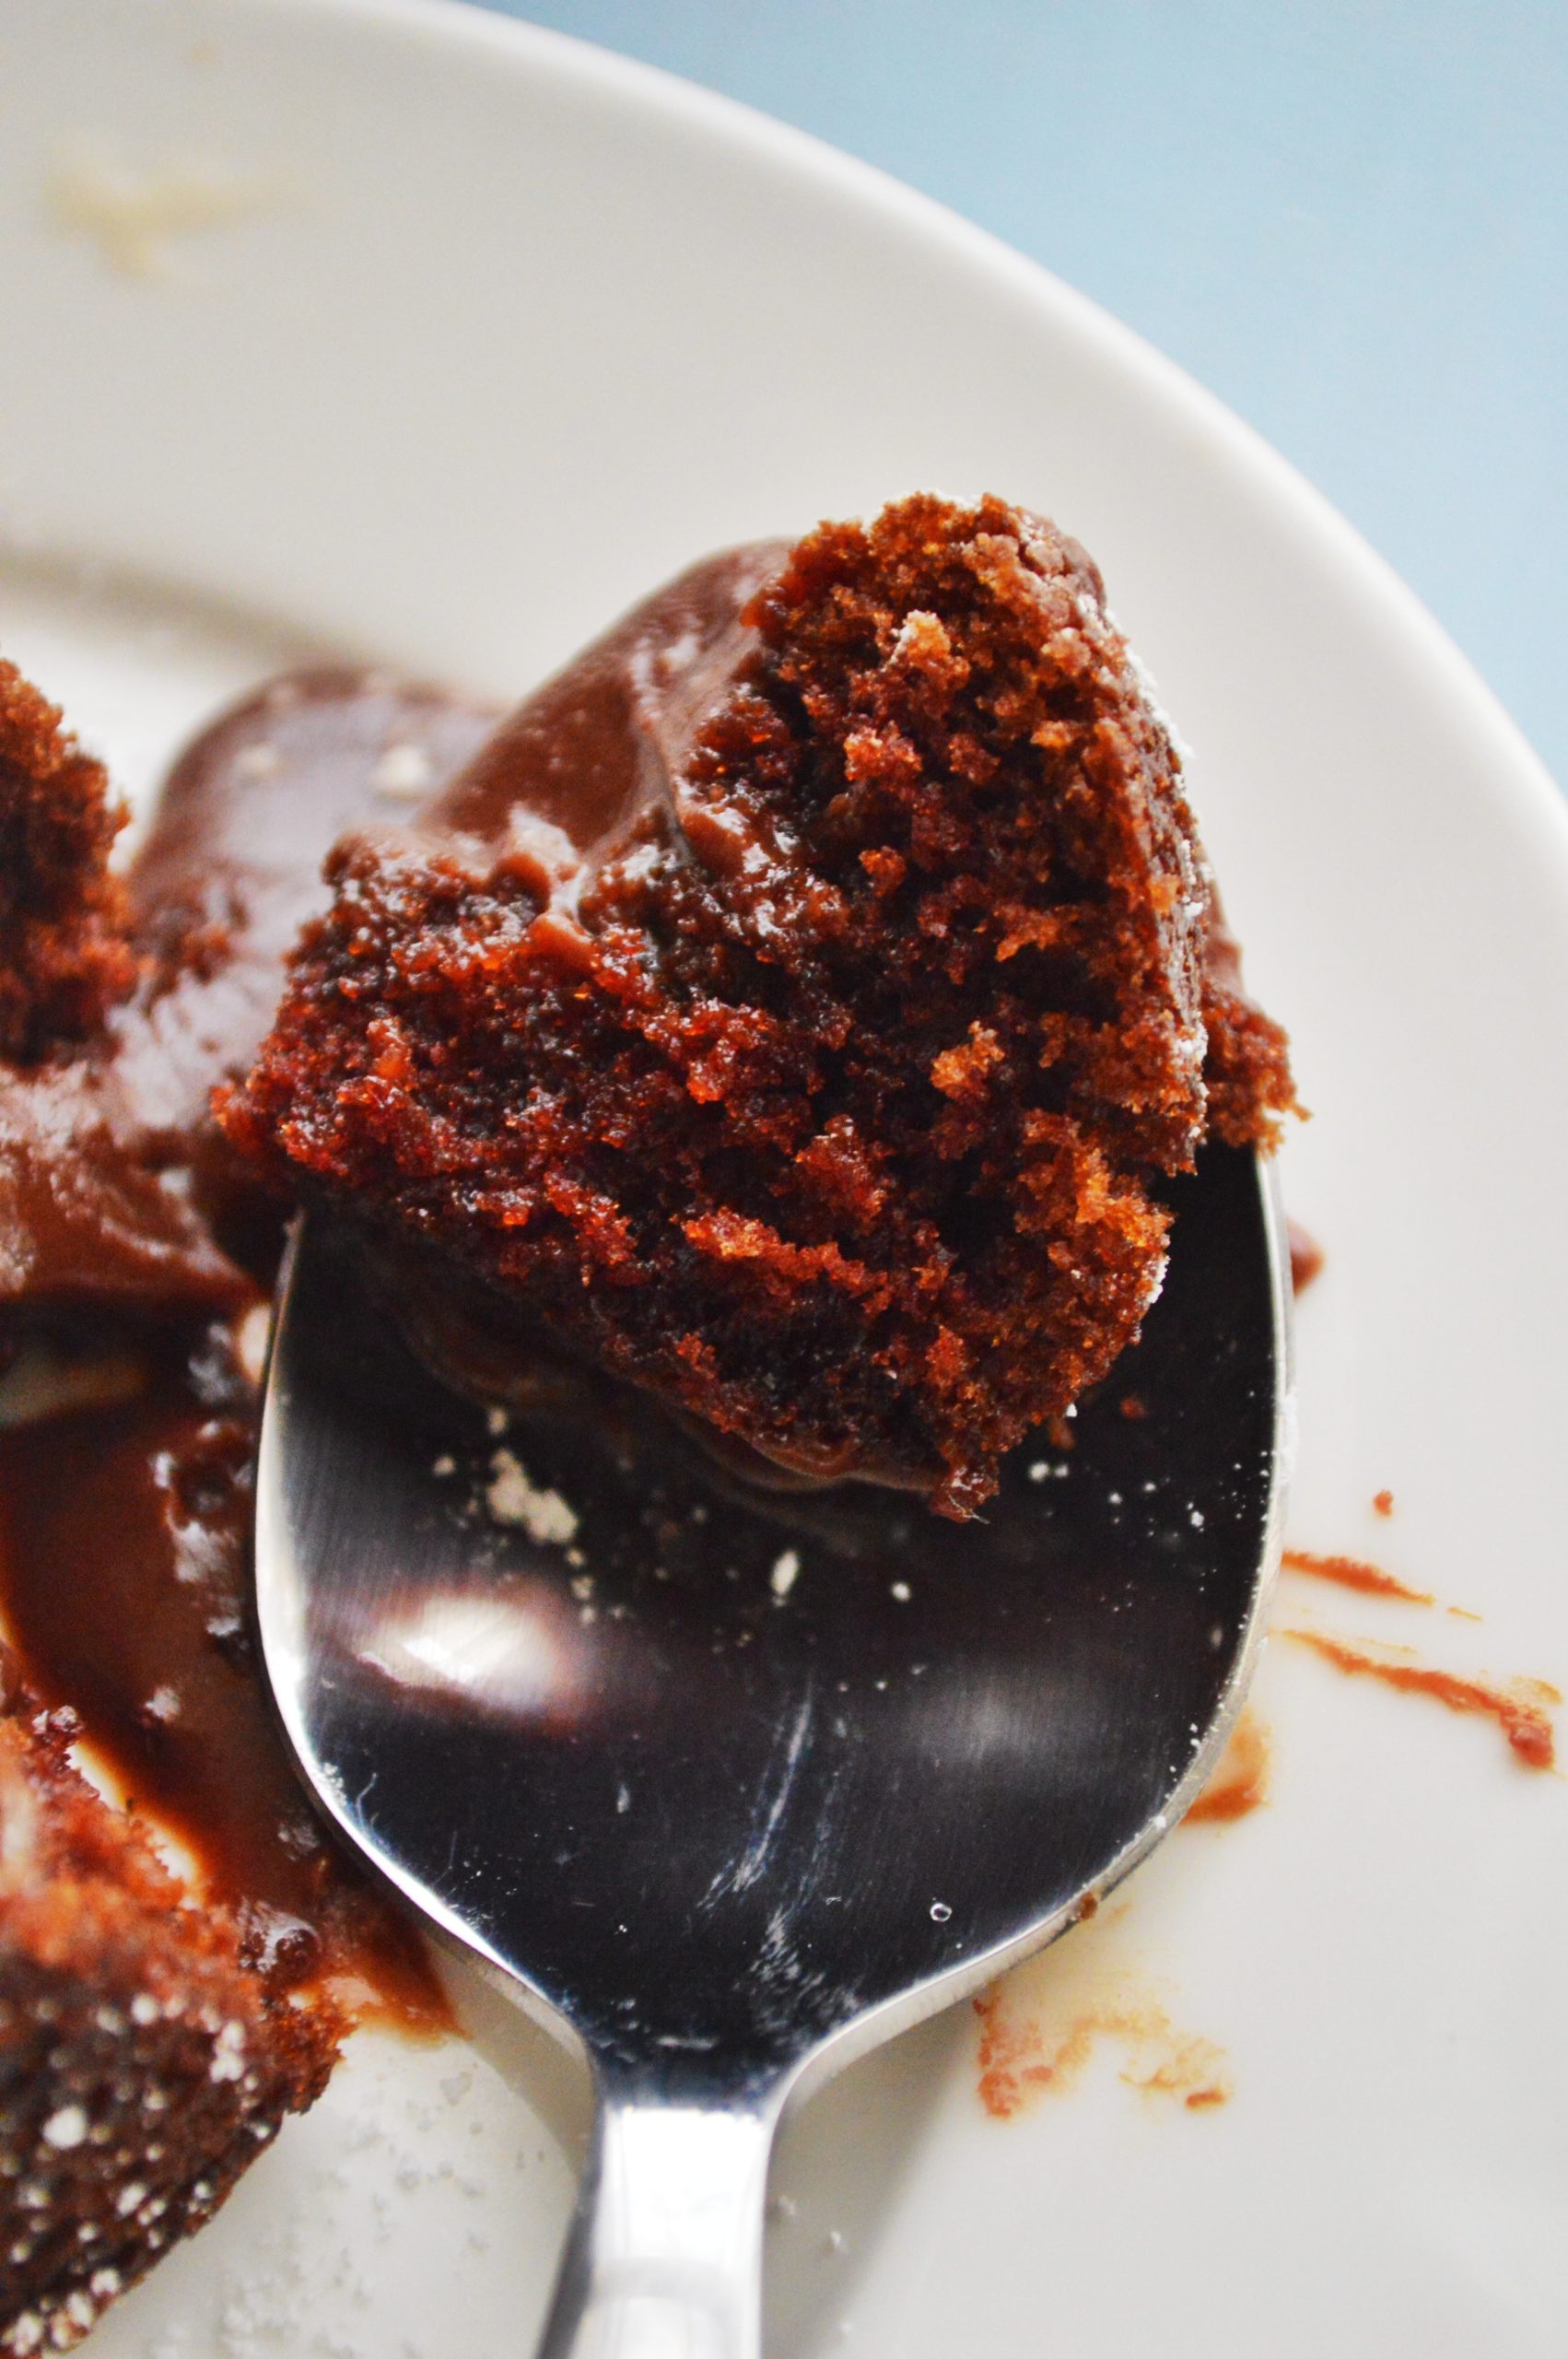
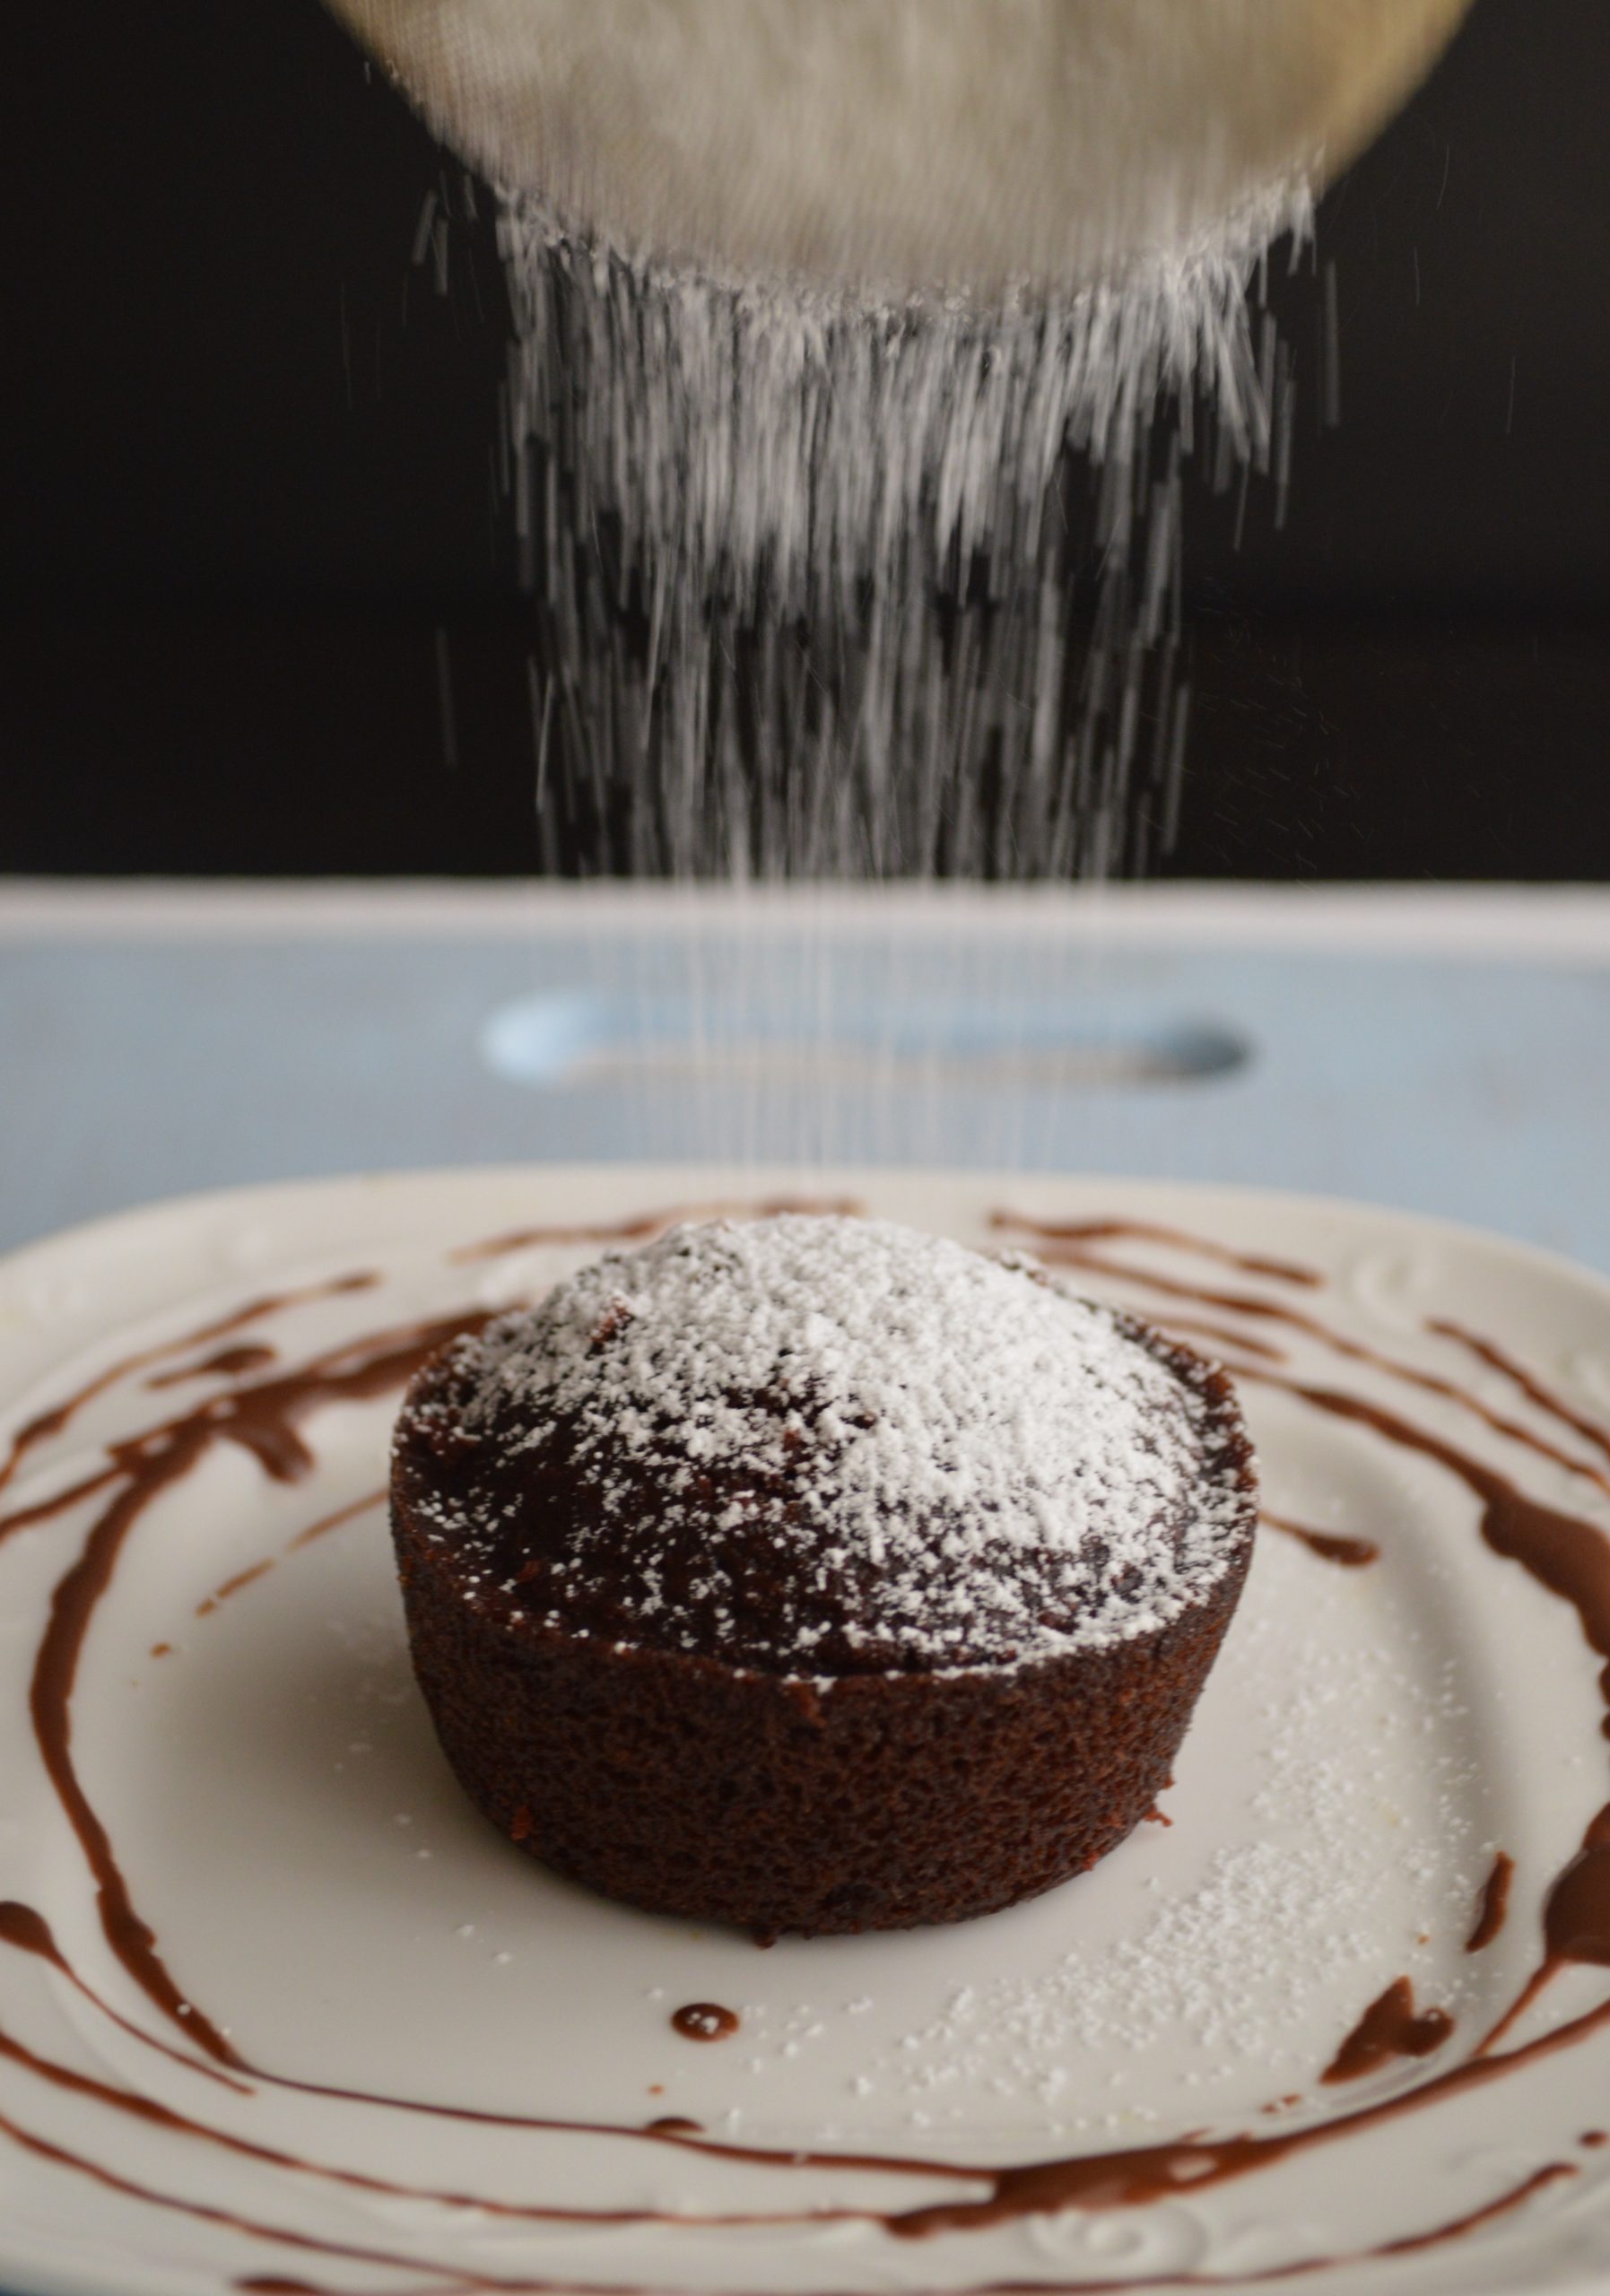
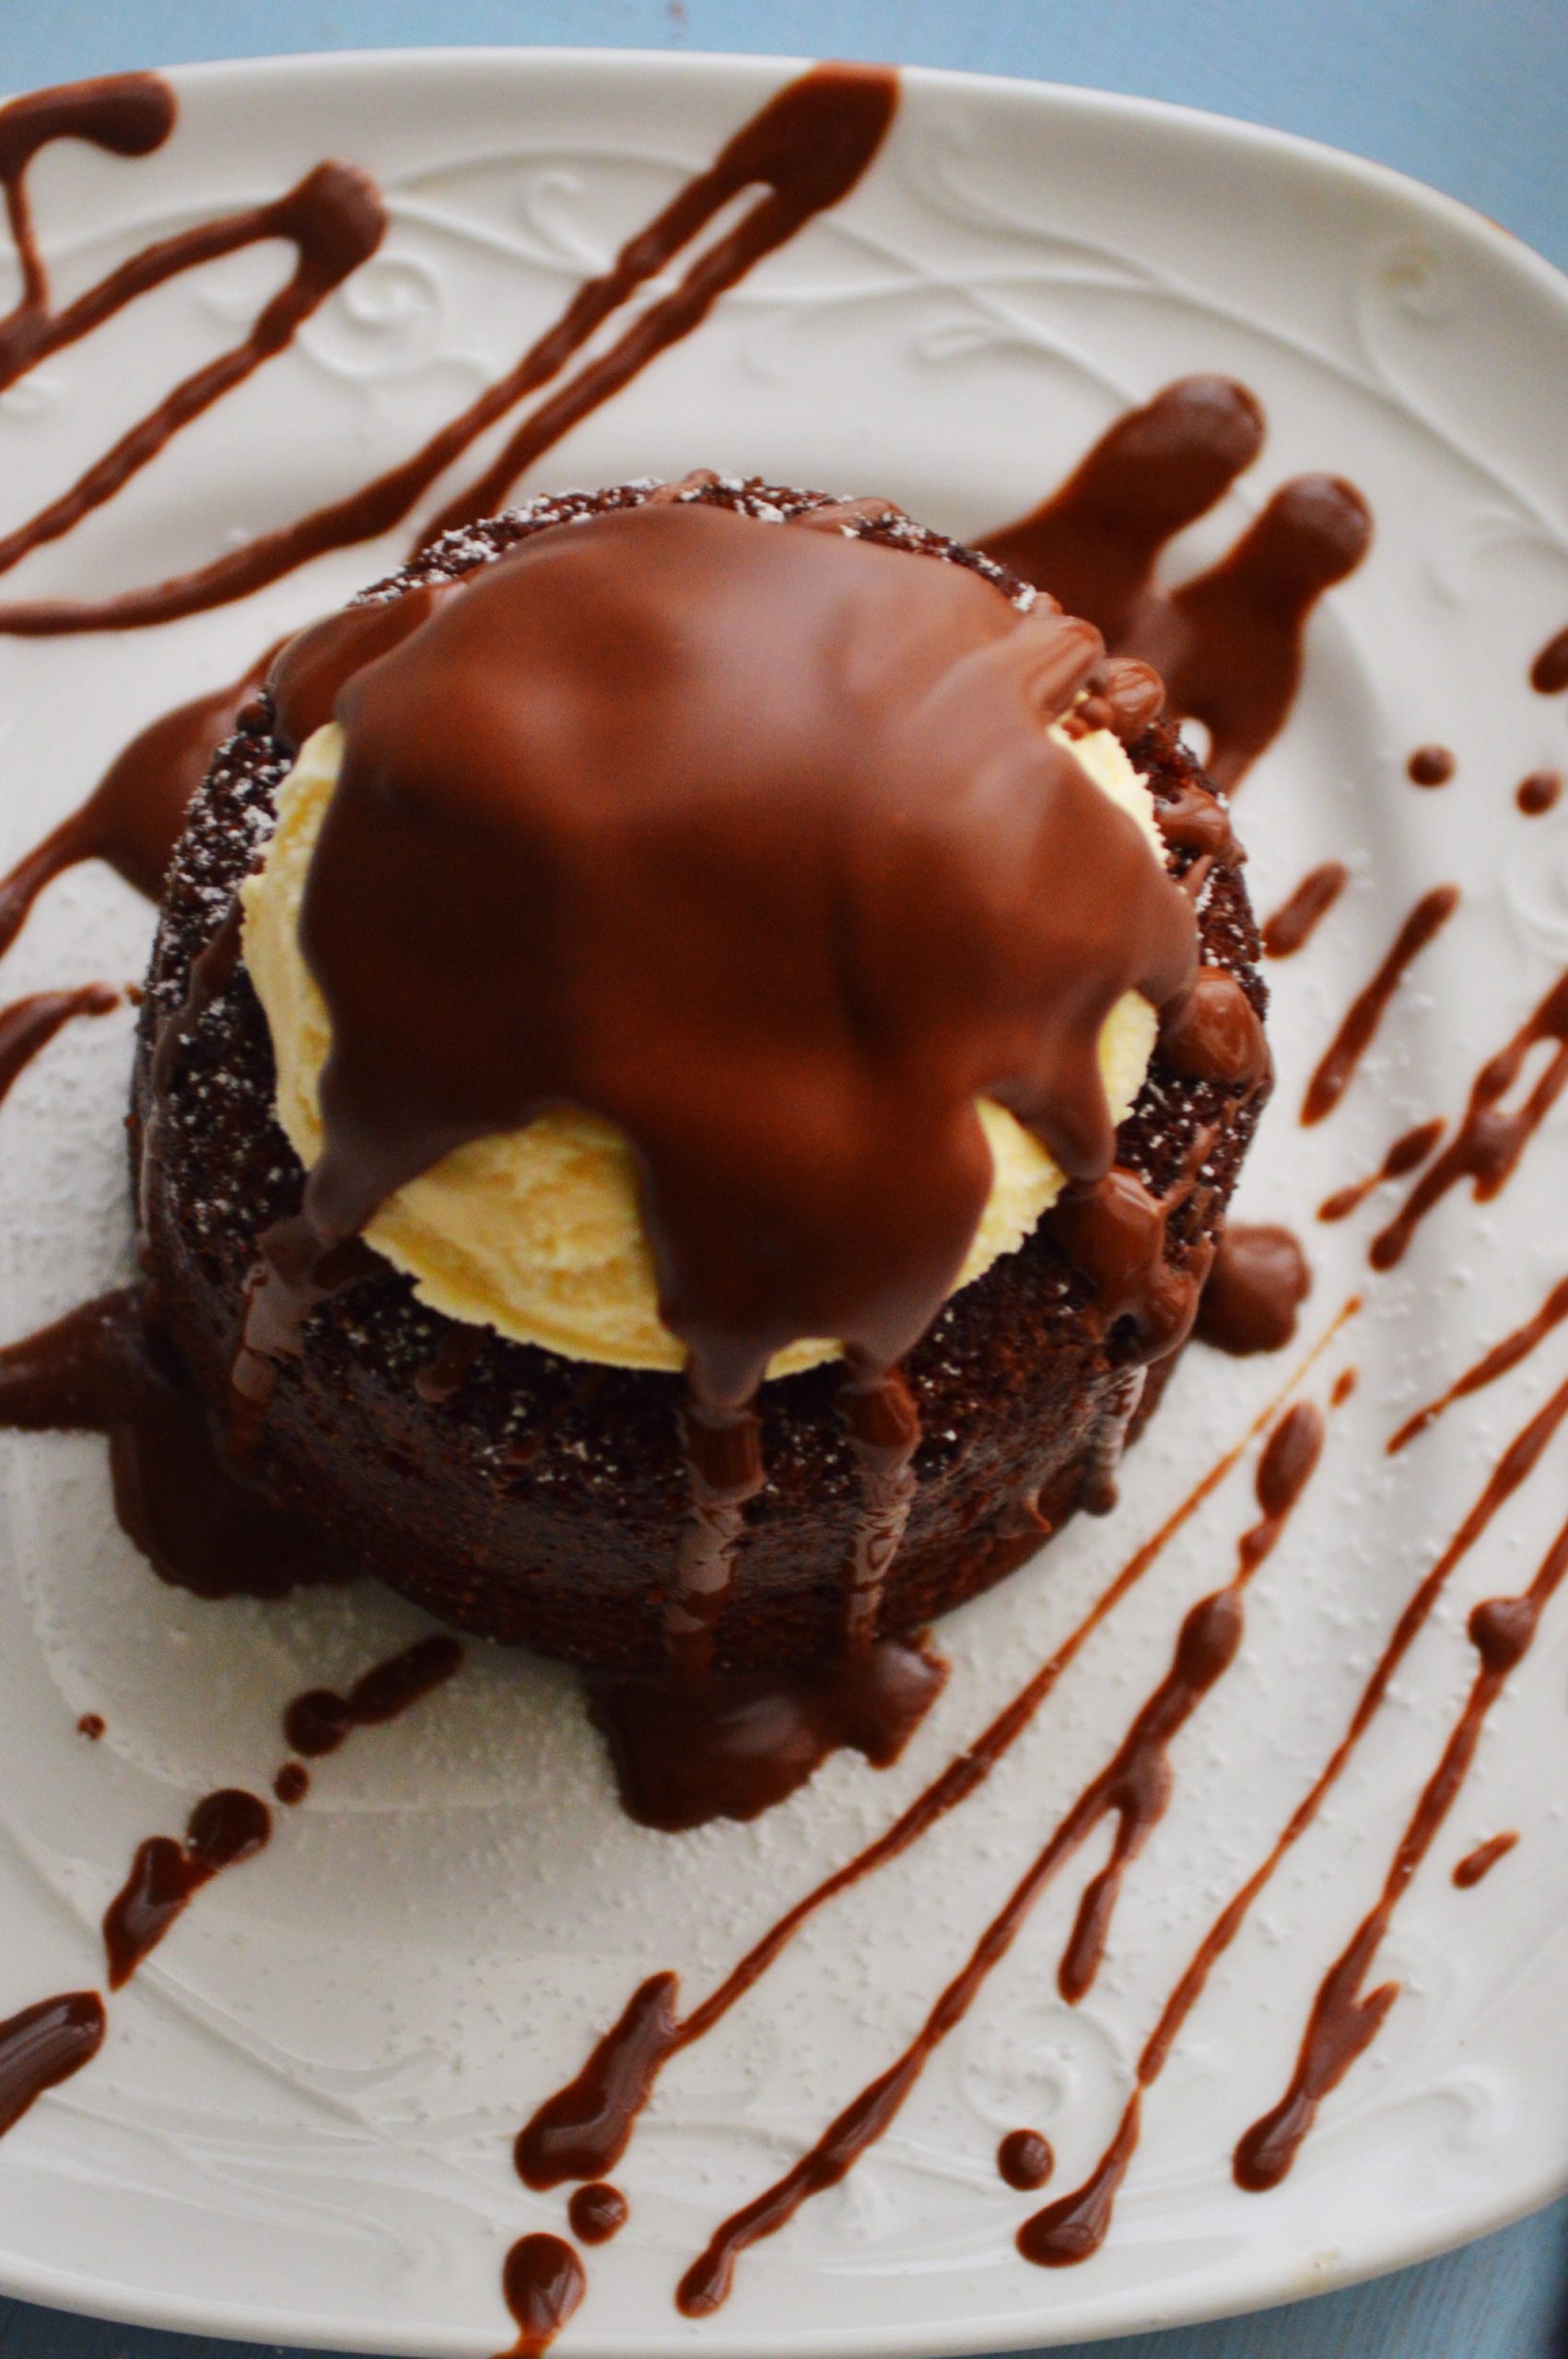
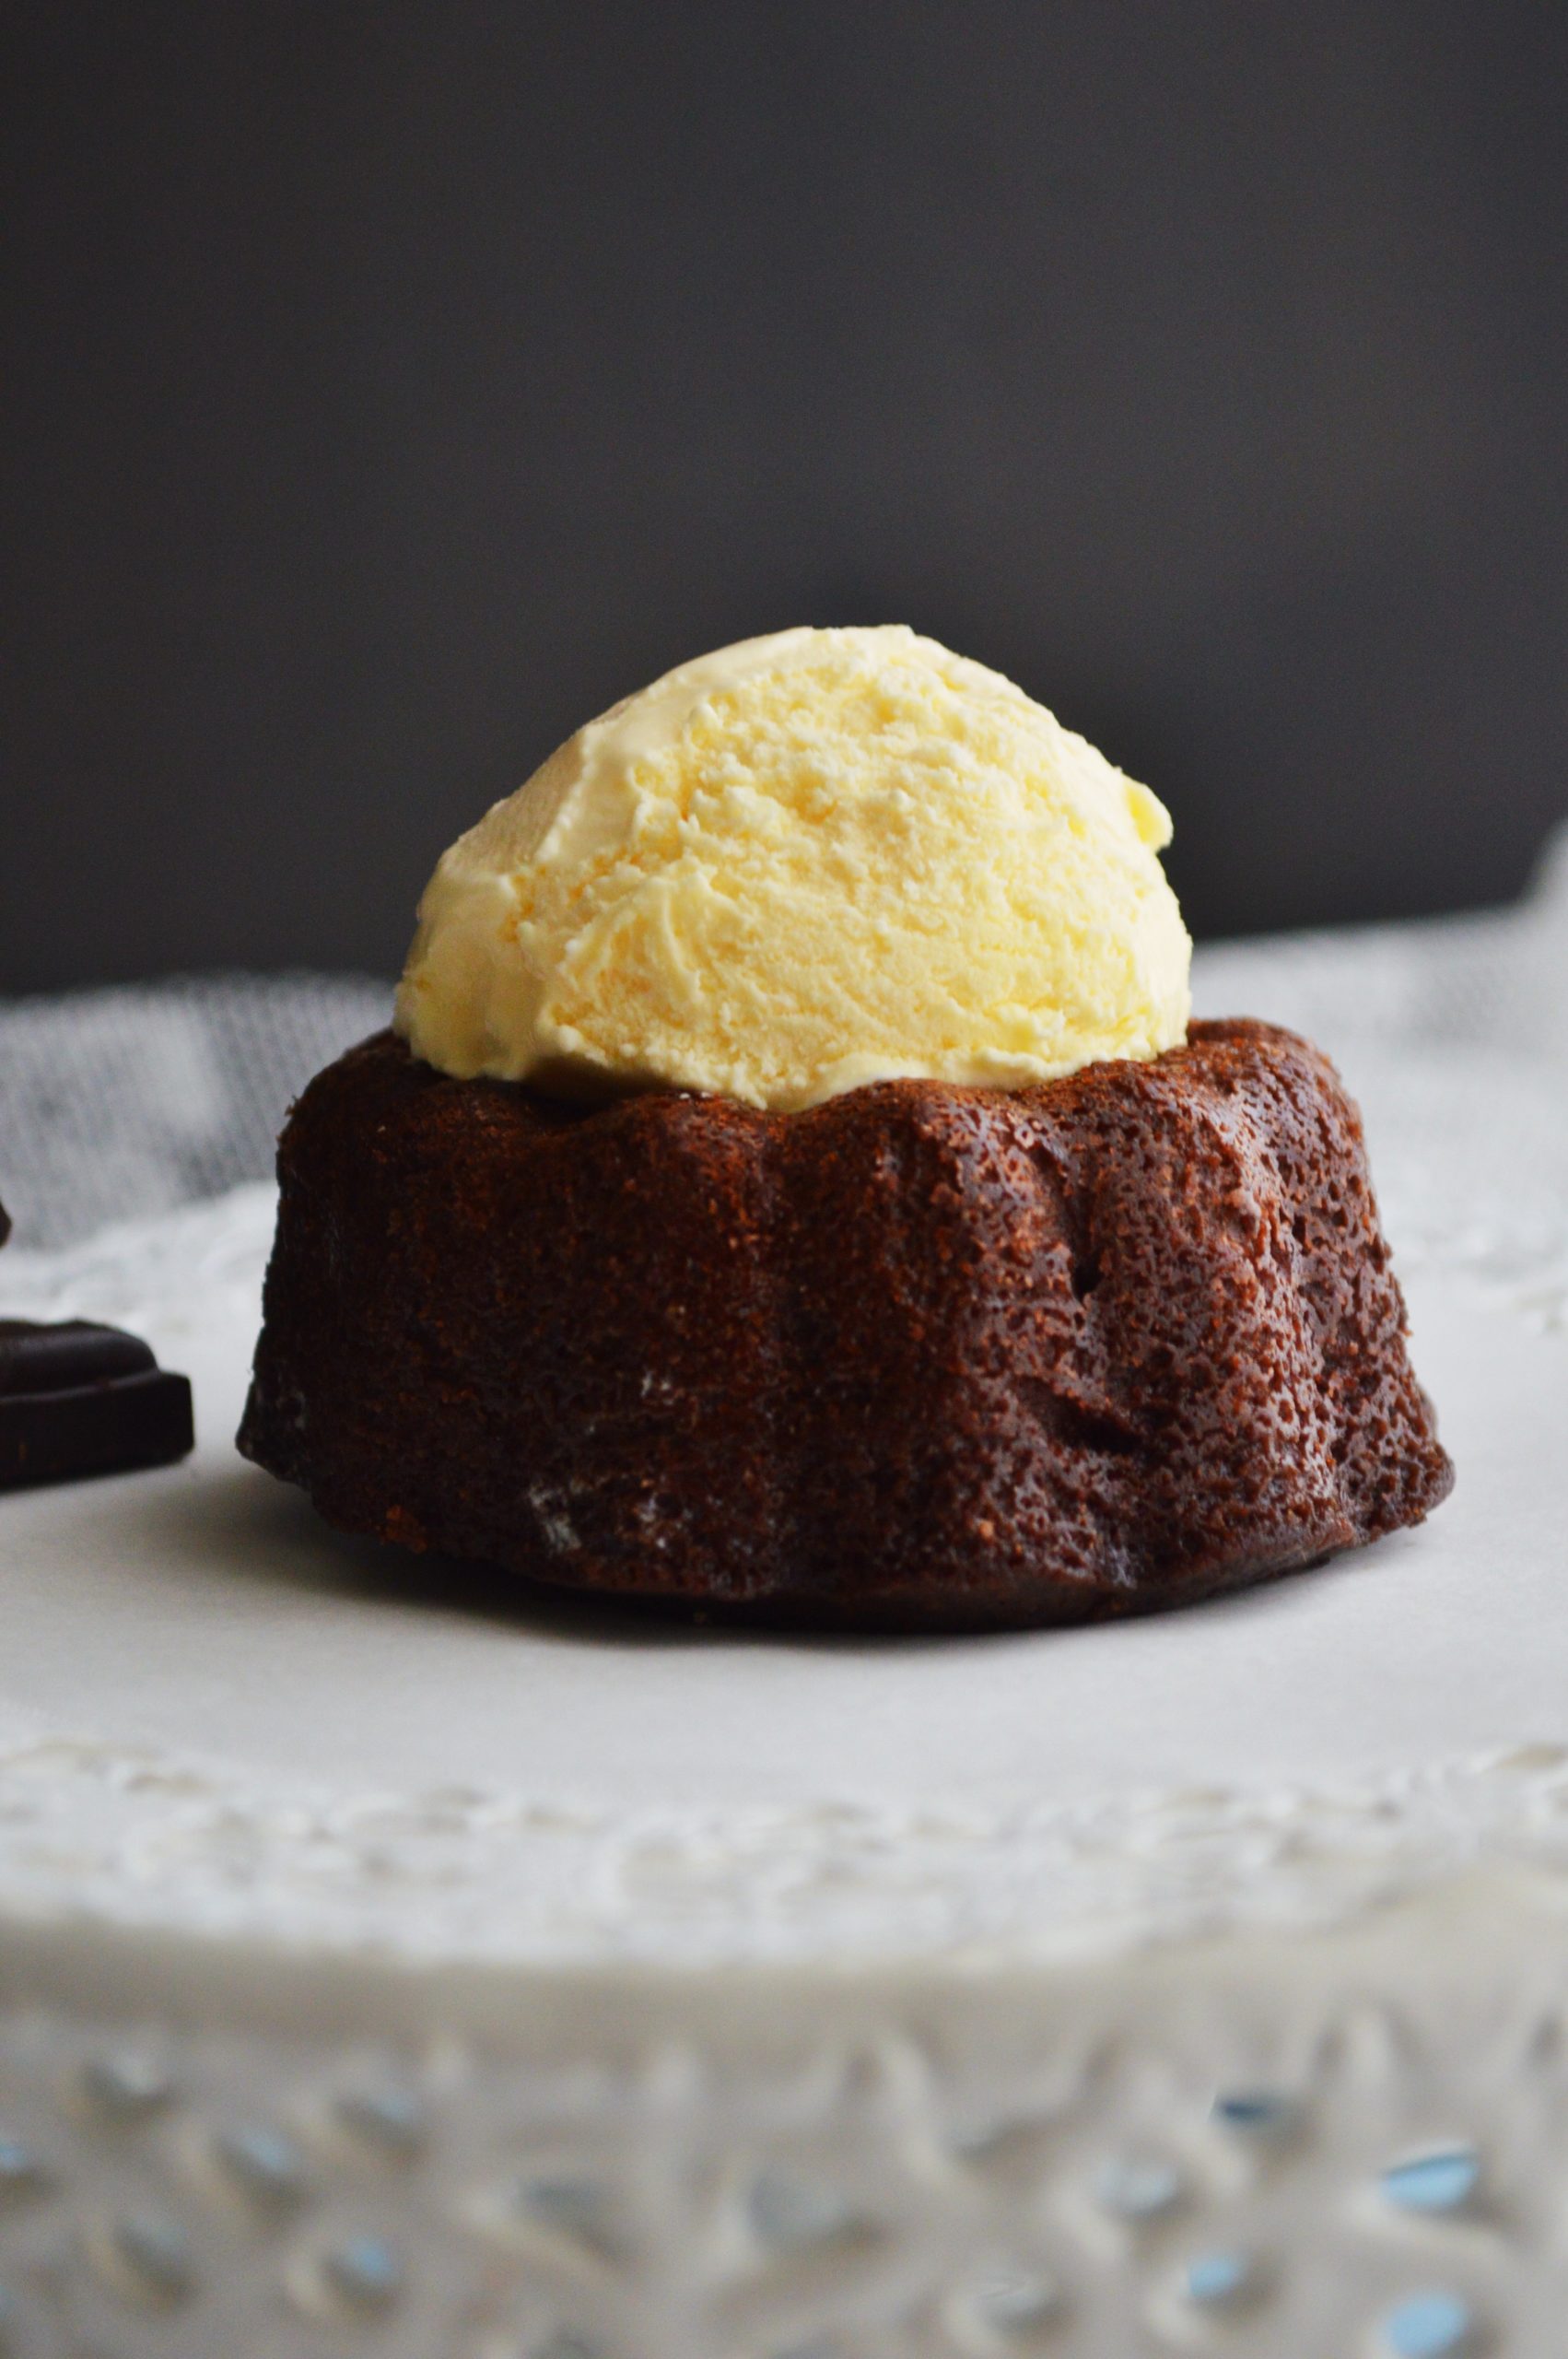
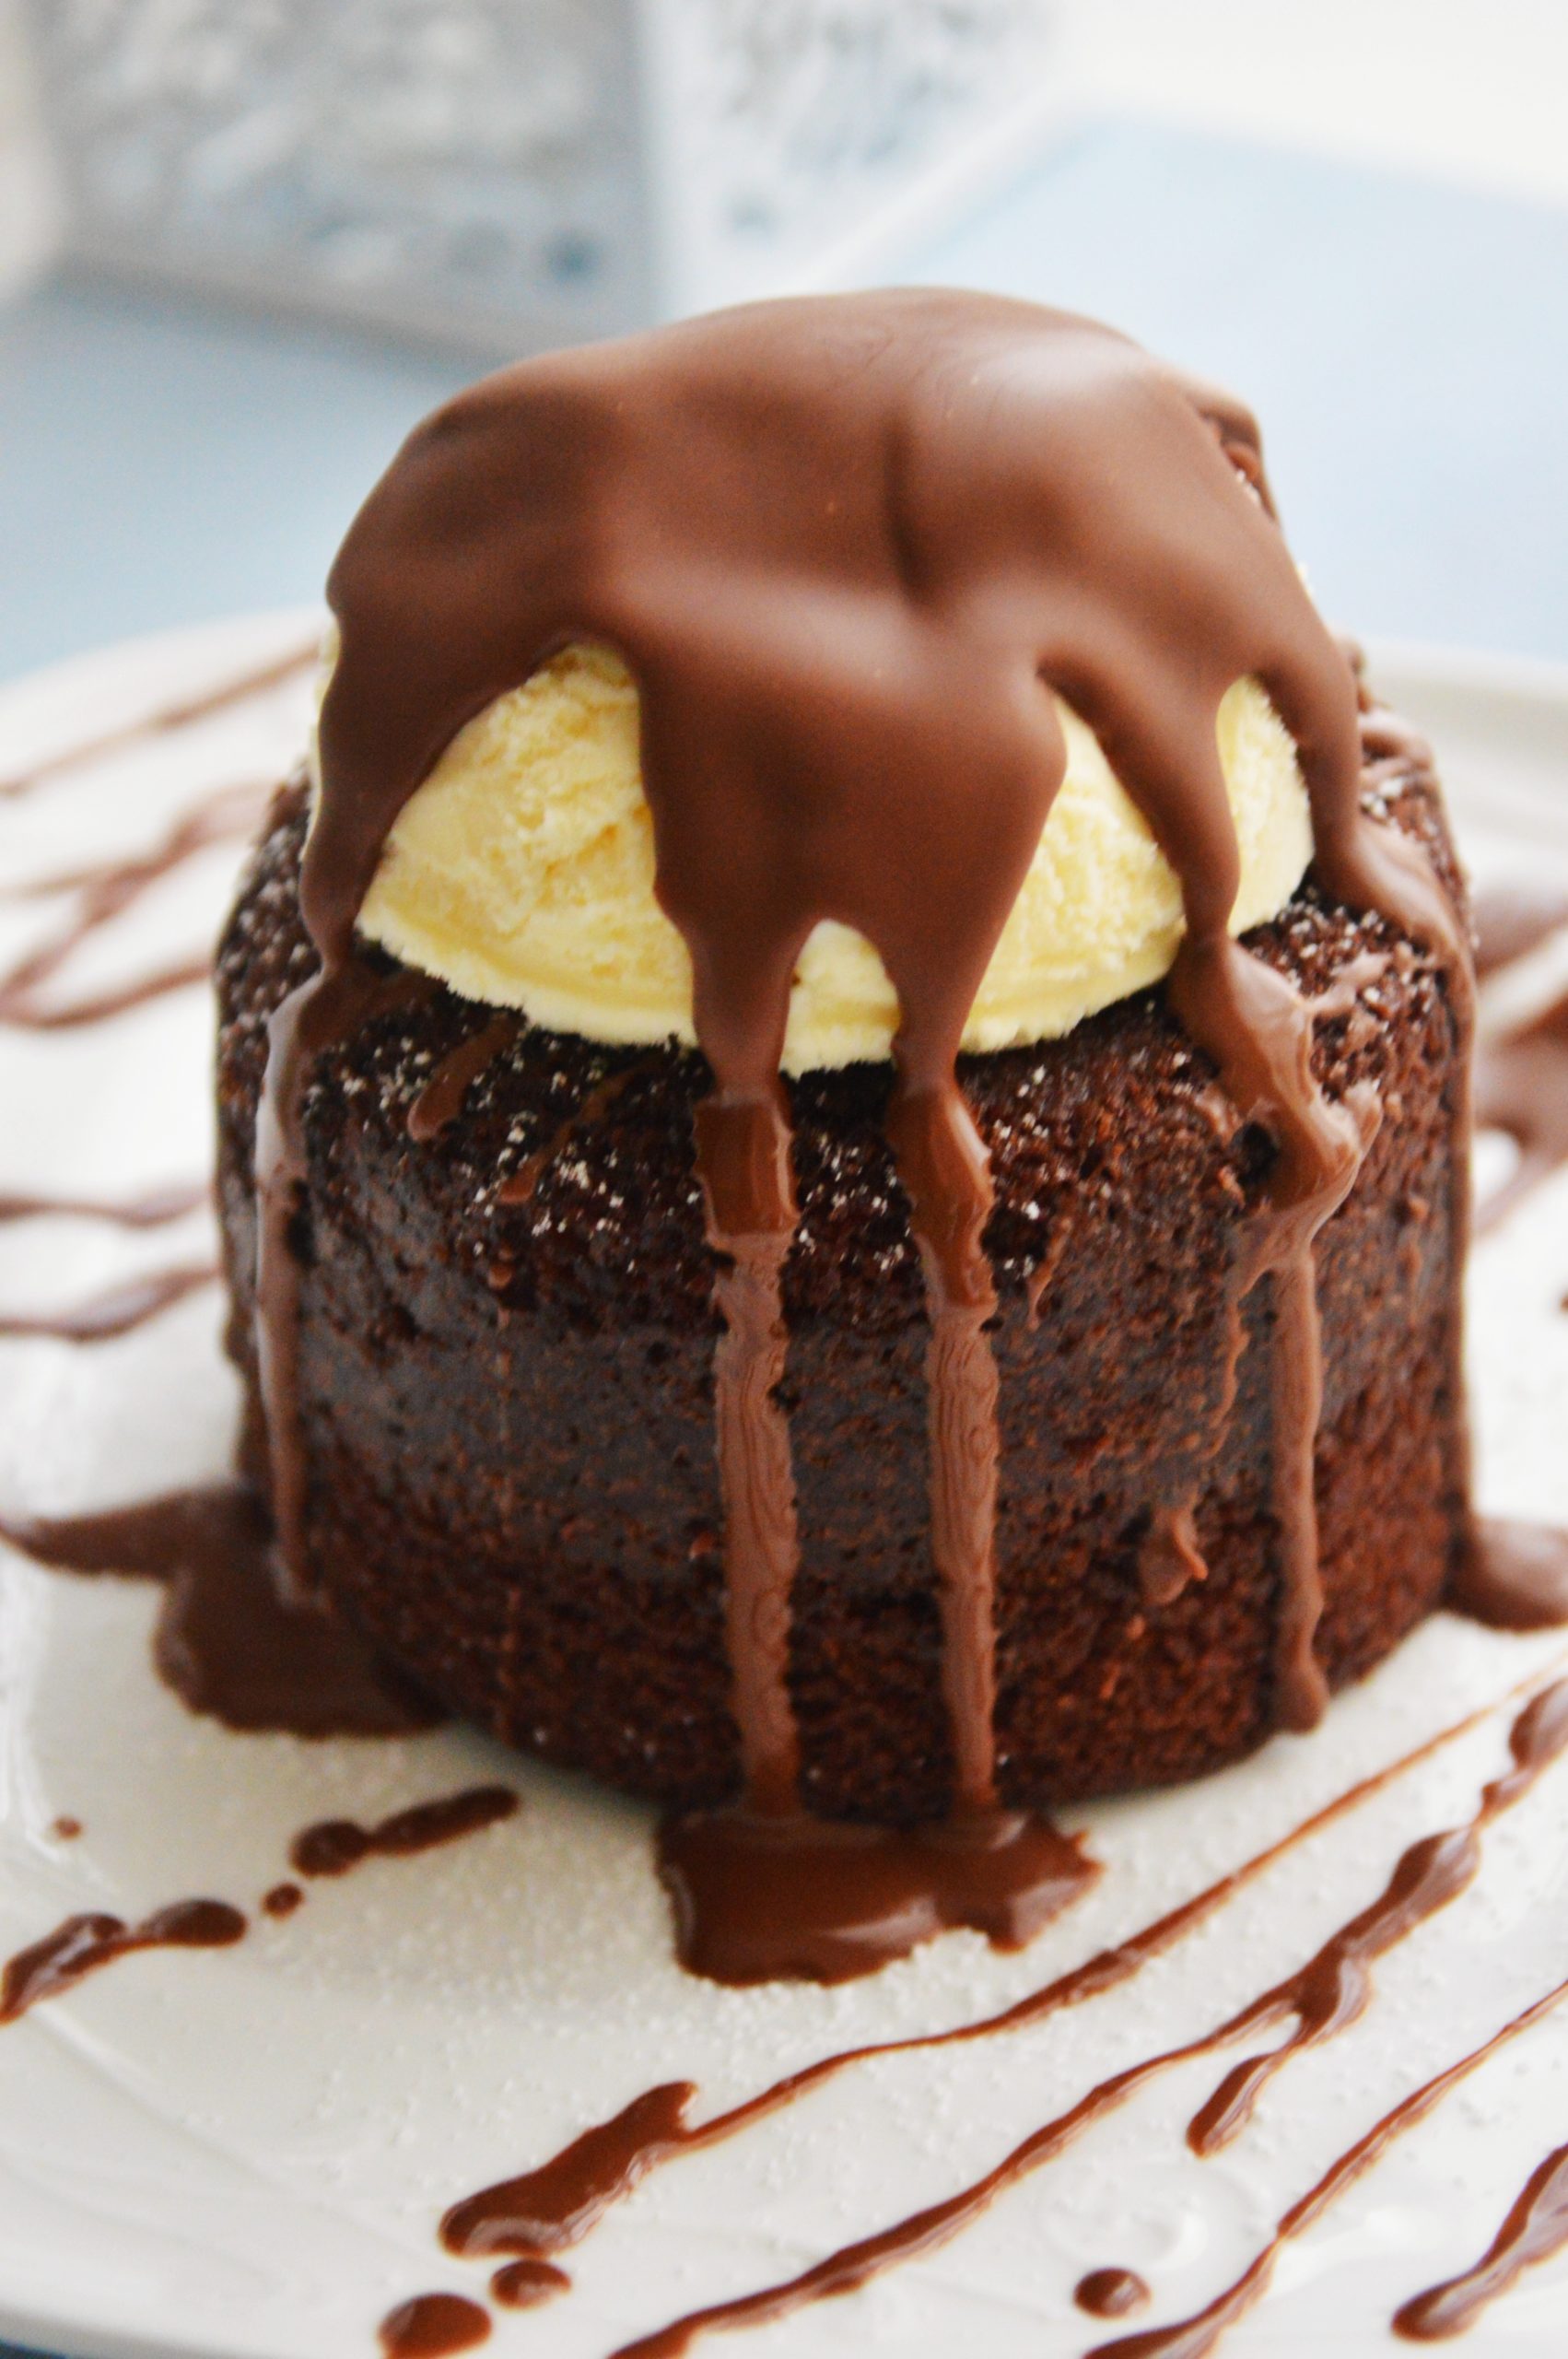
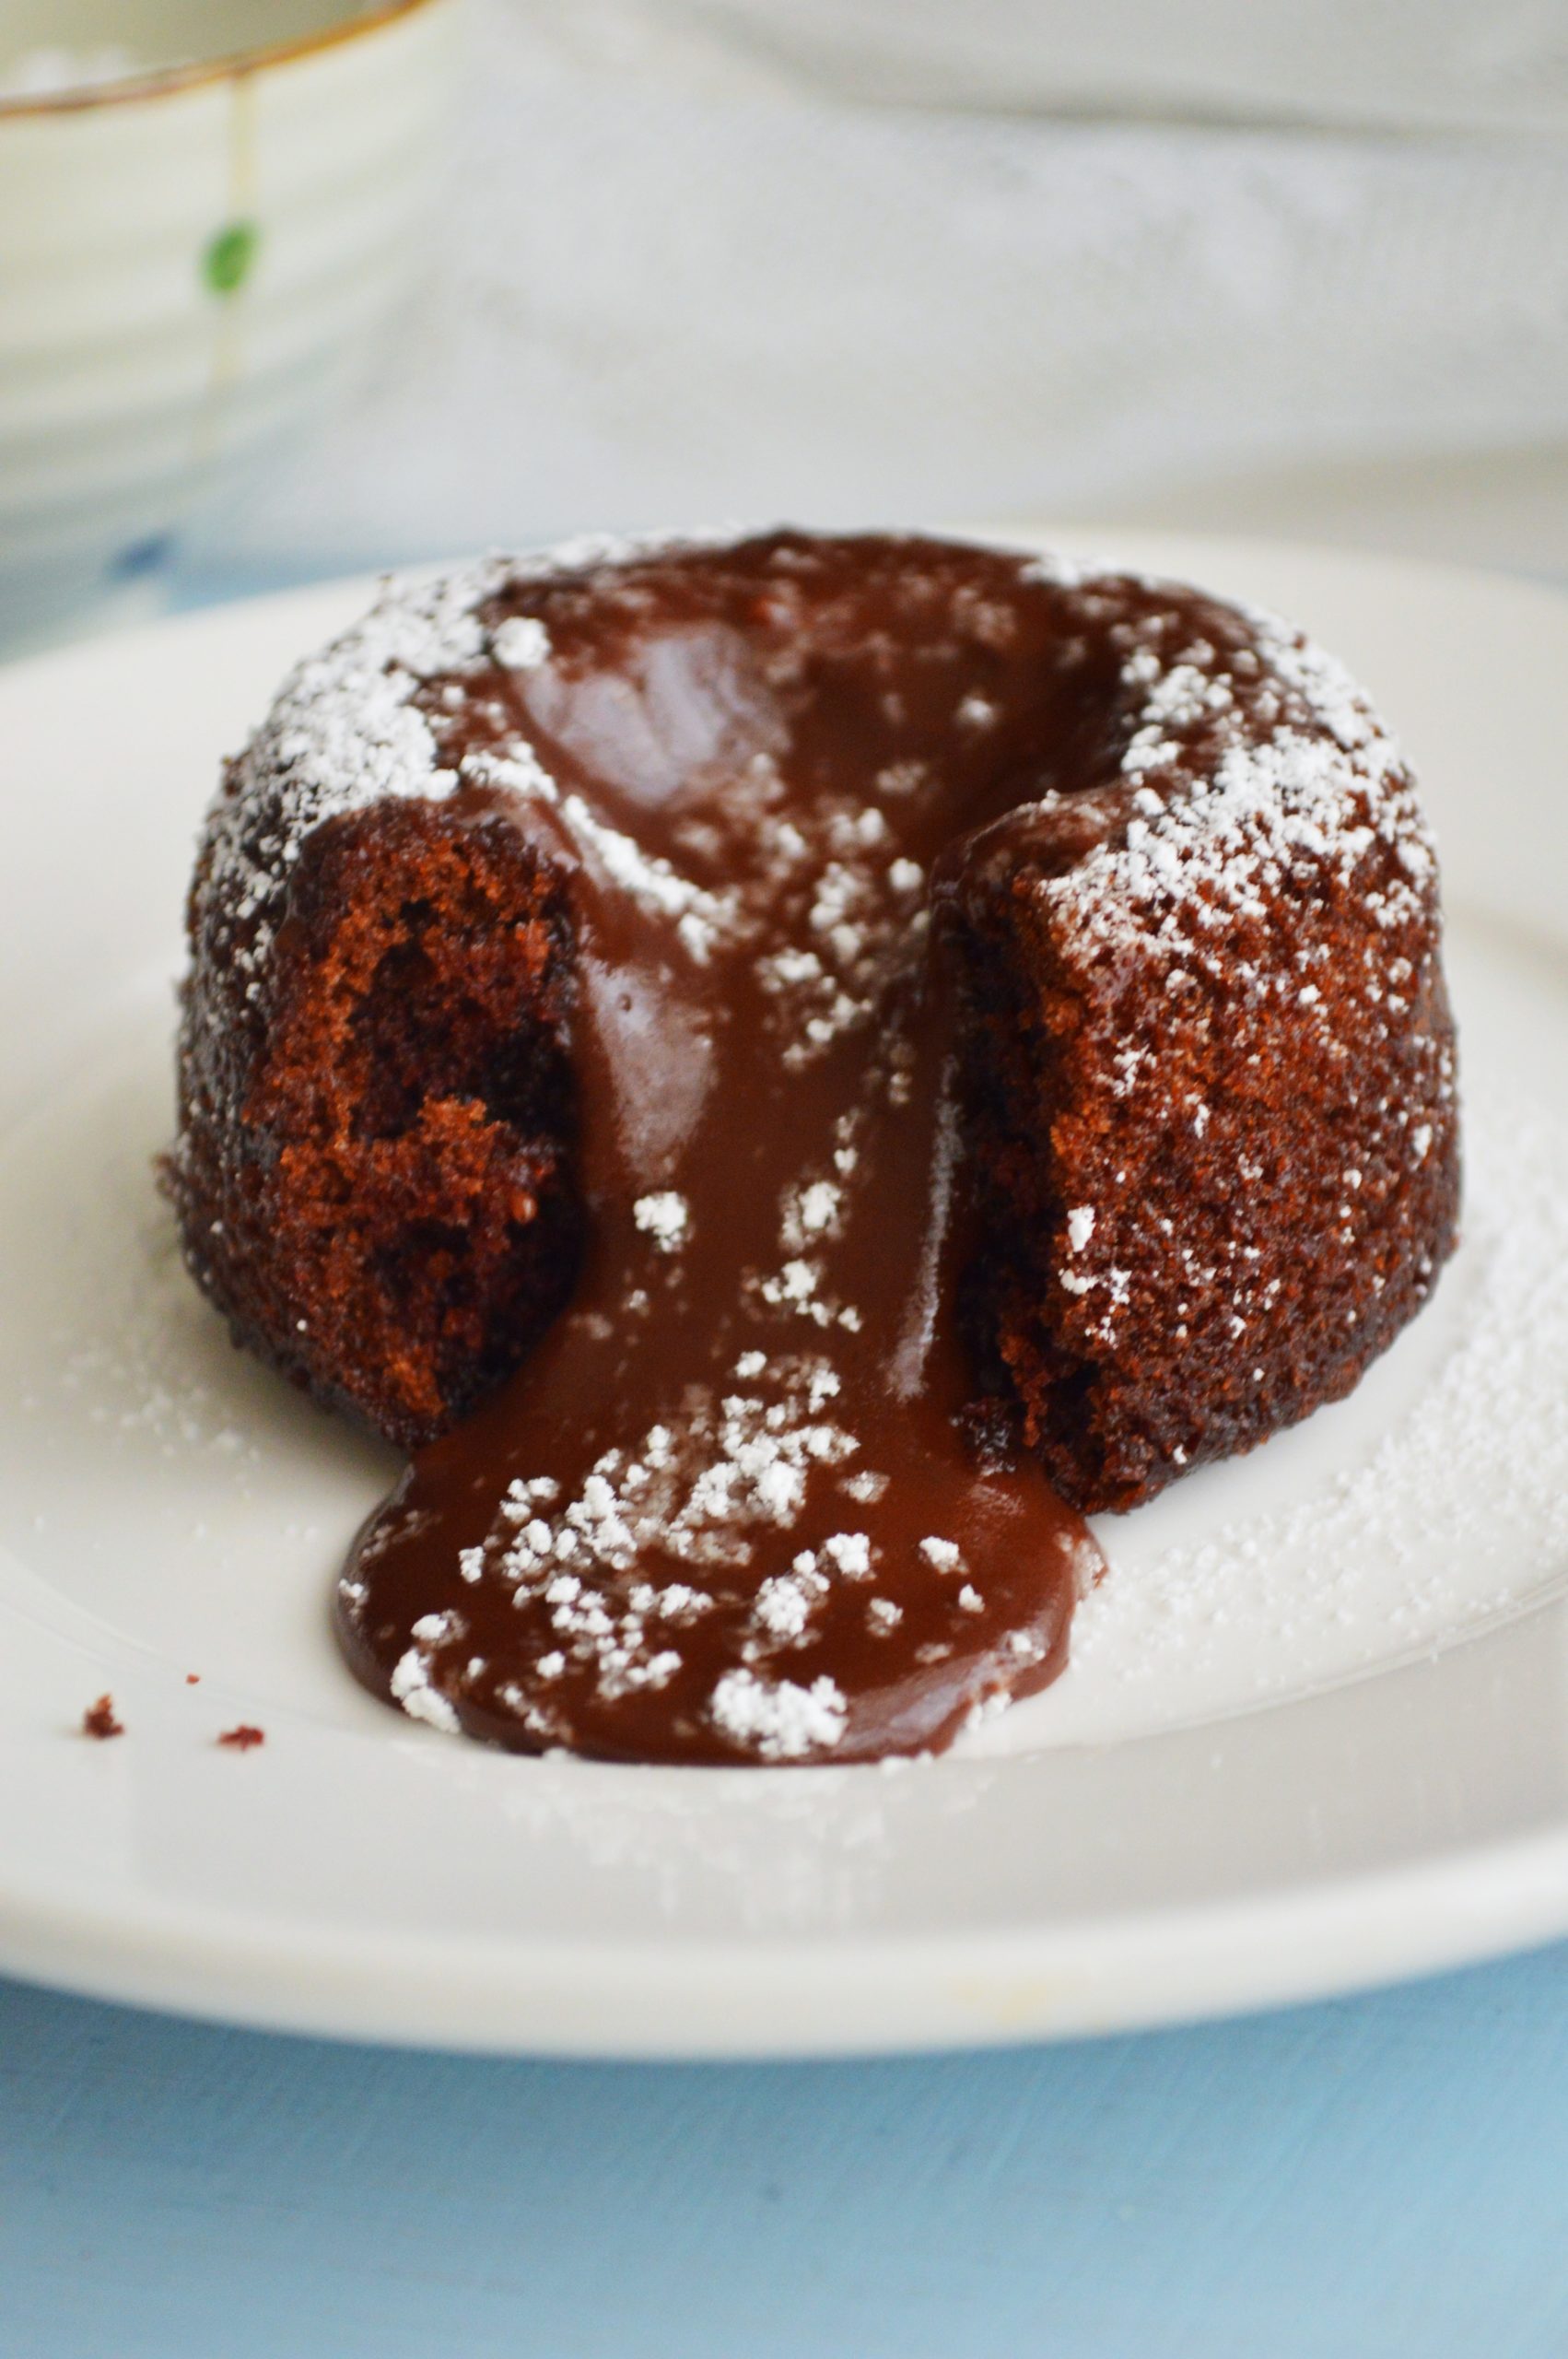
Looking for a gooey, moist and intense chocolate treat? Then try this extremely decadent Chocolate Lava cake that boasts of a lovely super moist devil’s food chocolate cake combined with the richness of chocolate fudge. Top it off with some creamy vanilla ice cream and a 2 ingredient Magic Shell Ice Cream topper, and you have yourself one praise-worthy dessert.
I’ve tried several recipes for Molten cakes before, but none have been as good as this one. Unlike the normal lava cakes, these get stuffed with chocolate ganache/chocolate fudge sauce and i can definitely say that it makes them about a billion times better. It actually does, I’m not kidding!! Moreover here you don’t have to worry about the critical oven temperature and baking time to get the perfect cakes.
So isn’t this the perfect recipe? I do think so. All thanks to my dear friend Sadiya Gafoor. Yeah, she is my name twin. 😉 She is actually an encyclopedia of cakes, desserts and all things chocolate, i guess. She did a lot of research and trials on lava cakes and finally she concluded that this is THE best method to get THE perfect ooey gooey cake. Thanks a loot dear. Muuaahz!
Oh yeah! I forgot to mention that you can freeze them too. The recipe makes about 20 small cakes if you are making them in a ramekin or exactly 24 of them if you are using muffin tins. If you don’t need them all at once just freeze the rest for later. All you need to do is warm them in a microwave oven for 20-30 seconds at the time of serving. Isn’t that great? You can be prepared if unexpected guests show up at your place just anytime.
So here goes the million dollar worth recipe with the step by step instructions. Enjoy!!!
For Cakes:
Makes 20-24
Recipe courtesy: Maria of Maria’s Menu
1/2 cup (113 gms) butter( room temperature)
2 cups sugar
3 large eggs
3/4 cup sour cream (low fat or full) -can be substituted with yogurt or cream mixed with a tsp of yogurt
1 tsp vanilla extract
2 cups all purpose flour
2 tsp baking soda
1/2 tsp salt
1/4 cup cocoa powder
2-oz (57 gms)dark chocolate
1 cup water( boiling)
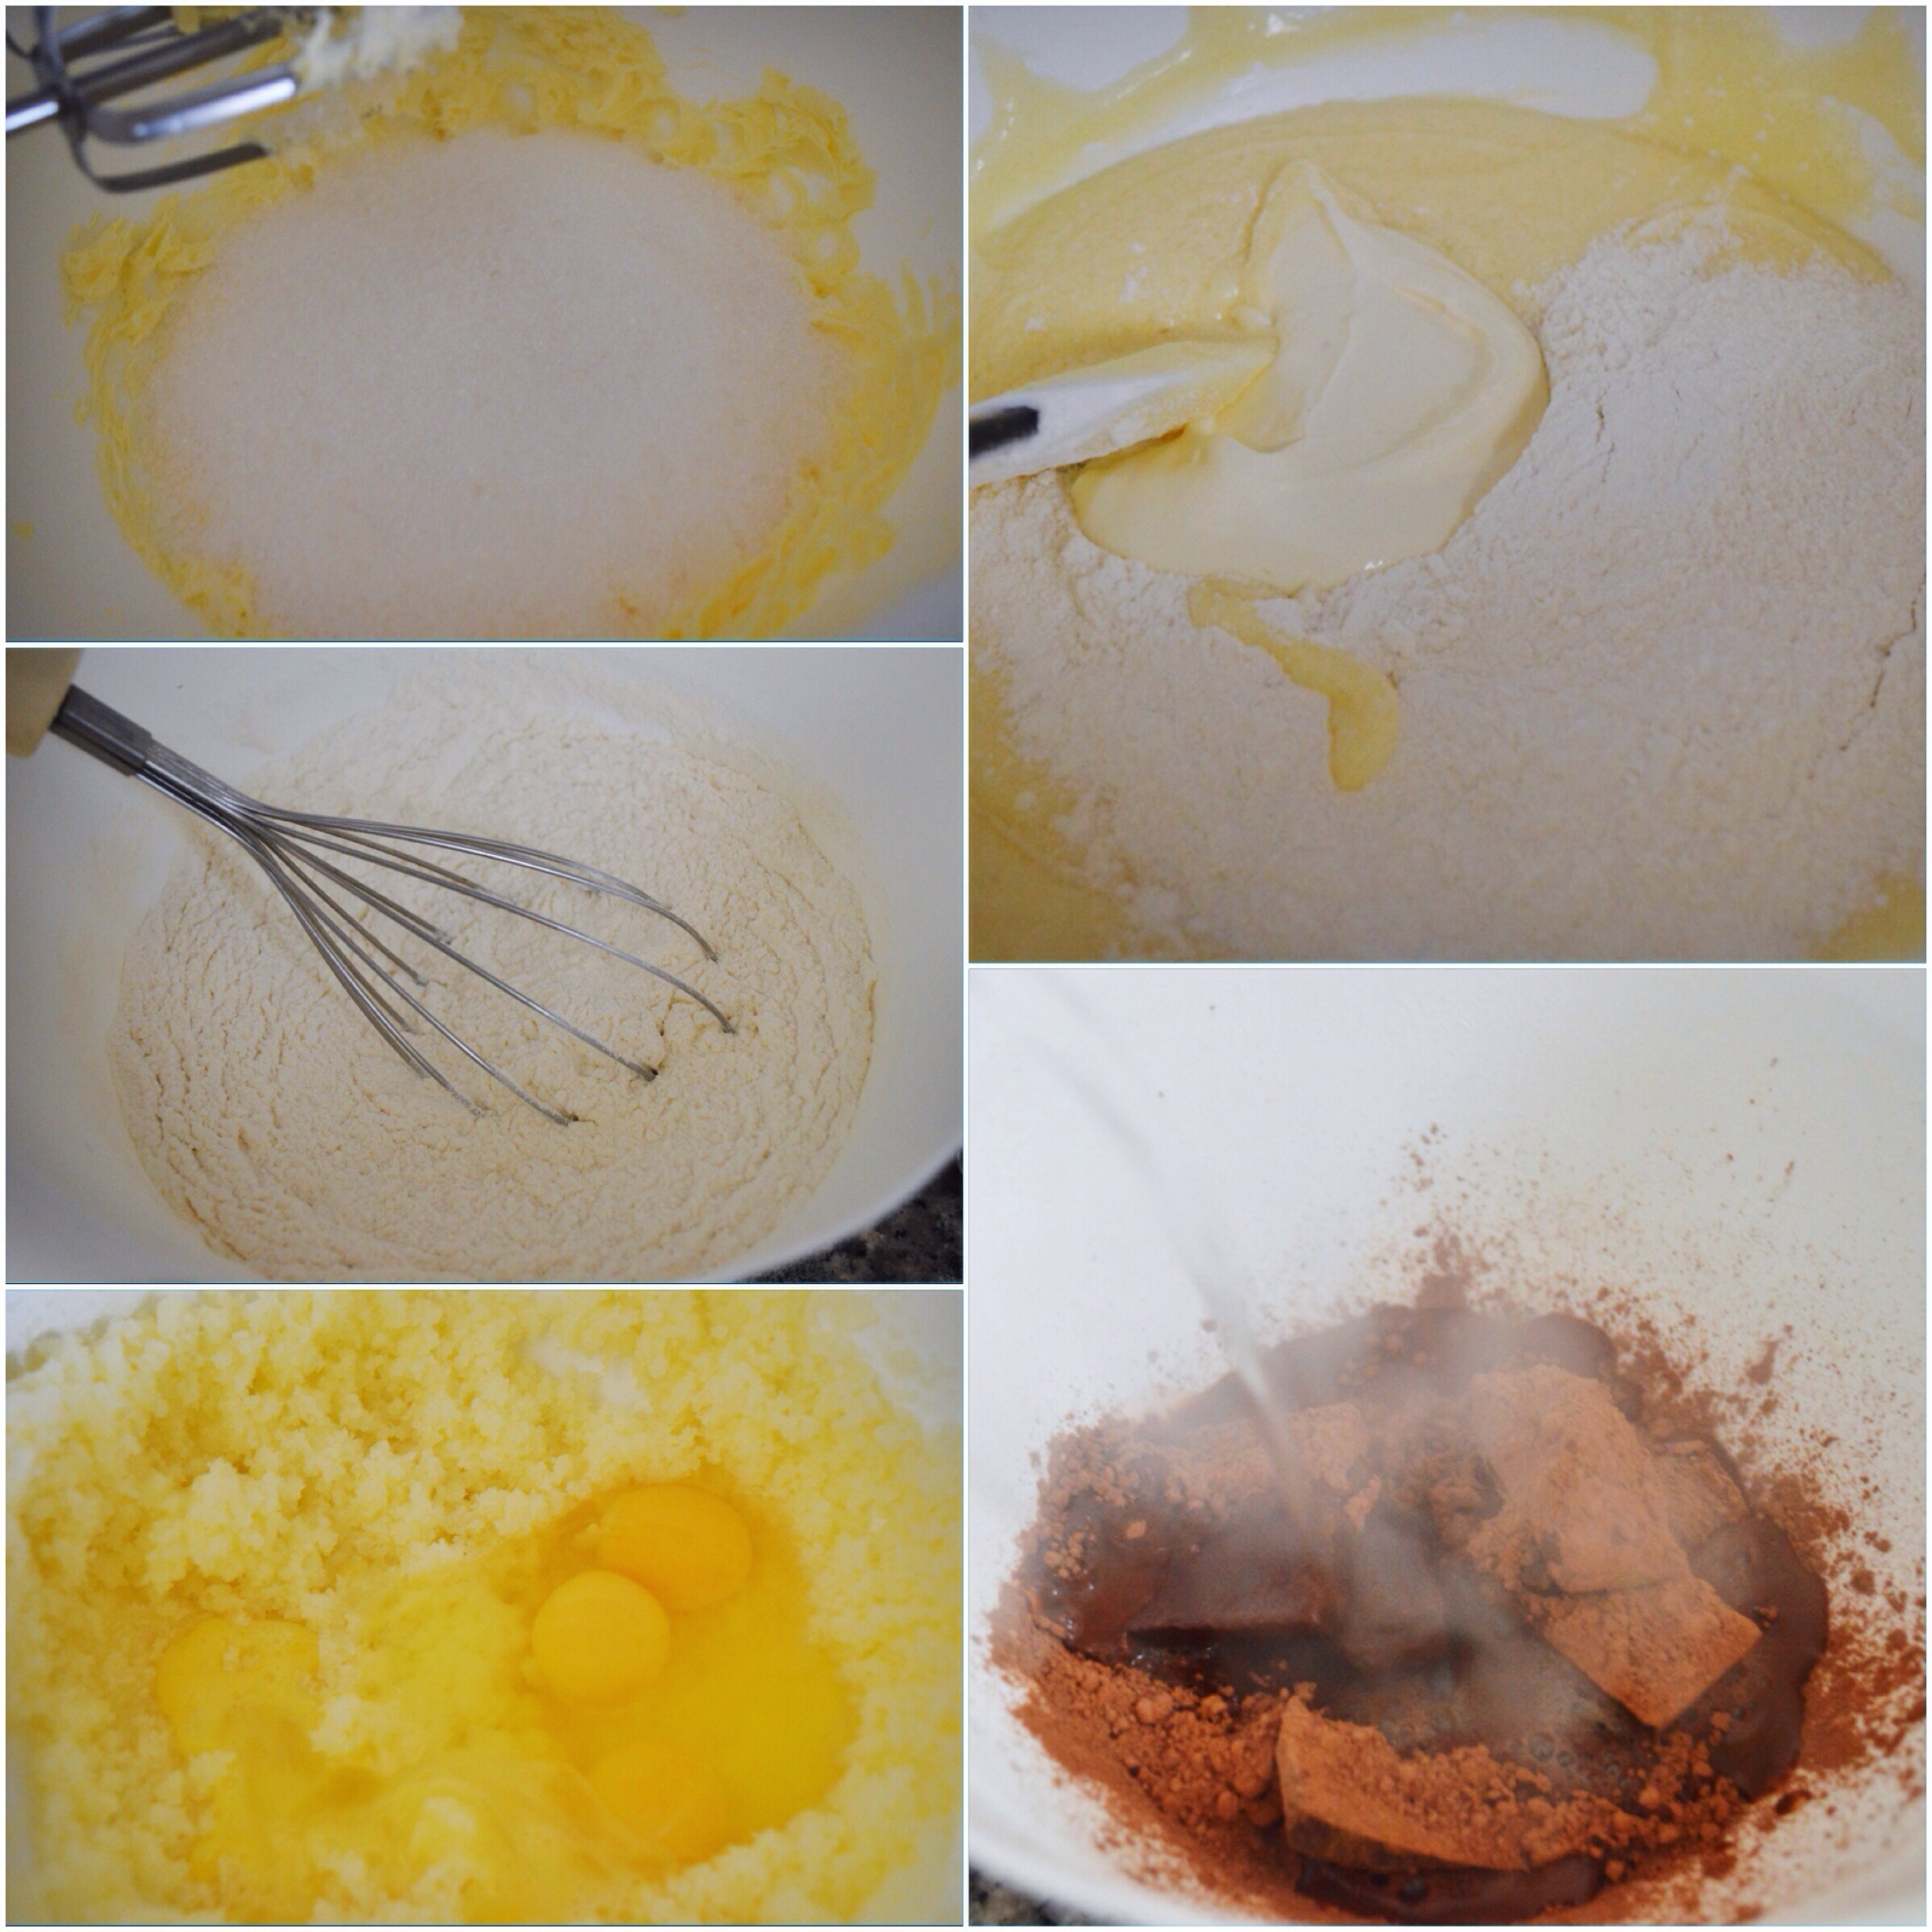
1. Preheat the oven to 350F/180 C and lightly grease two 12-cup muffin tins or ramekins.
2. In a large bowl, cream together butter and sugar until light. Beat in eggs one at a time.
3. In a small bowl, whisk together flour, baking soda and salt. Add half of flour mixture to the butter mixture, followed by the sour cream and vanilla extract, followed by the addition of the rest of the flour mix. Stir well between each addition and mix until no streaks of flour remain.
4. Stir the cocoa powder and the dark chocolate into the boiling water. Pour chocolate water into the rest of the batter and stir until uniform.
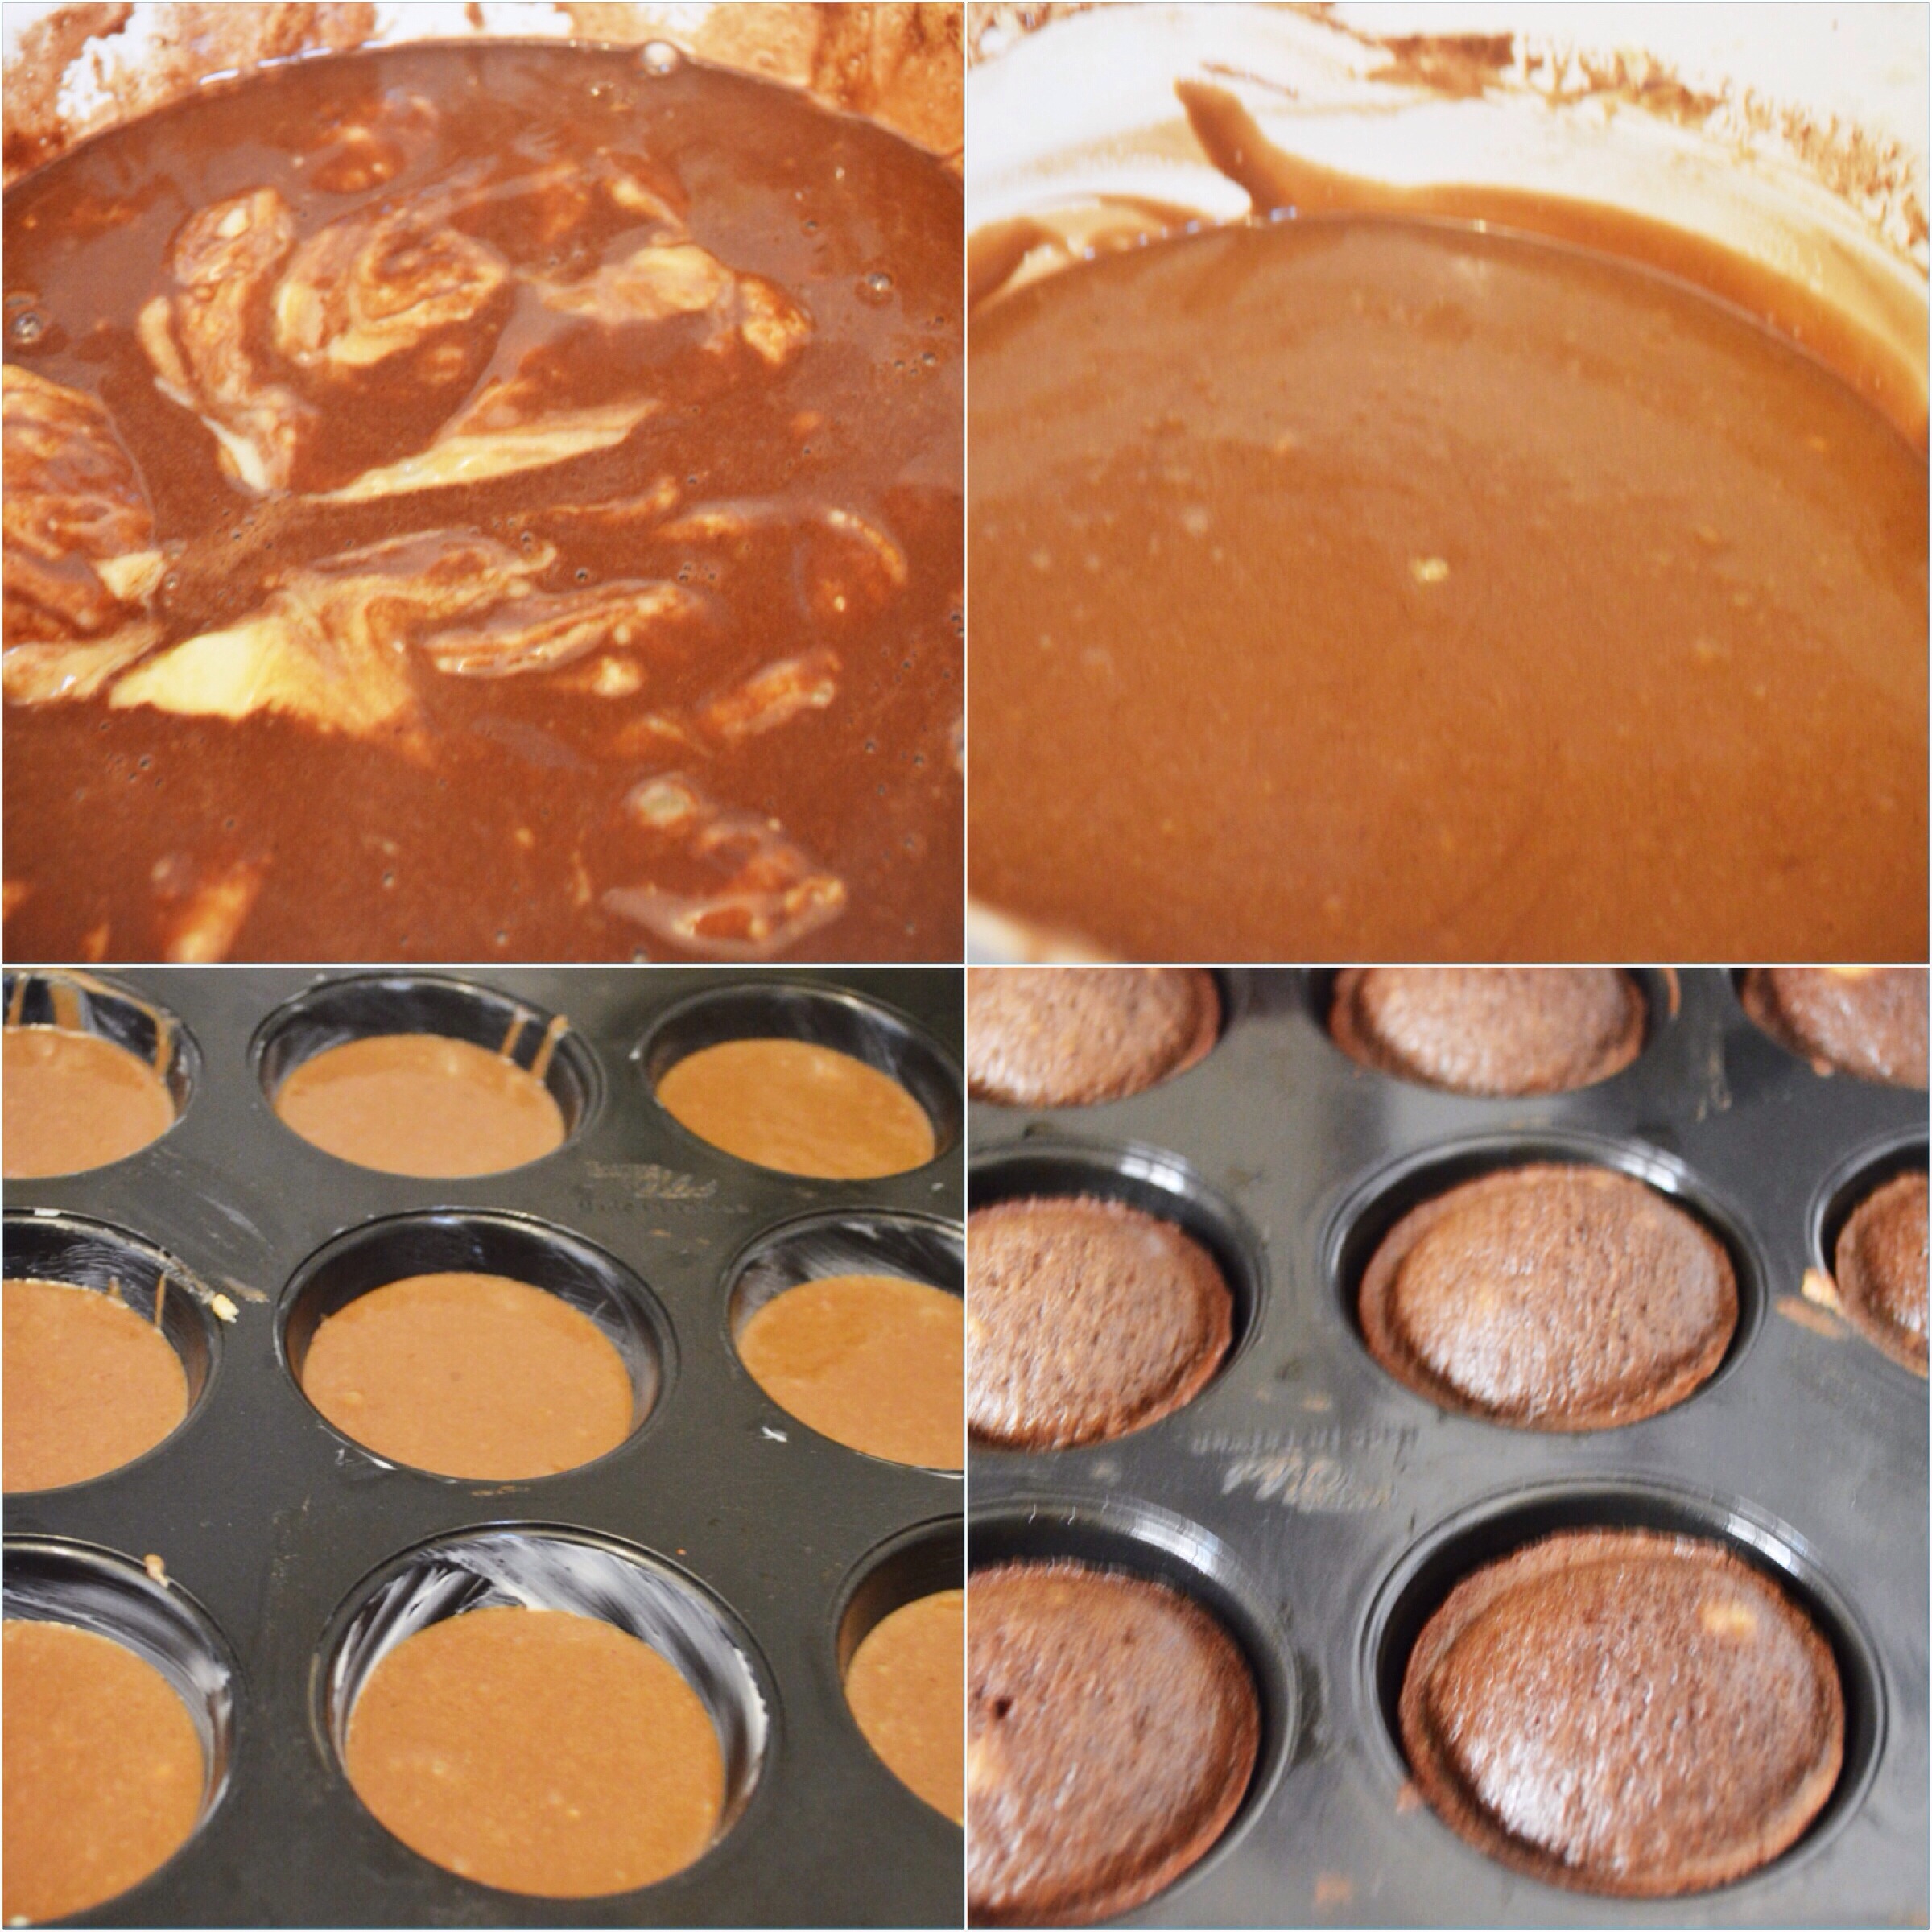
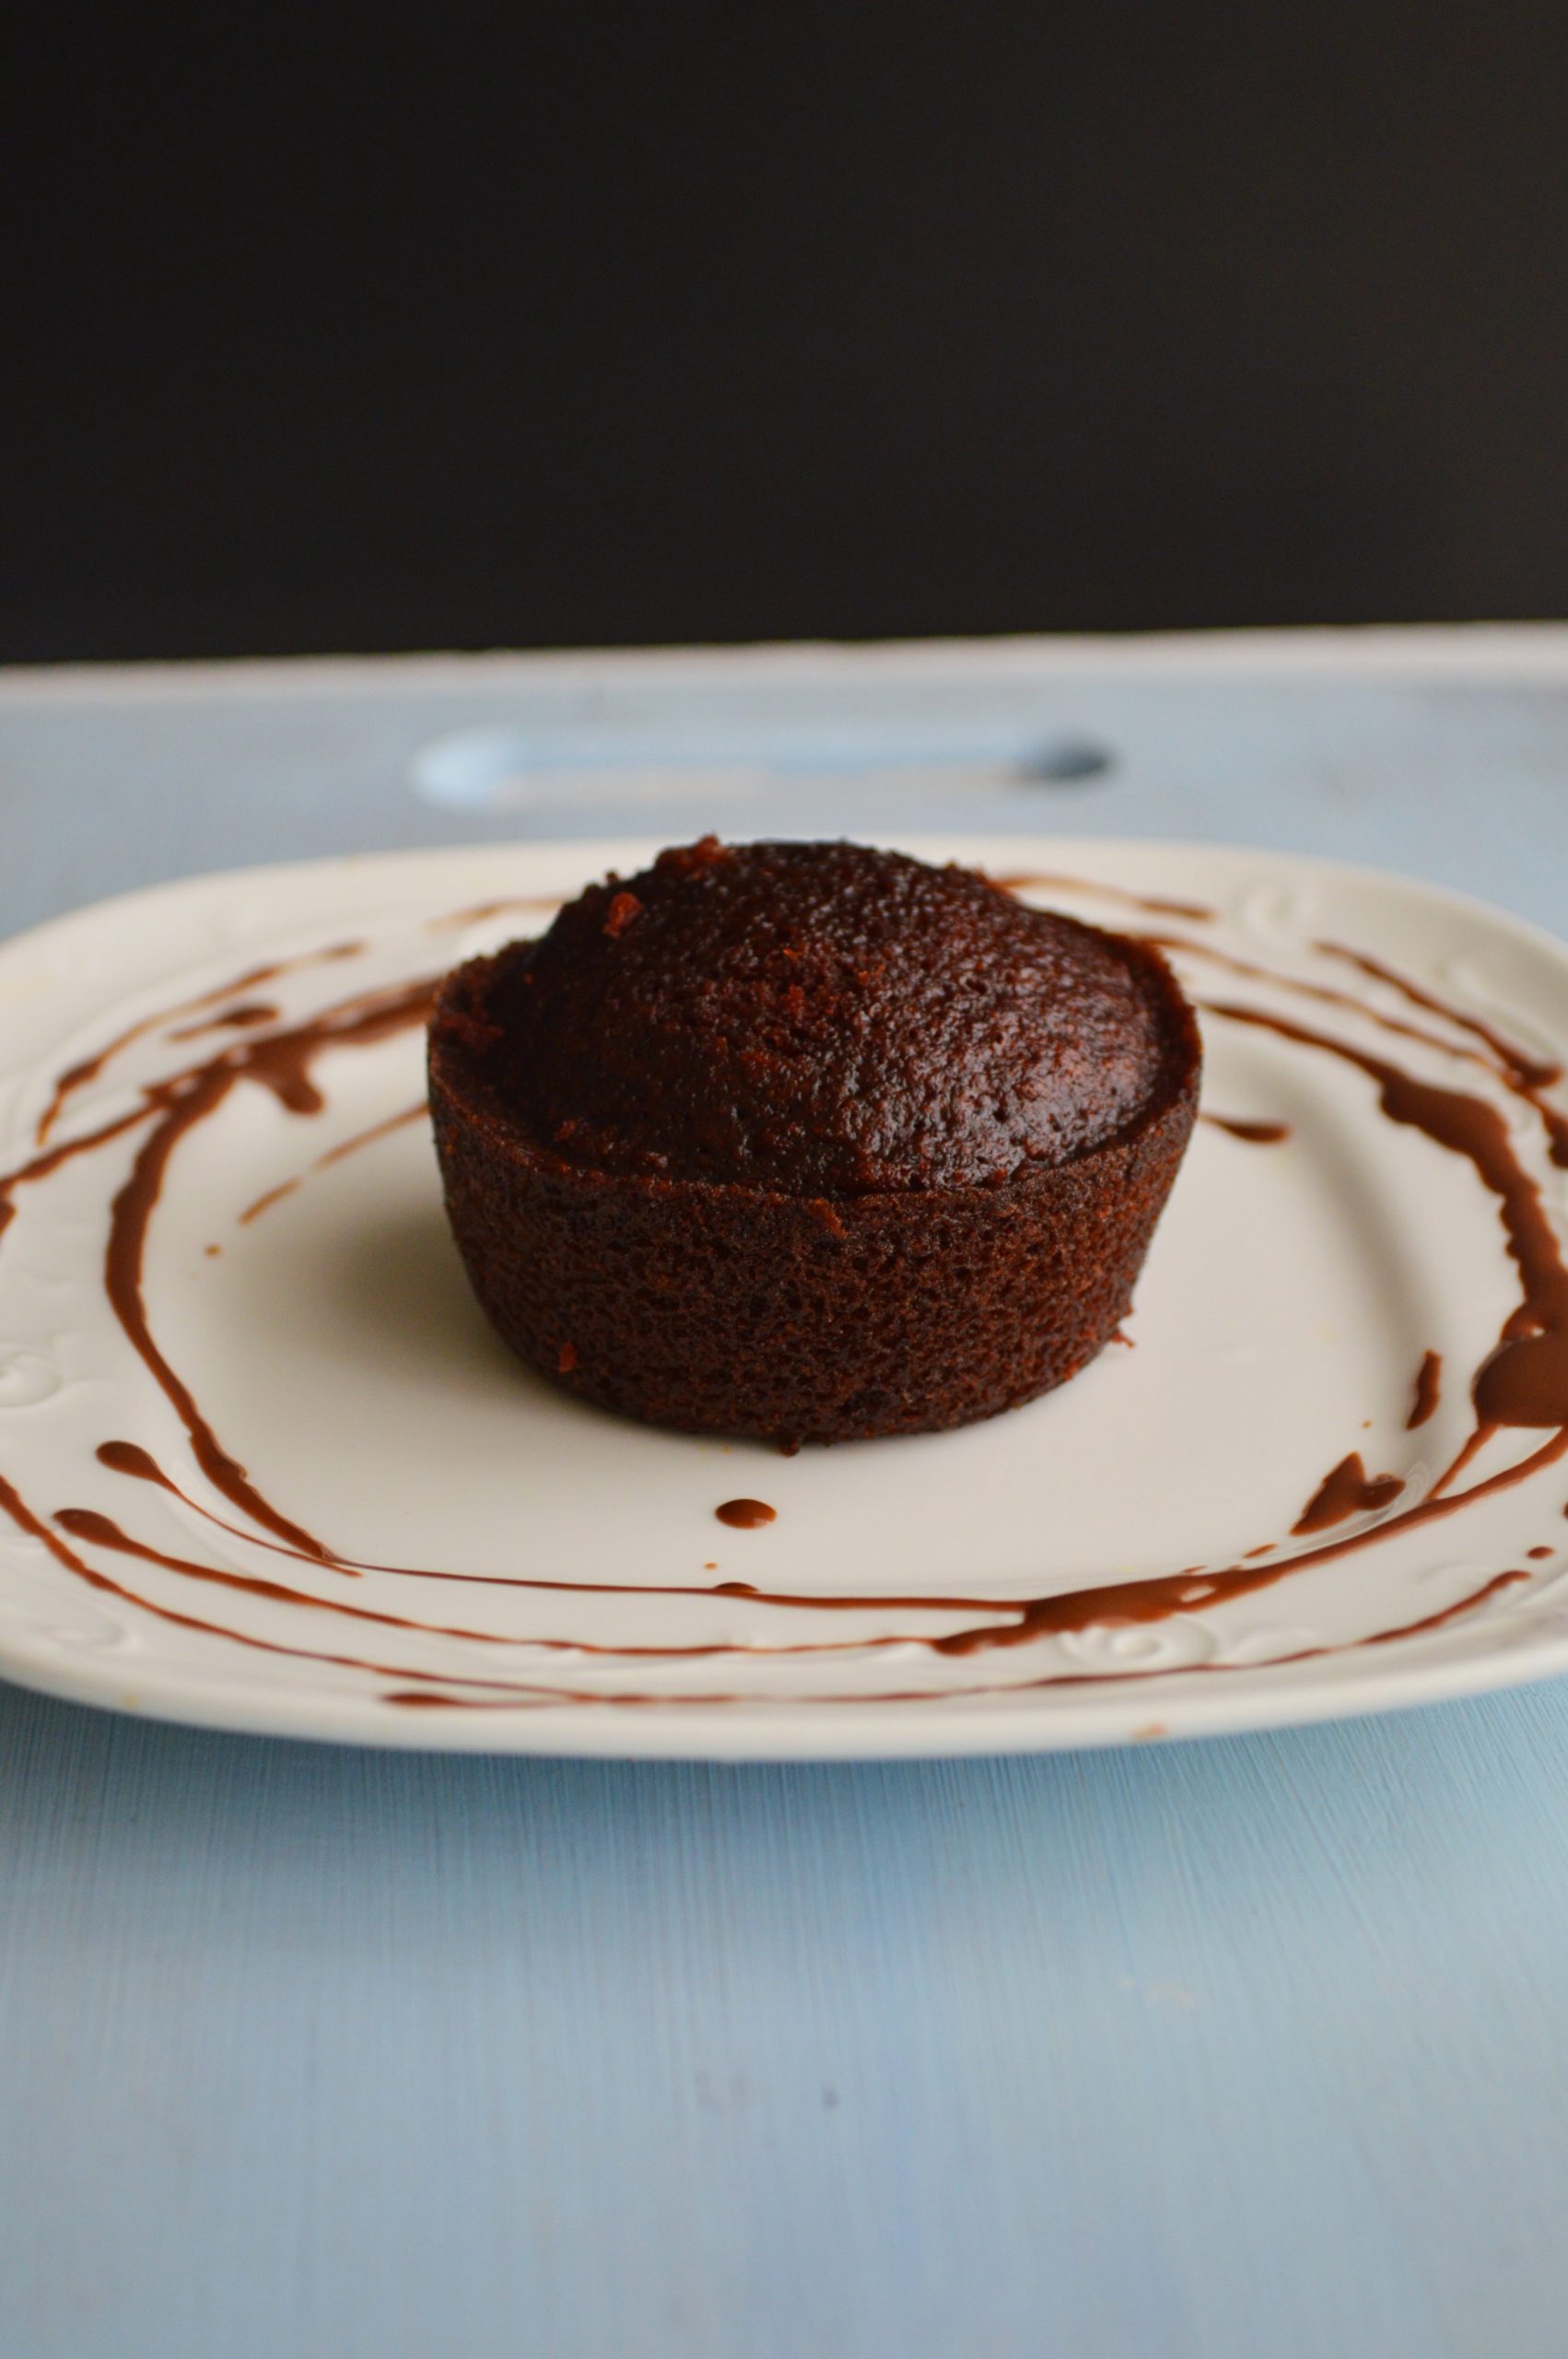
5. Evenly distribute batter into prepared baking cups. Bake for 13-15 minutes, until a tester comes out clean and the cakes spring back when lightly pressed.
Turn cakes out onto a wire rack to cool completely before filling.
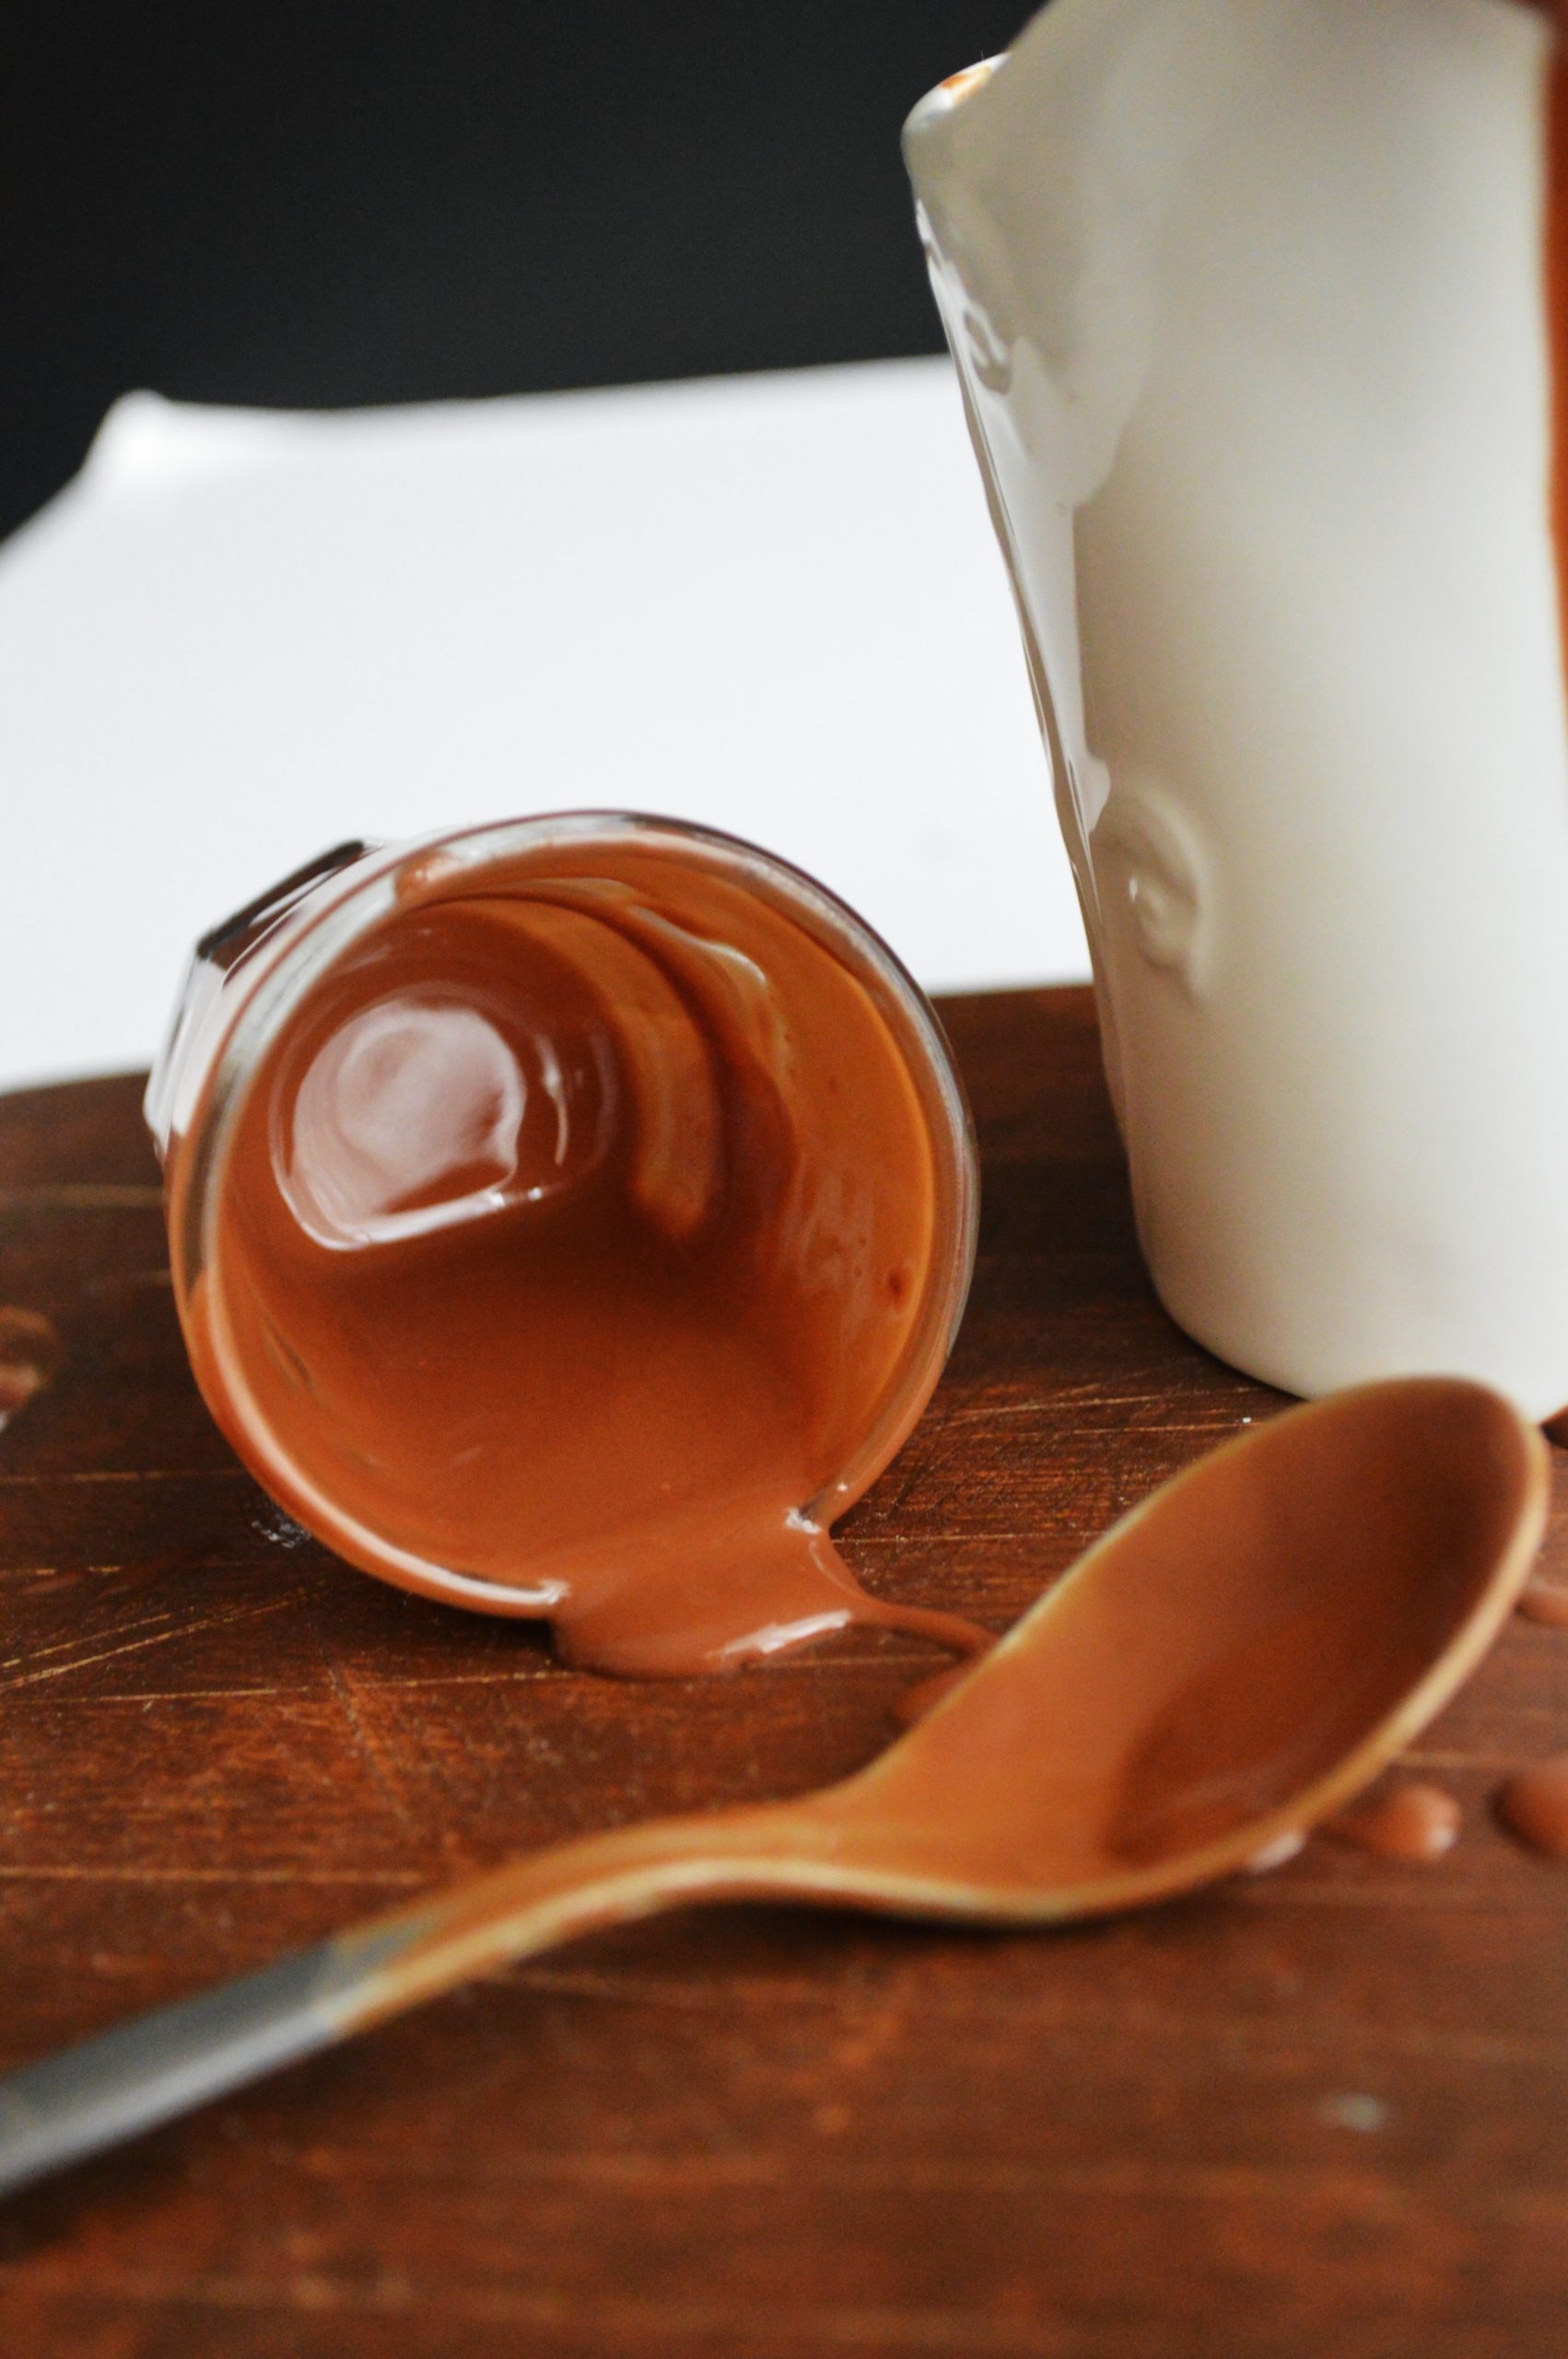
For the hot fudge sauce:
Makes 1 1/2 cups
Recipe courtesy: Sadiya Gafoor
1 cup sugar
2 tablespoons flour
1/4 cup cocoa powder
1 cup milk
2 tablespoons butter
1teaspoons vanilla
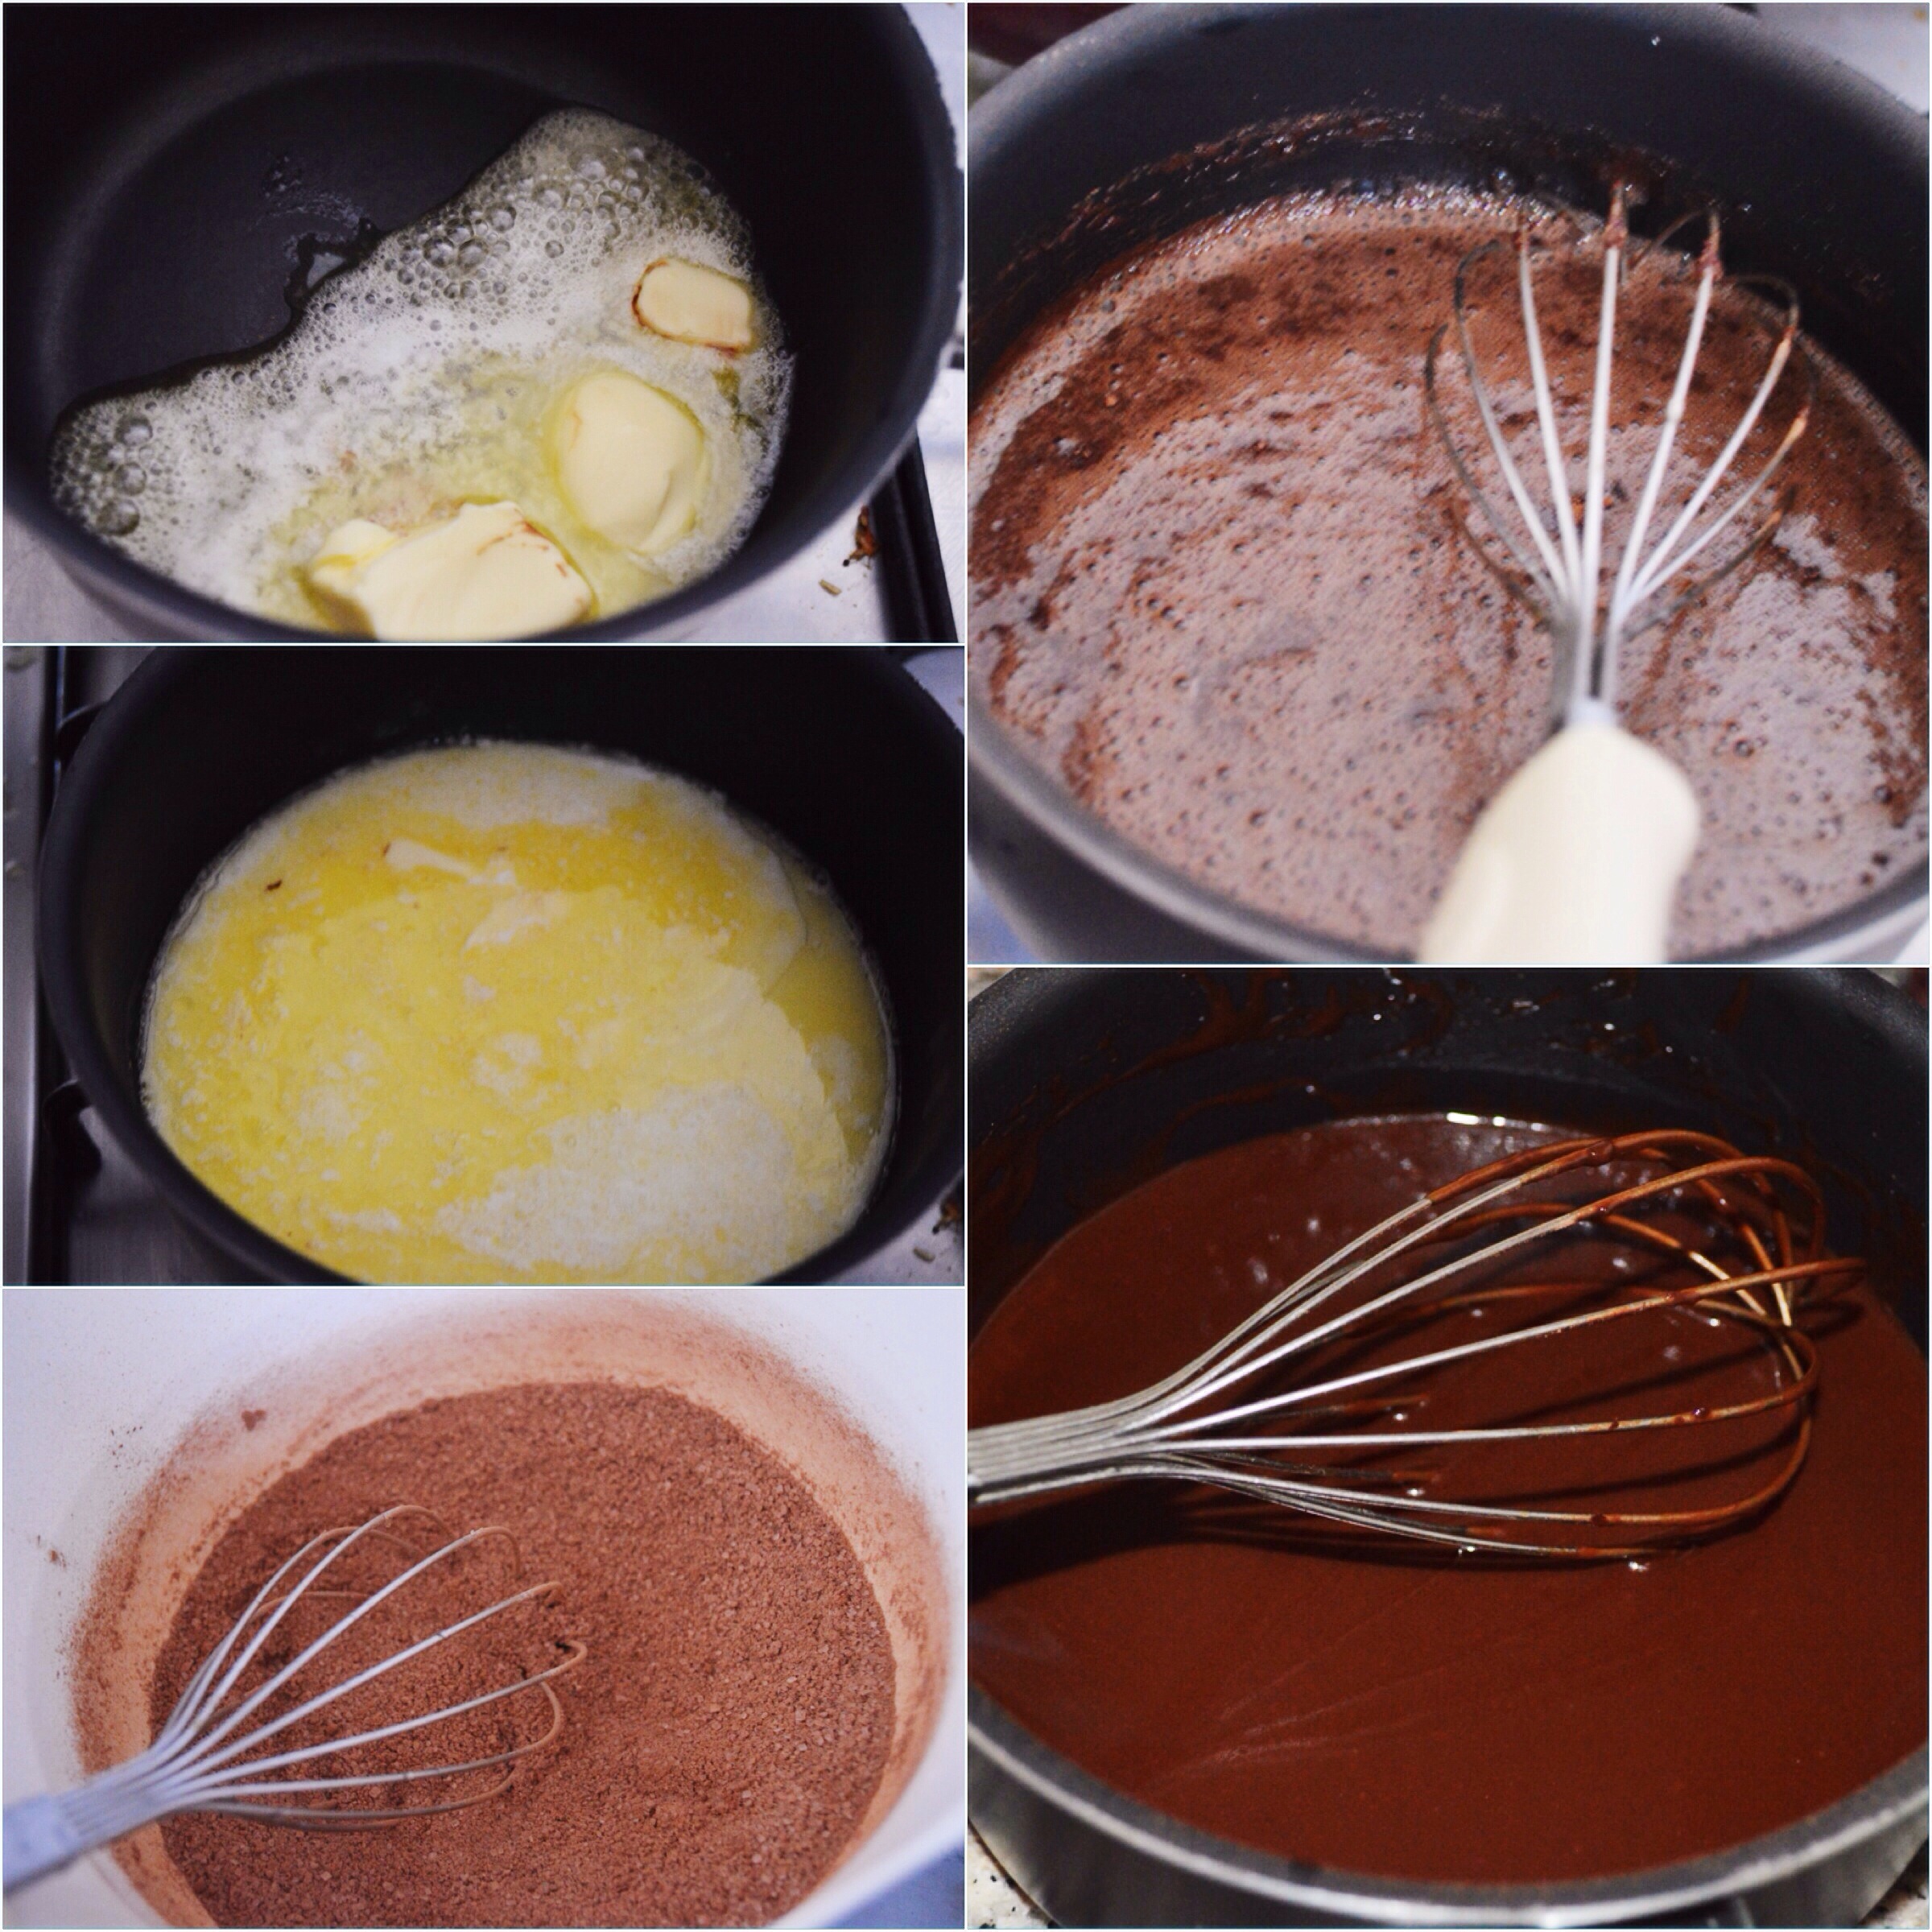
1. In a medium bowl, whisk together the dry ingredients.
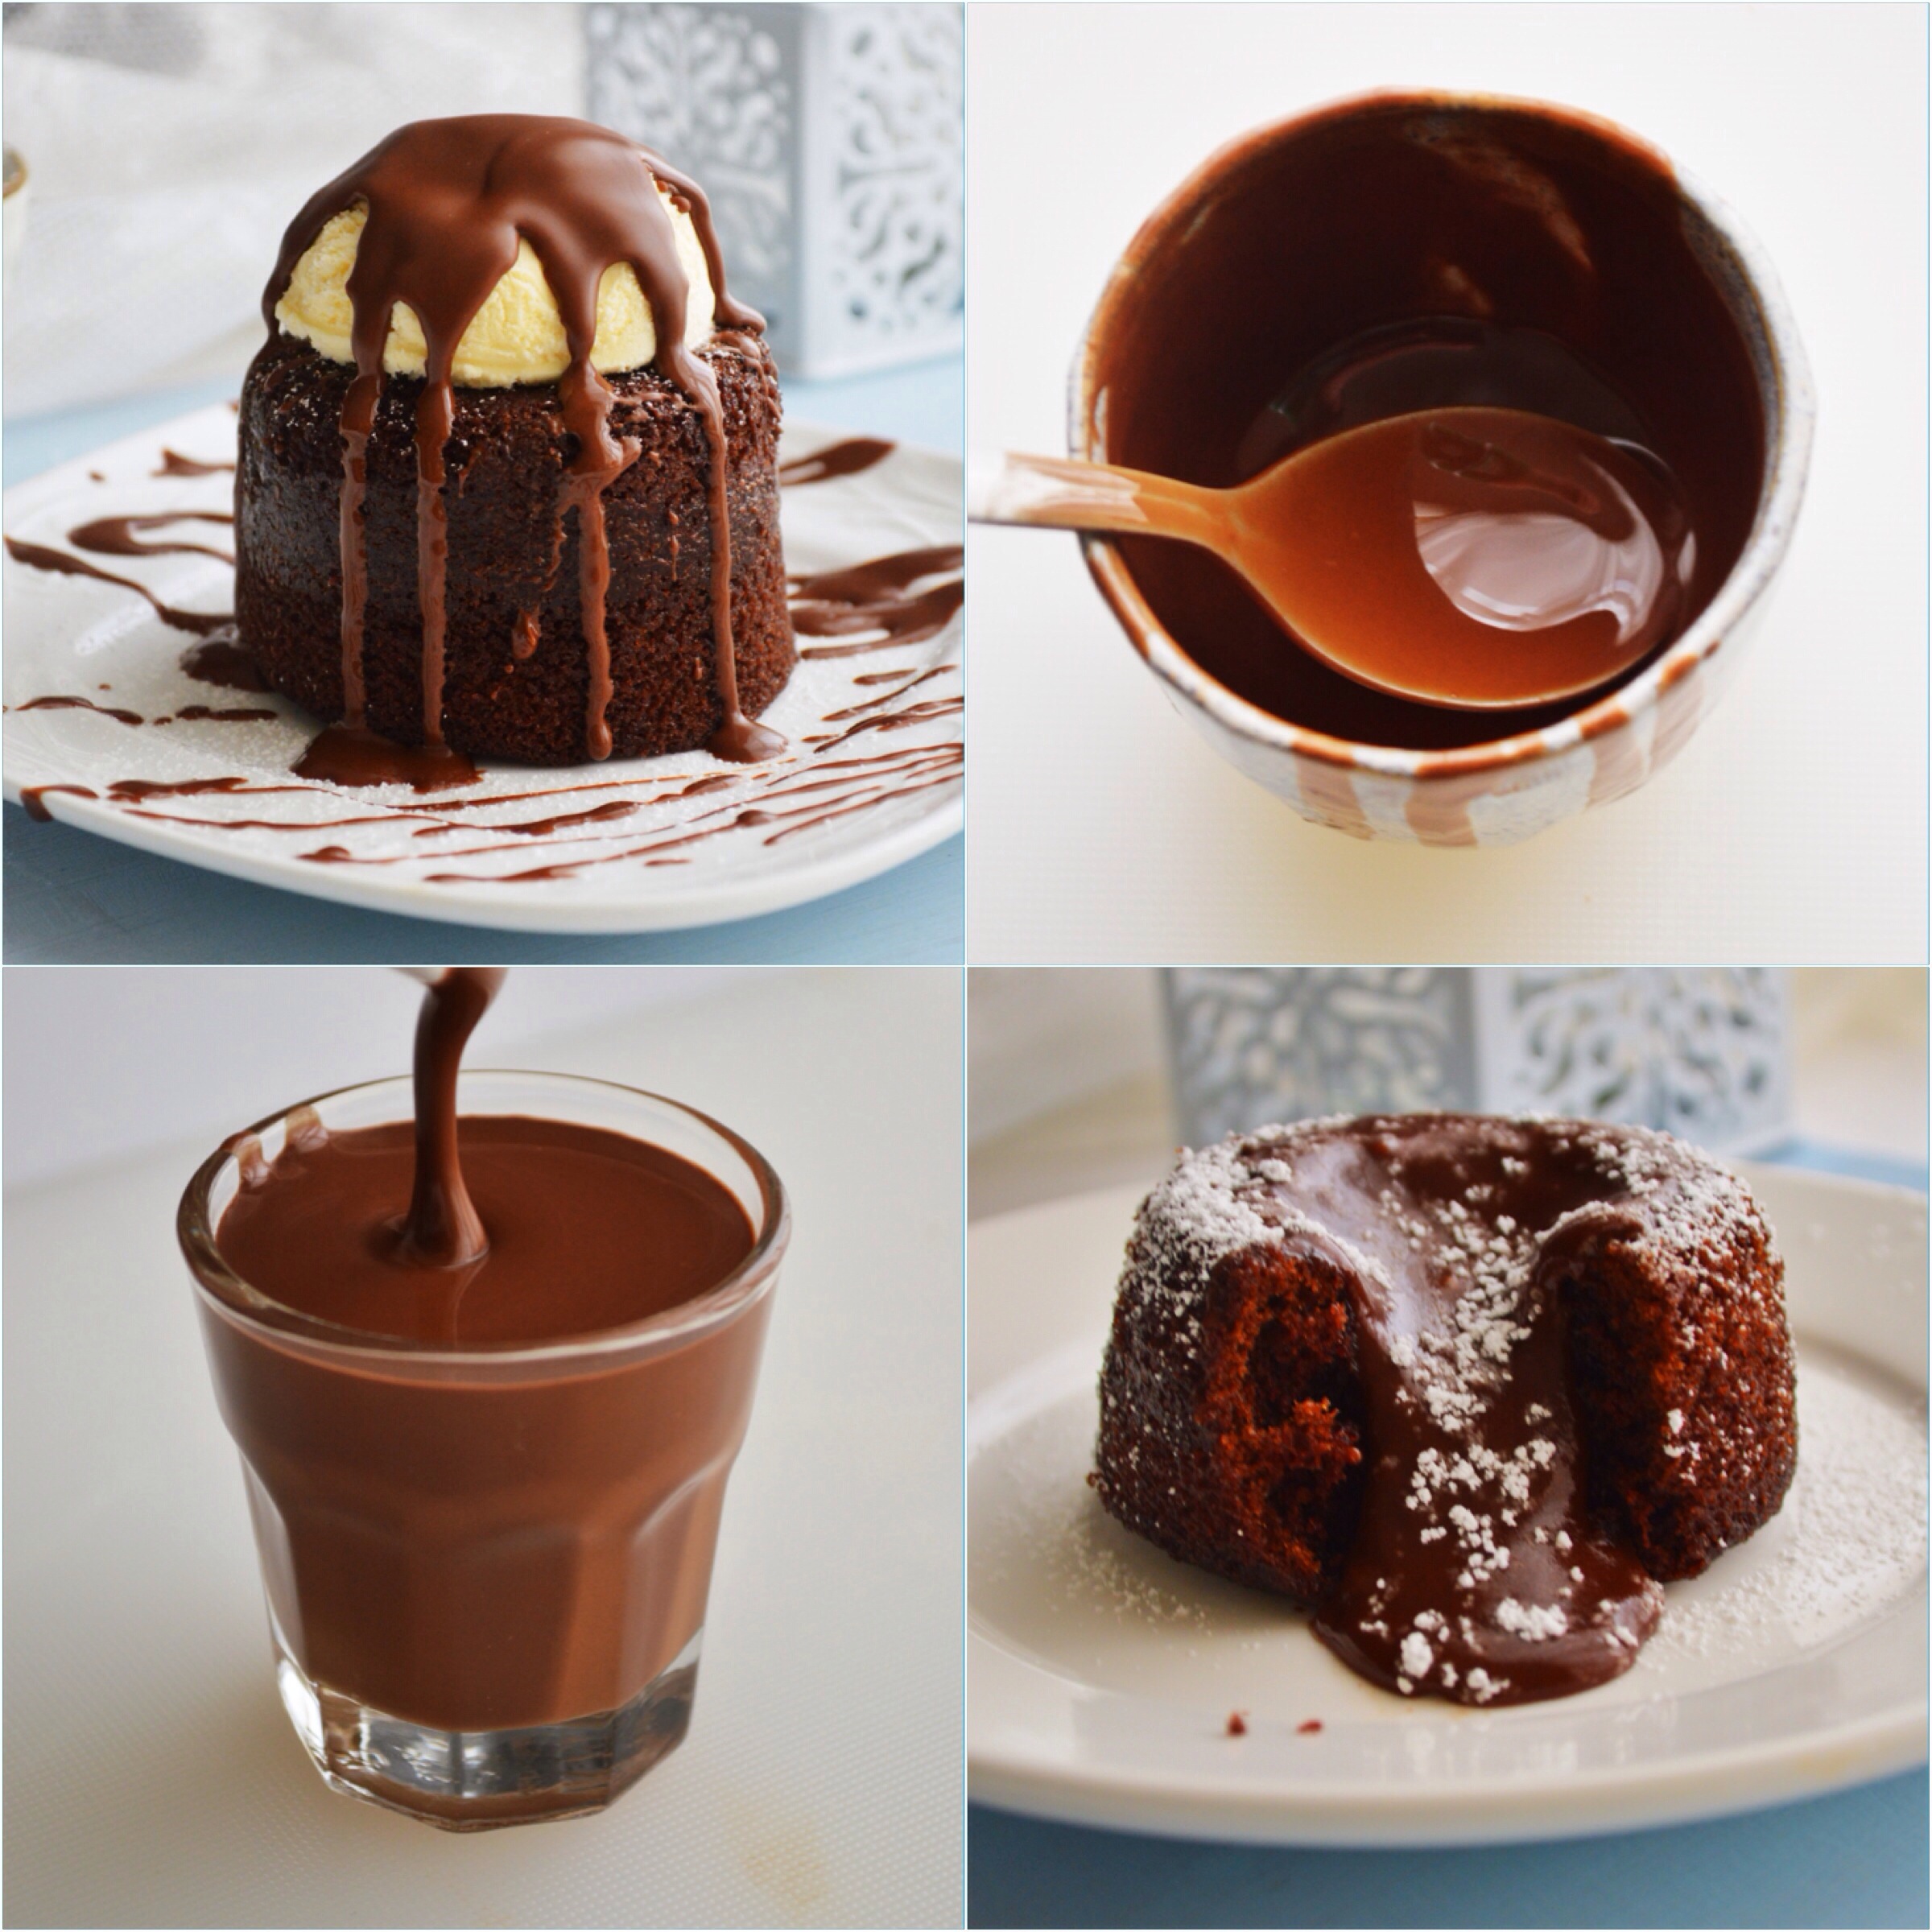
2. Over medium heat, combine milk, butter and vanilla until the butter has melted. Add dry ingredients to the milk mixture, constantly whisking. Boil, stirring constantly until thick and smooth, about 5 or 7 minutes. Cool and refrigerate unused portion.
For the magic shell:
Recipe courtesy: Shawn of iwashyoudry
1/2 cup coconut oil
12 oz. (340 g) semi sweet chocolate chips, milk chocolate or dark chocolate
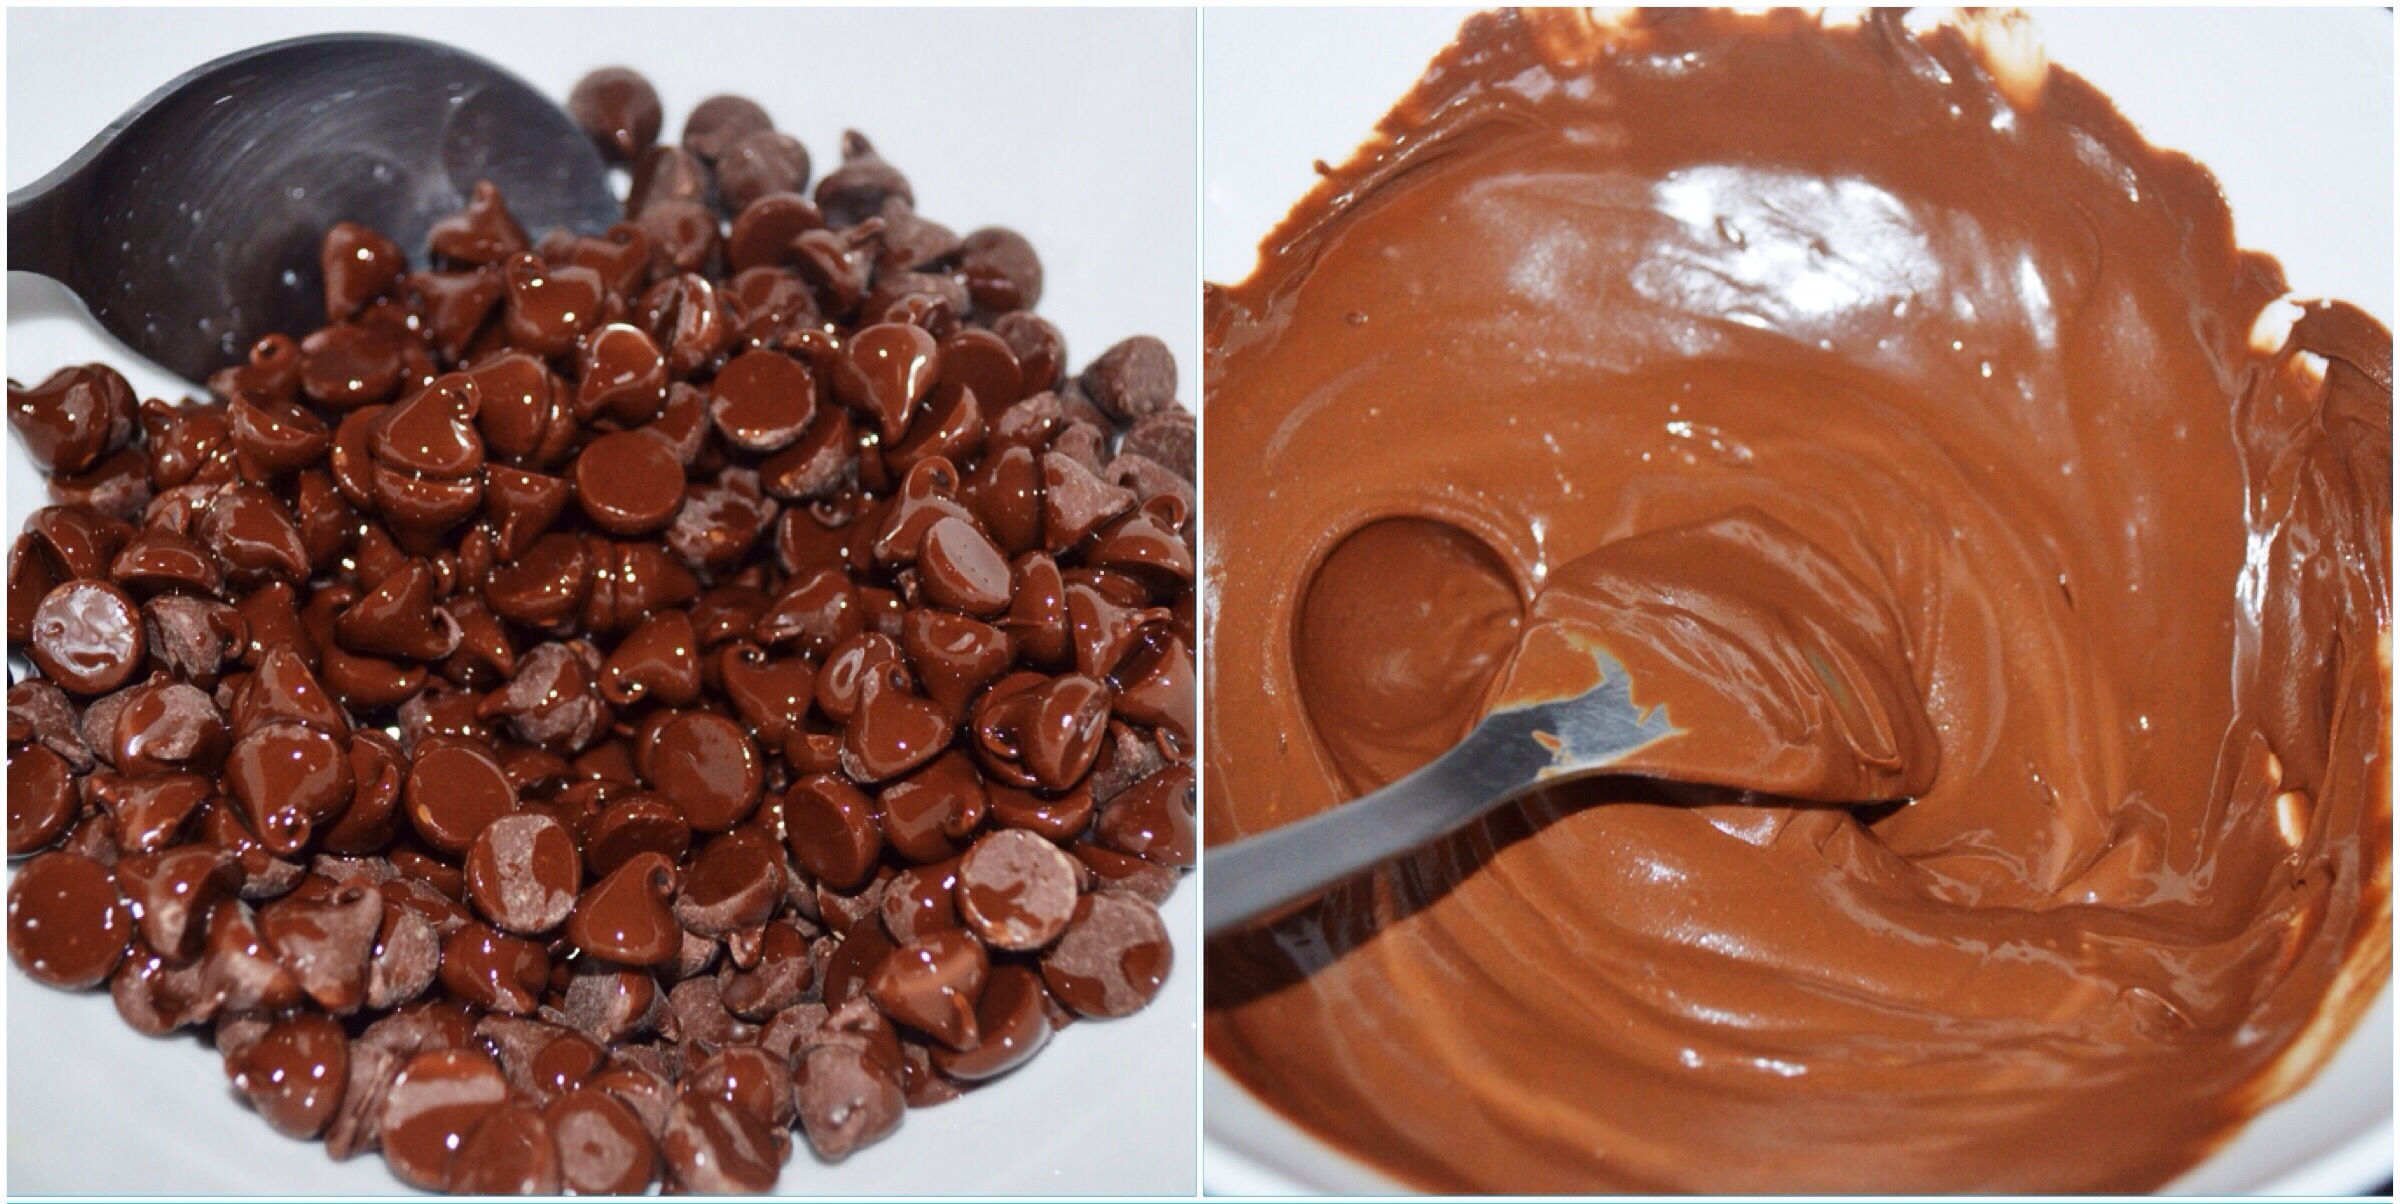
1. In a large (microwavable) measuring cup or bowl combine the coconut oil and chocolate chips.
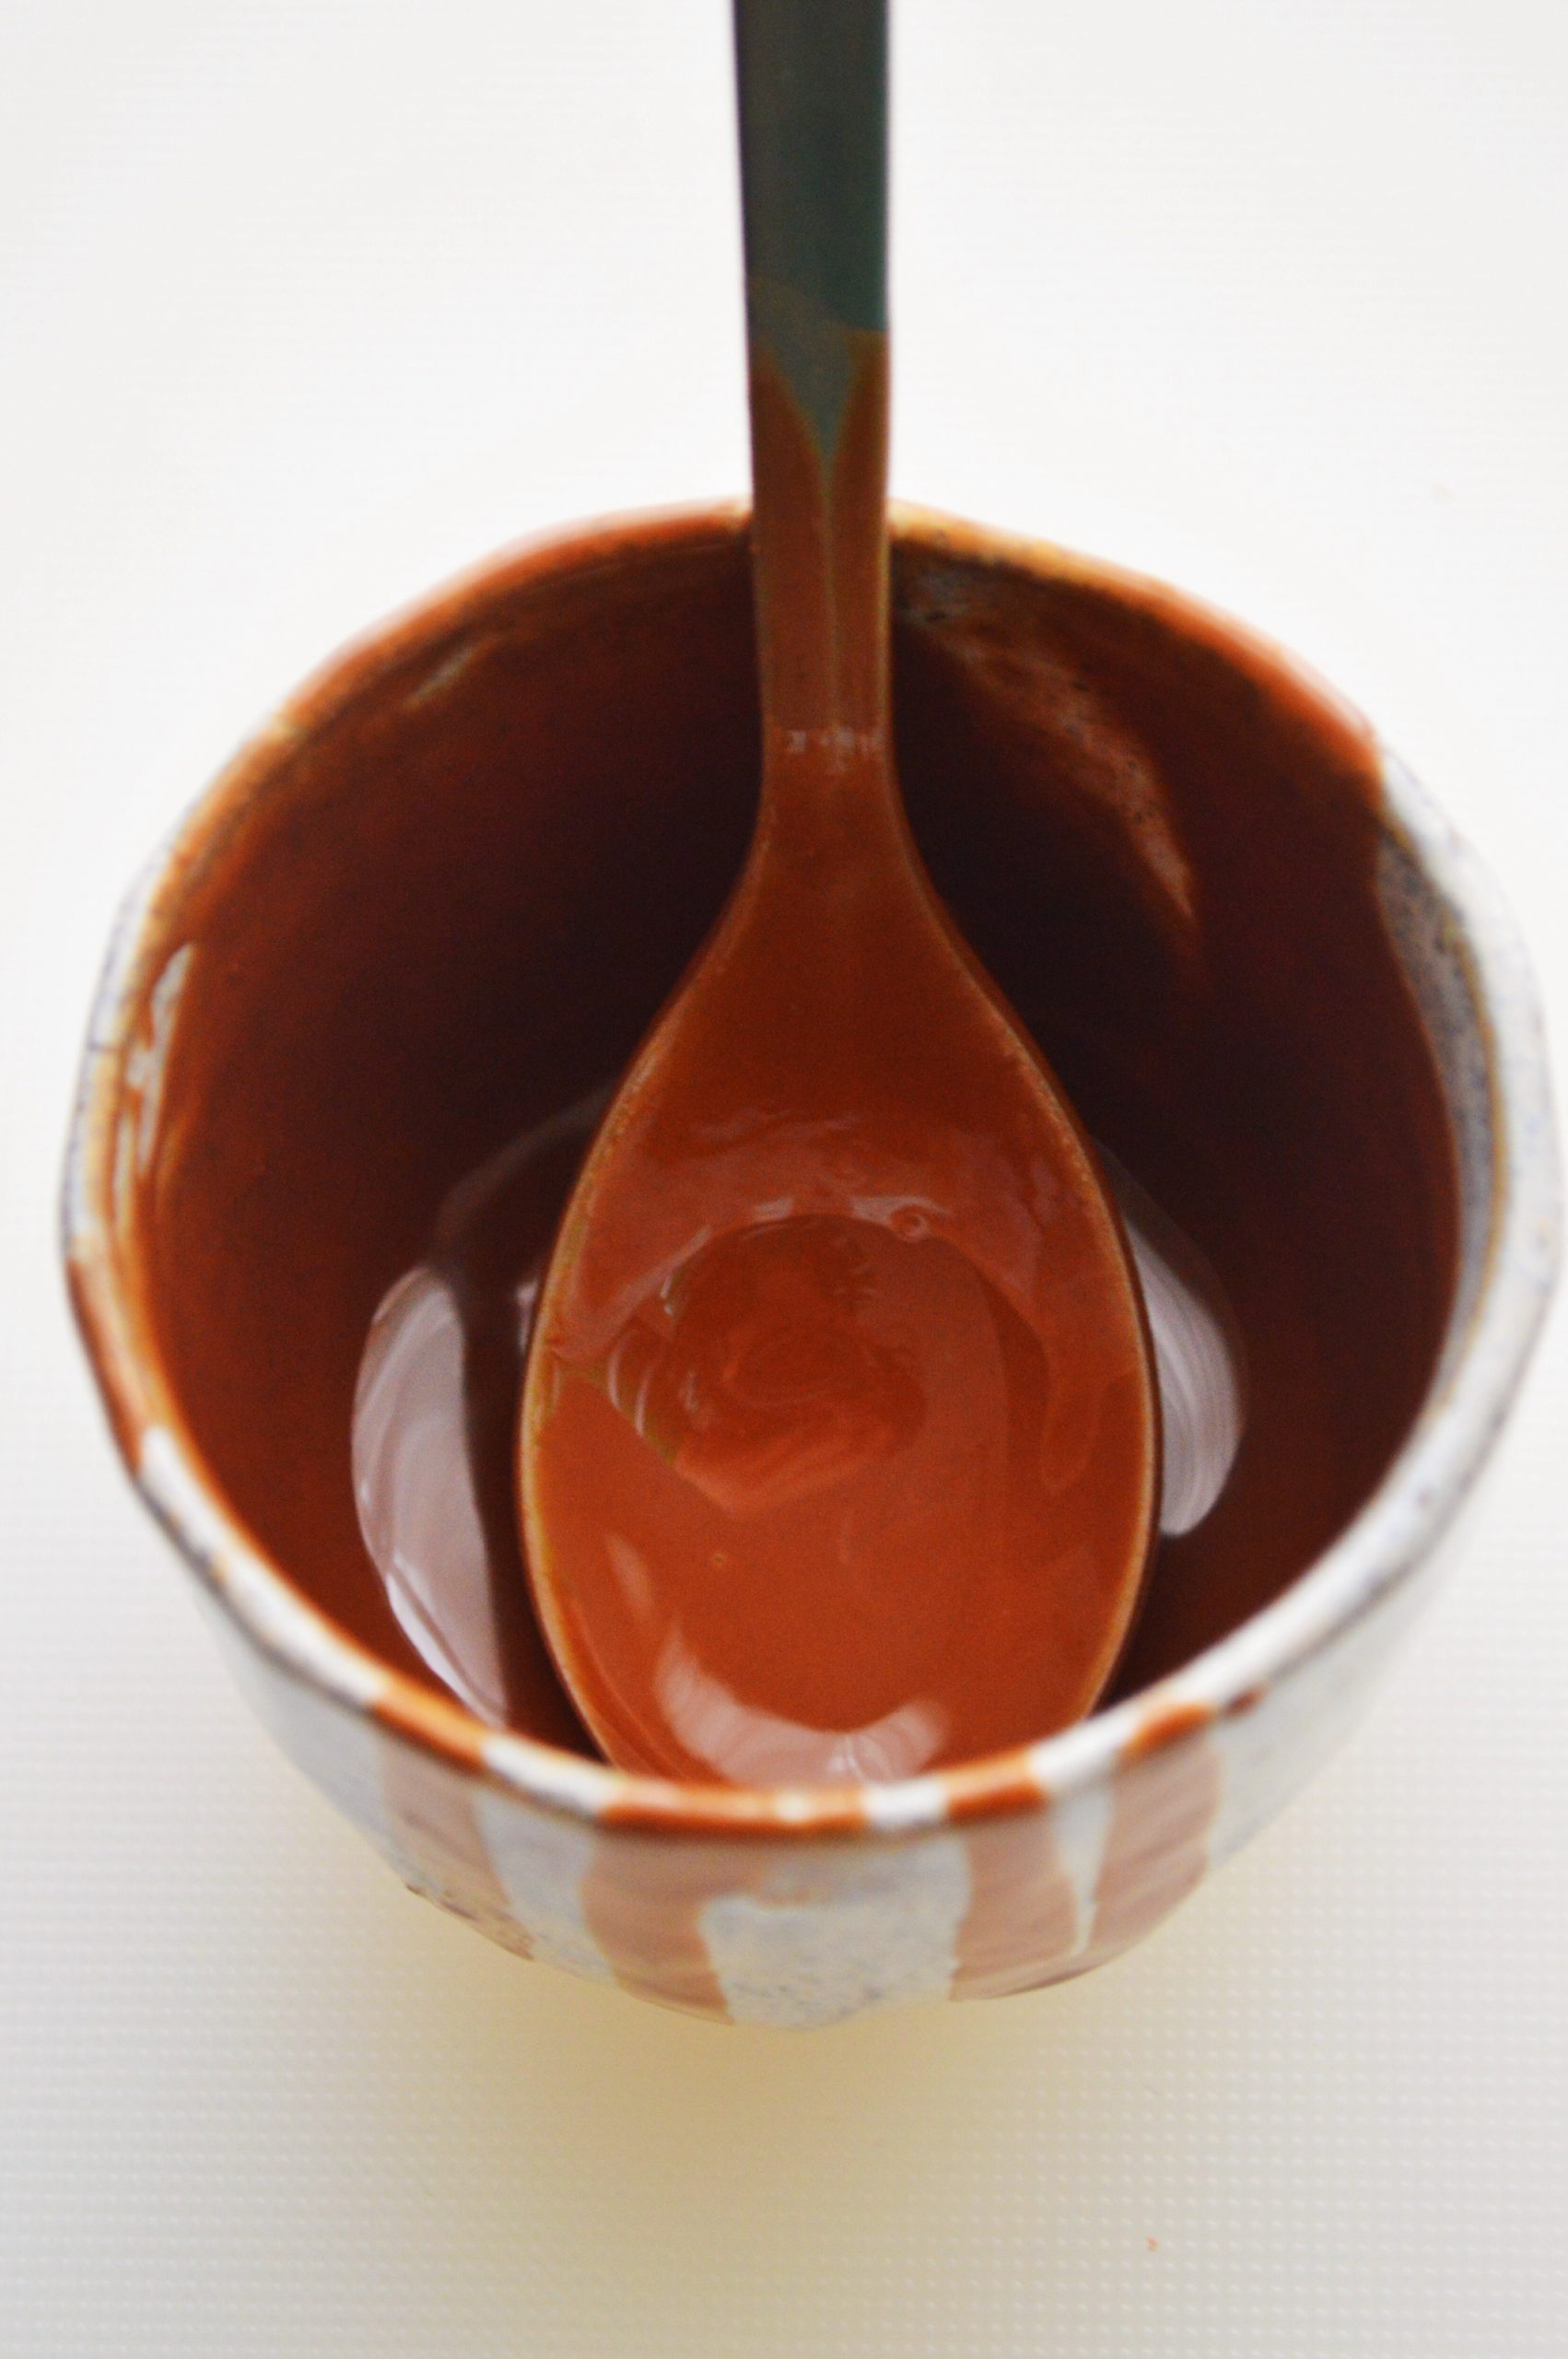
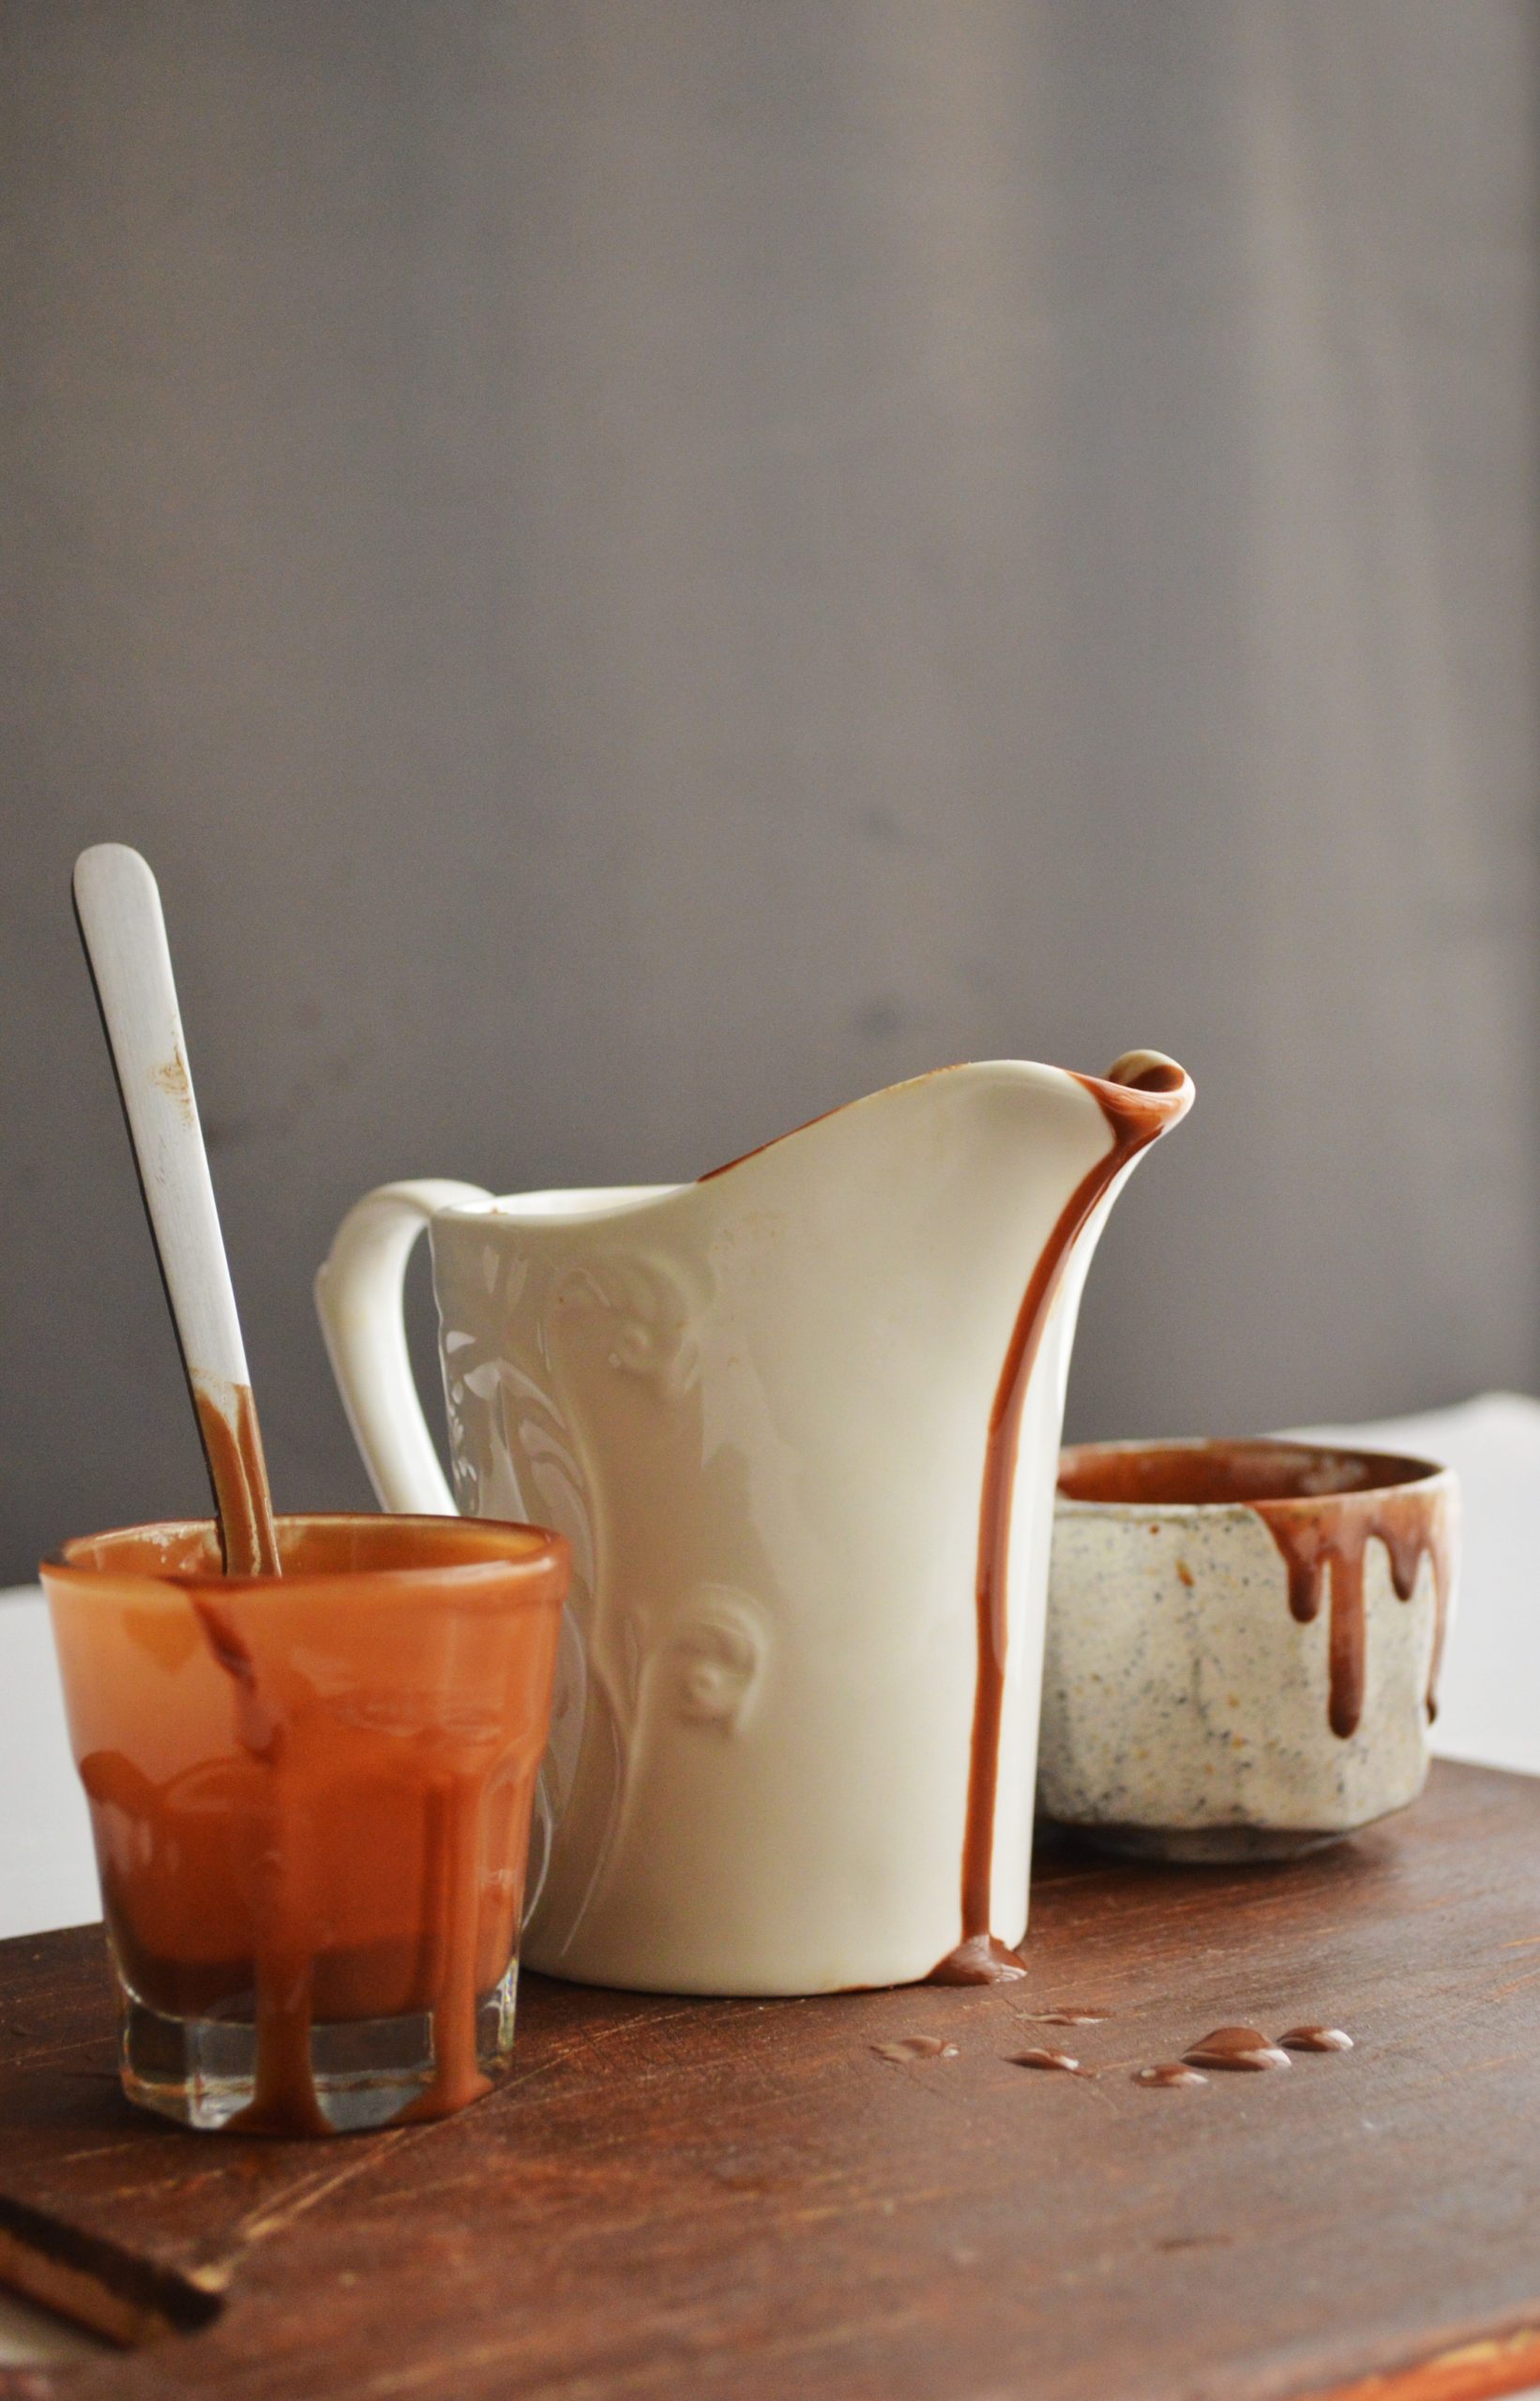
2. Microwave in intervals of 30 seconds at 50% power, stirring in between until smooth. Took me 3 intervals to reach the perfect consistency.
3. Drizzle over ice cream and let sit for 30-45 seconds to harden.
4. Store in an air tight container at ROOM TEMPERATURE. (The Magic Shell may harden slightly, but just microwave for a few seconds till it is liquid again.)
Assemble:
Thanks for the idea Sadiya! 🙂
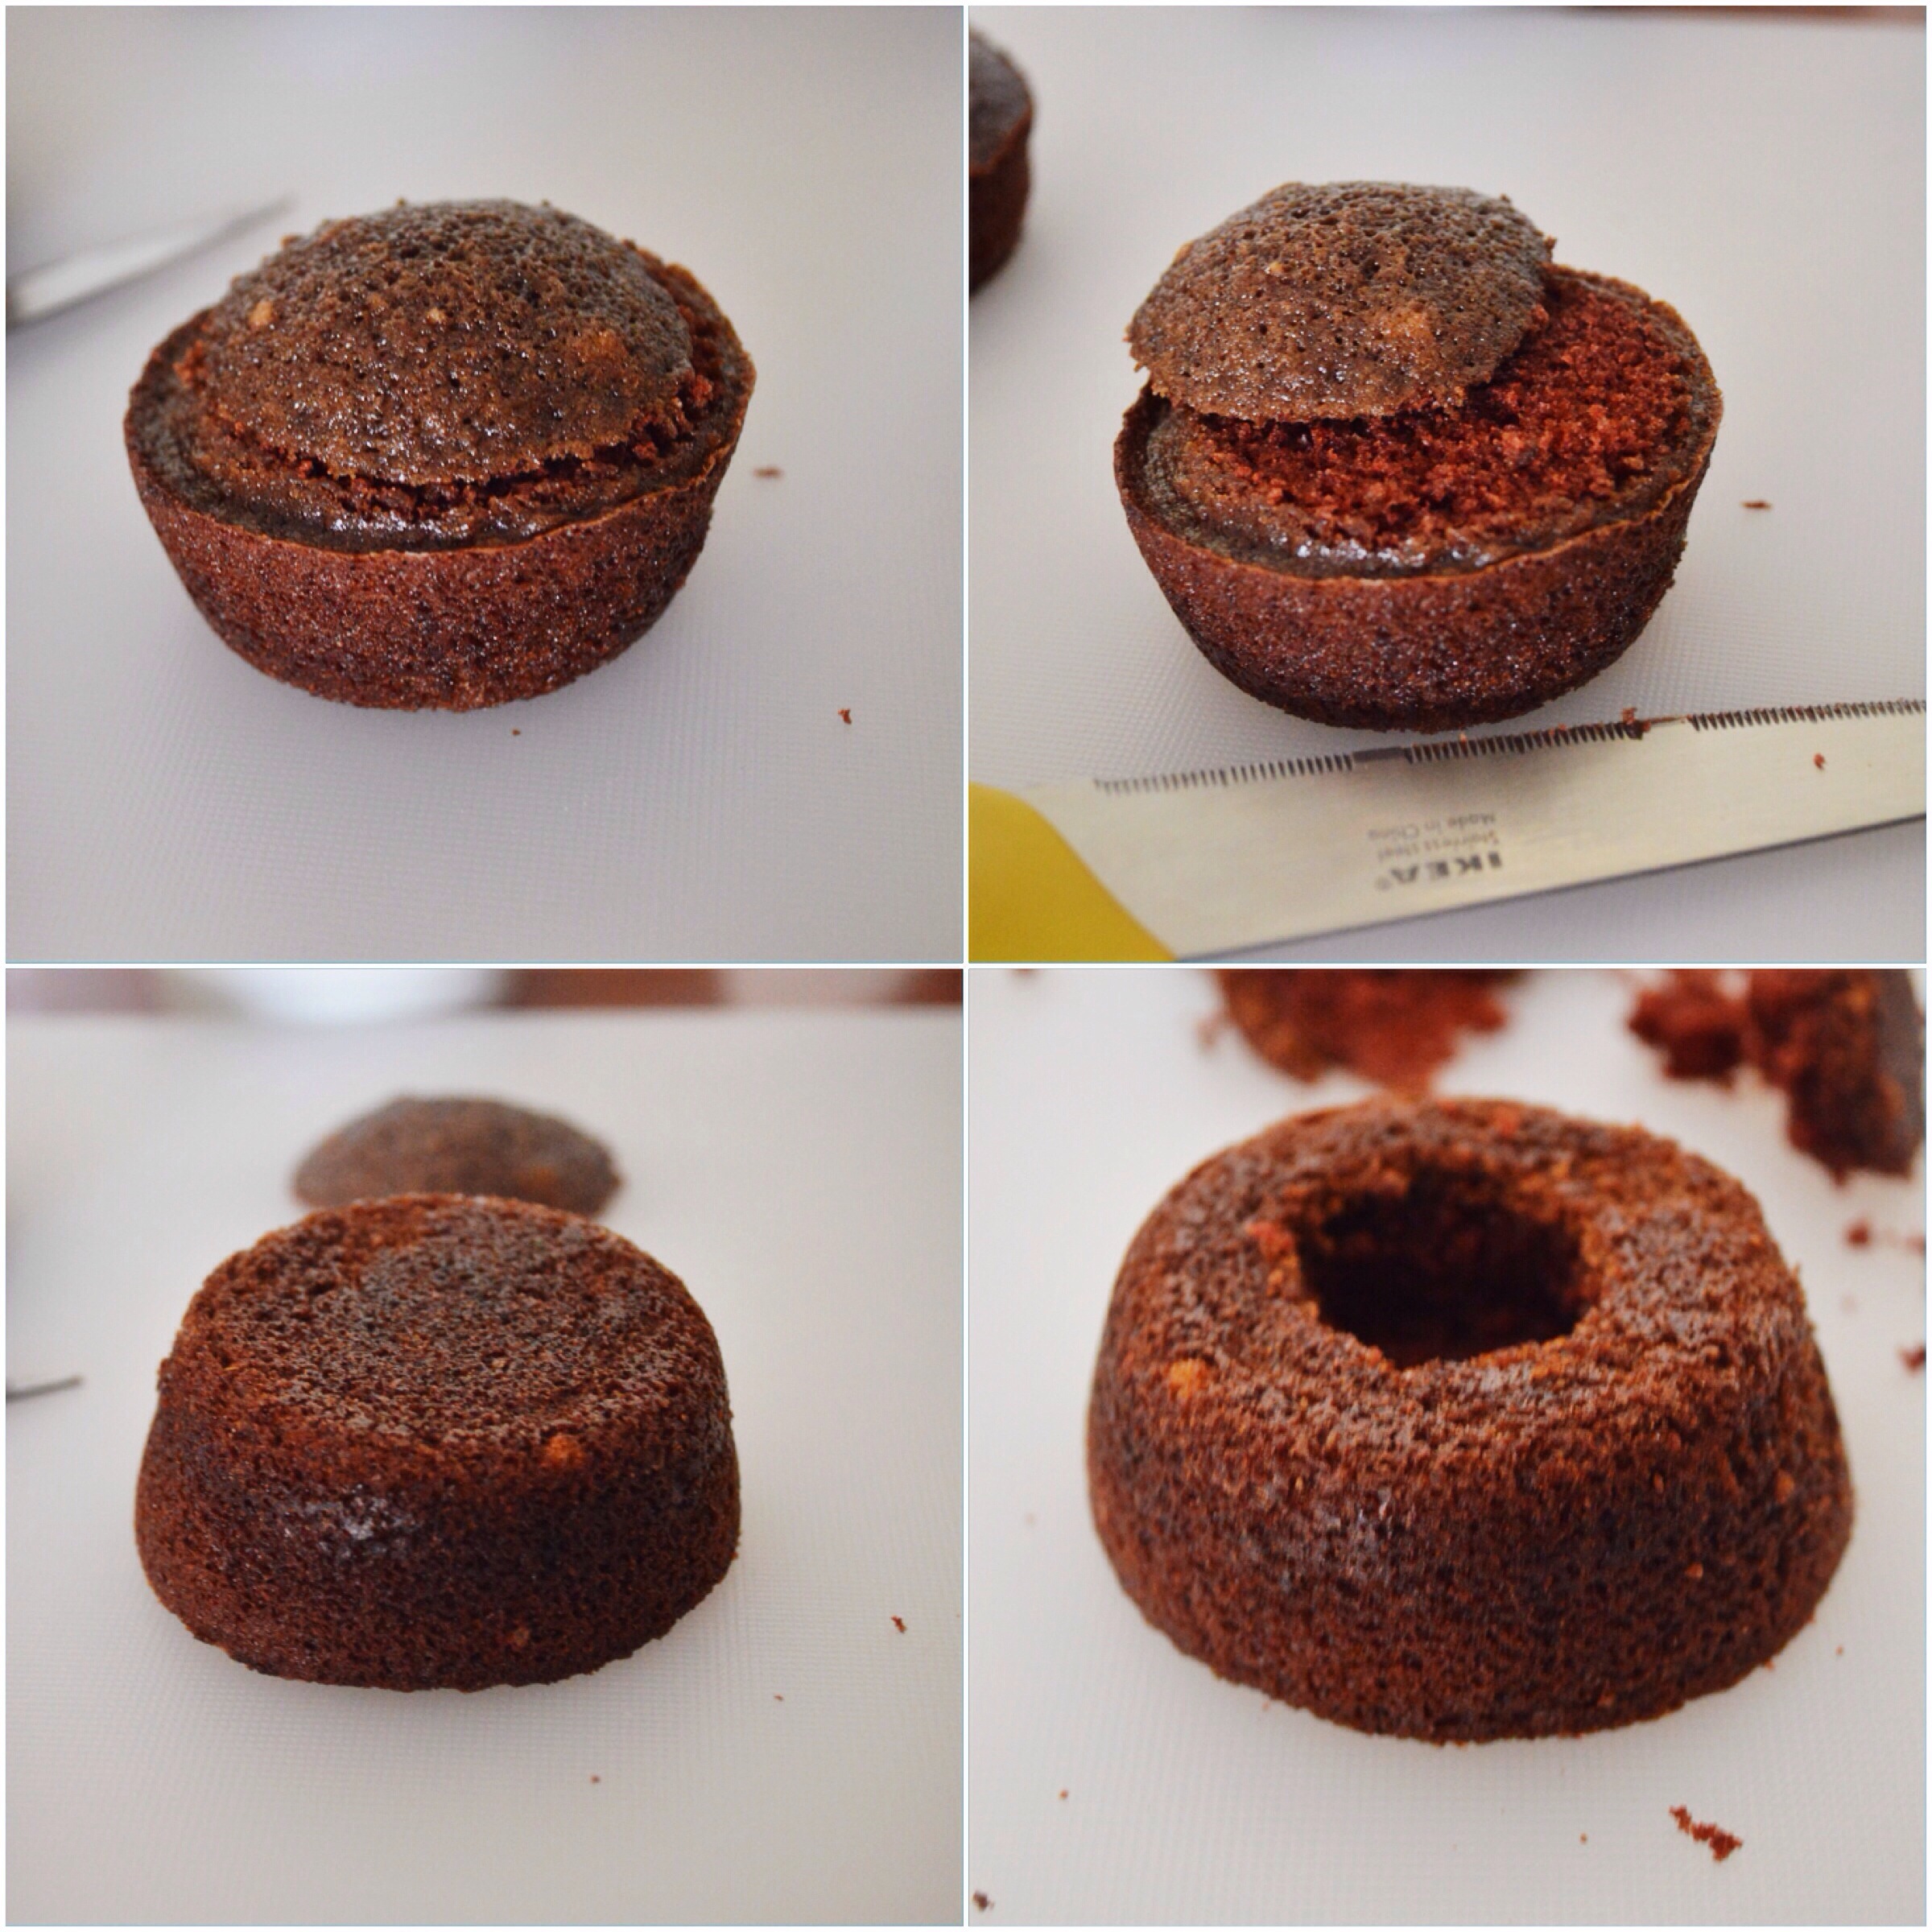
1. Let cakes cool for 10 minutes in pan, then take a knife and loosen the edges. Carefully remove cakes from the pan, and place on a wire rack to cool.
2. Then take a knife and slice the ‘dome’ off the top of the cakes, so they are flat. Once the tops are flat, turn the cakes upside down. Using a sharp knife, cut out a 1-inch circle out of the center of the bottom (now the top) of each cake. The hole should be at least 1-inch deep. Scoop out the chunk of cake and discard. Repeat this process with all the cakes.
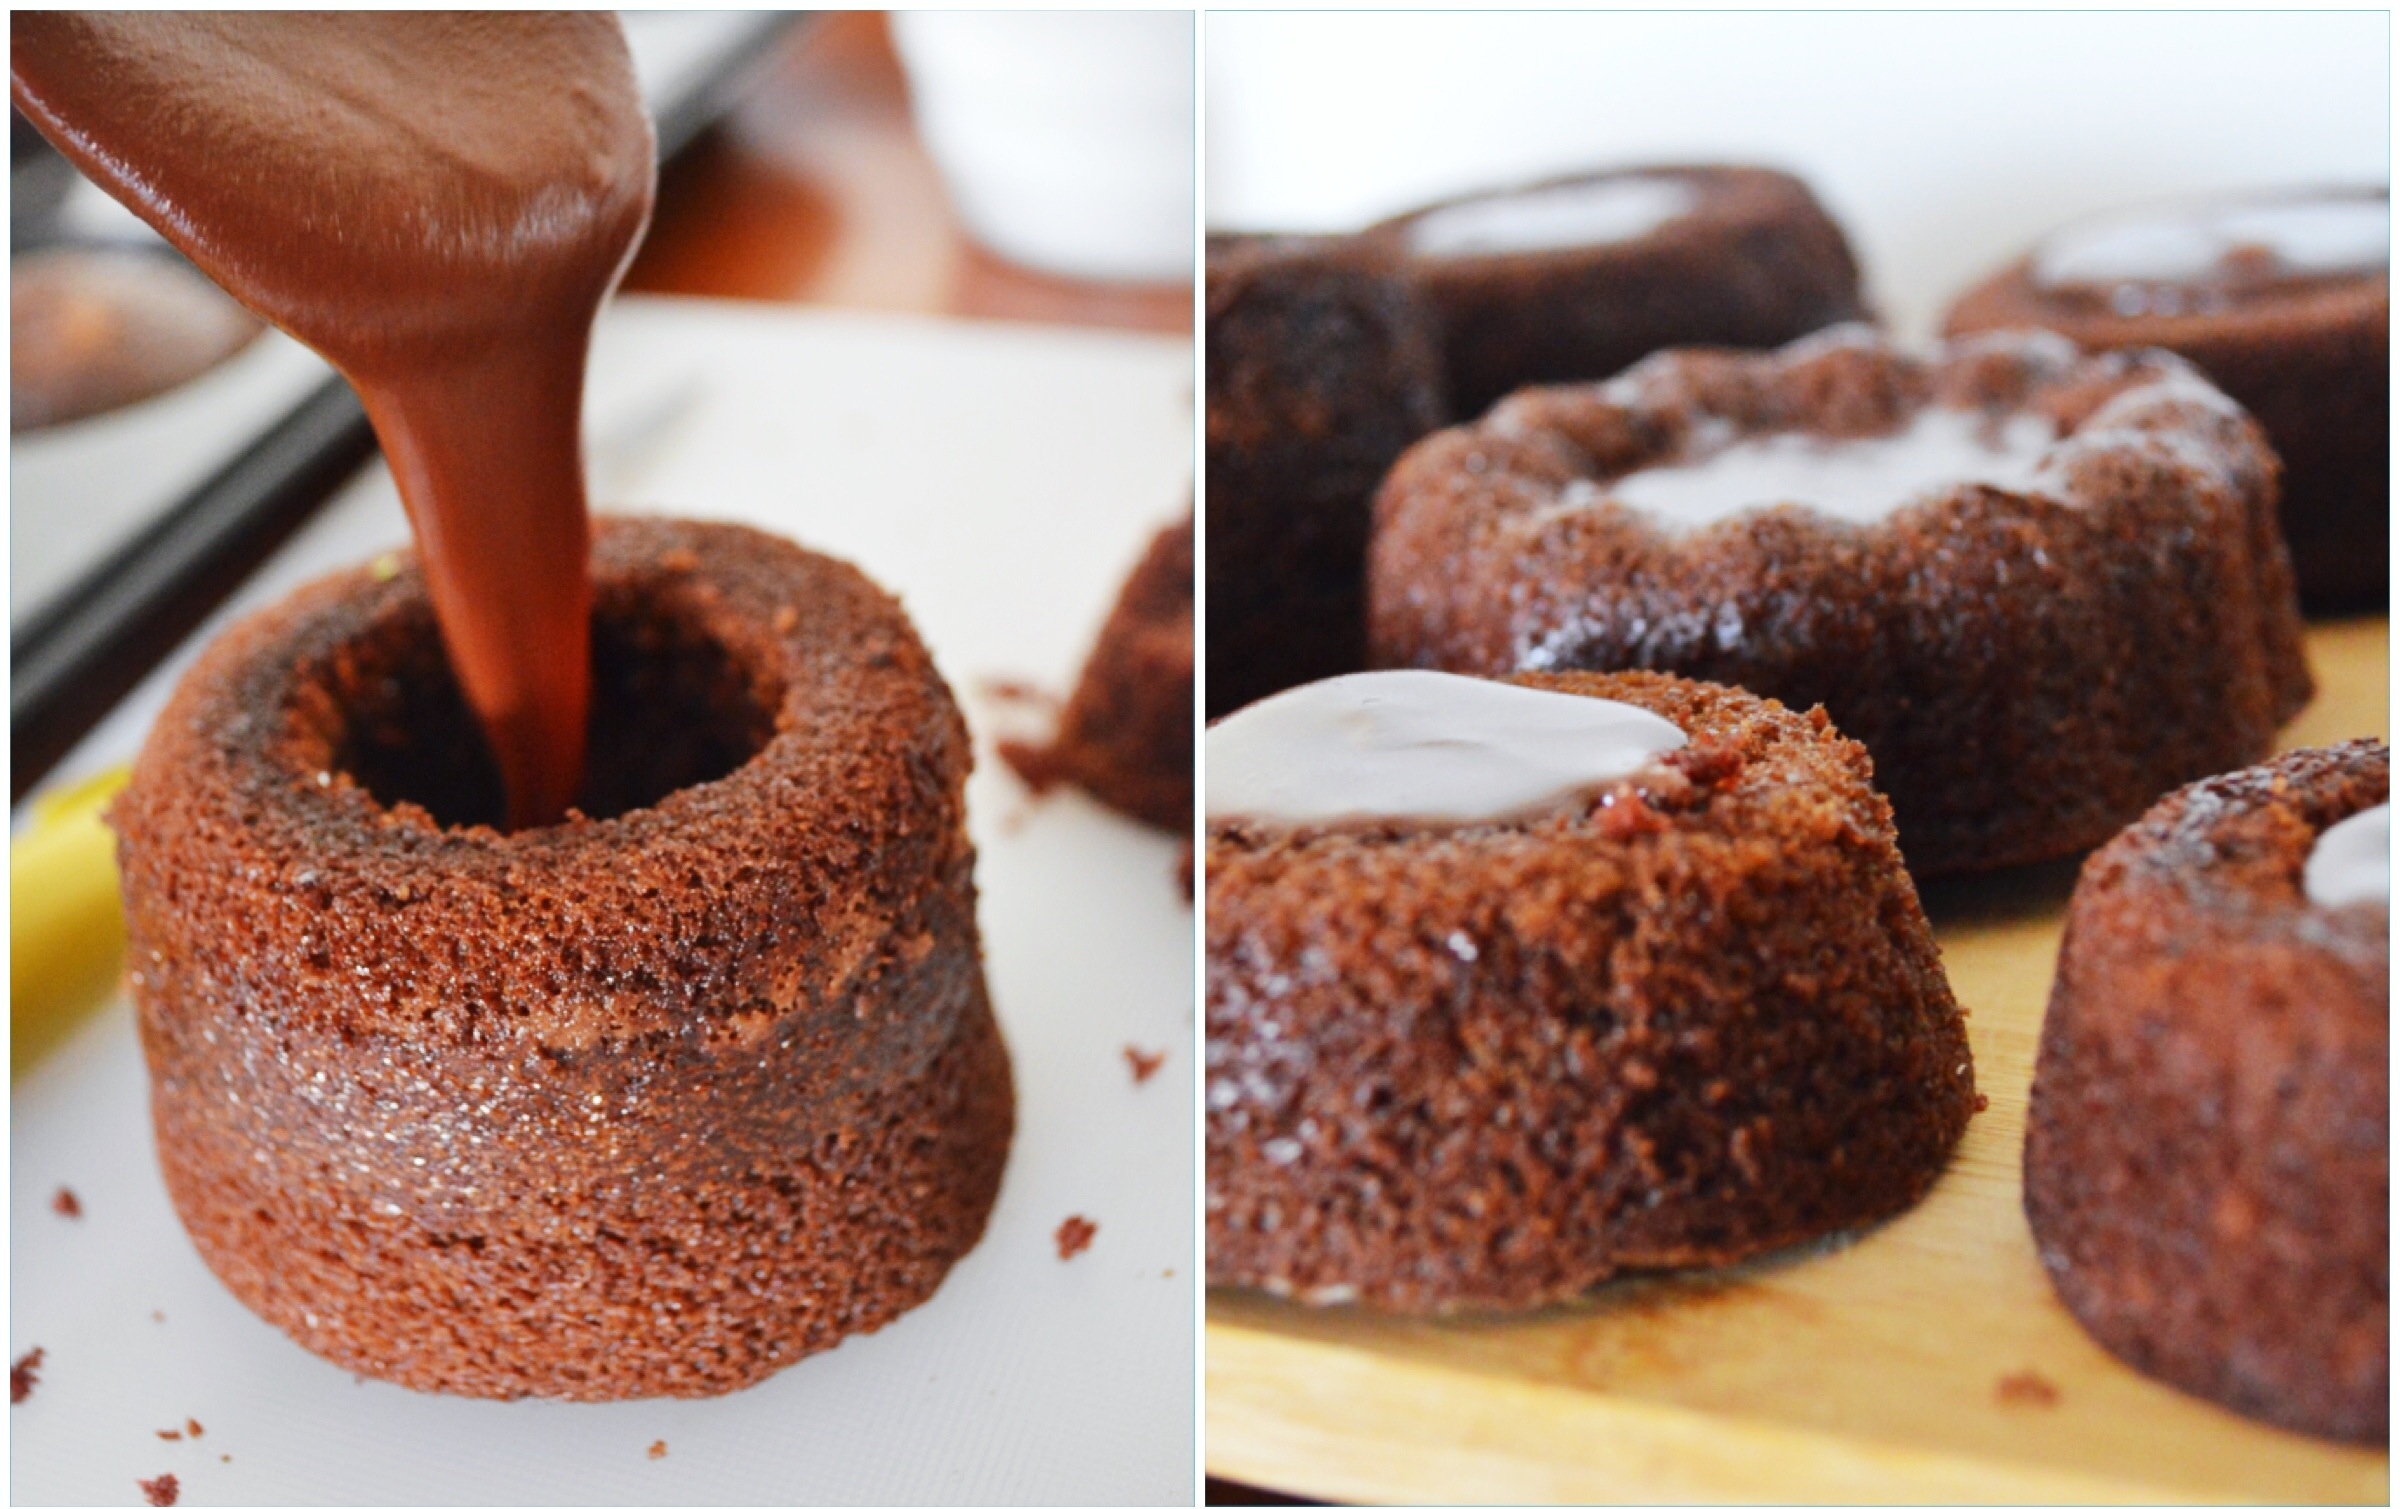
3. Spoon 2 Tablespoons of hot fudge into each of the holes in the cakes.
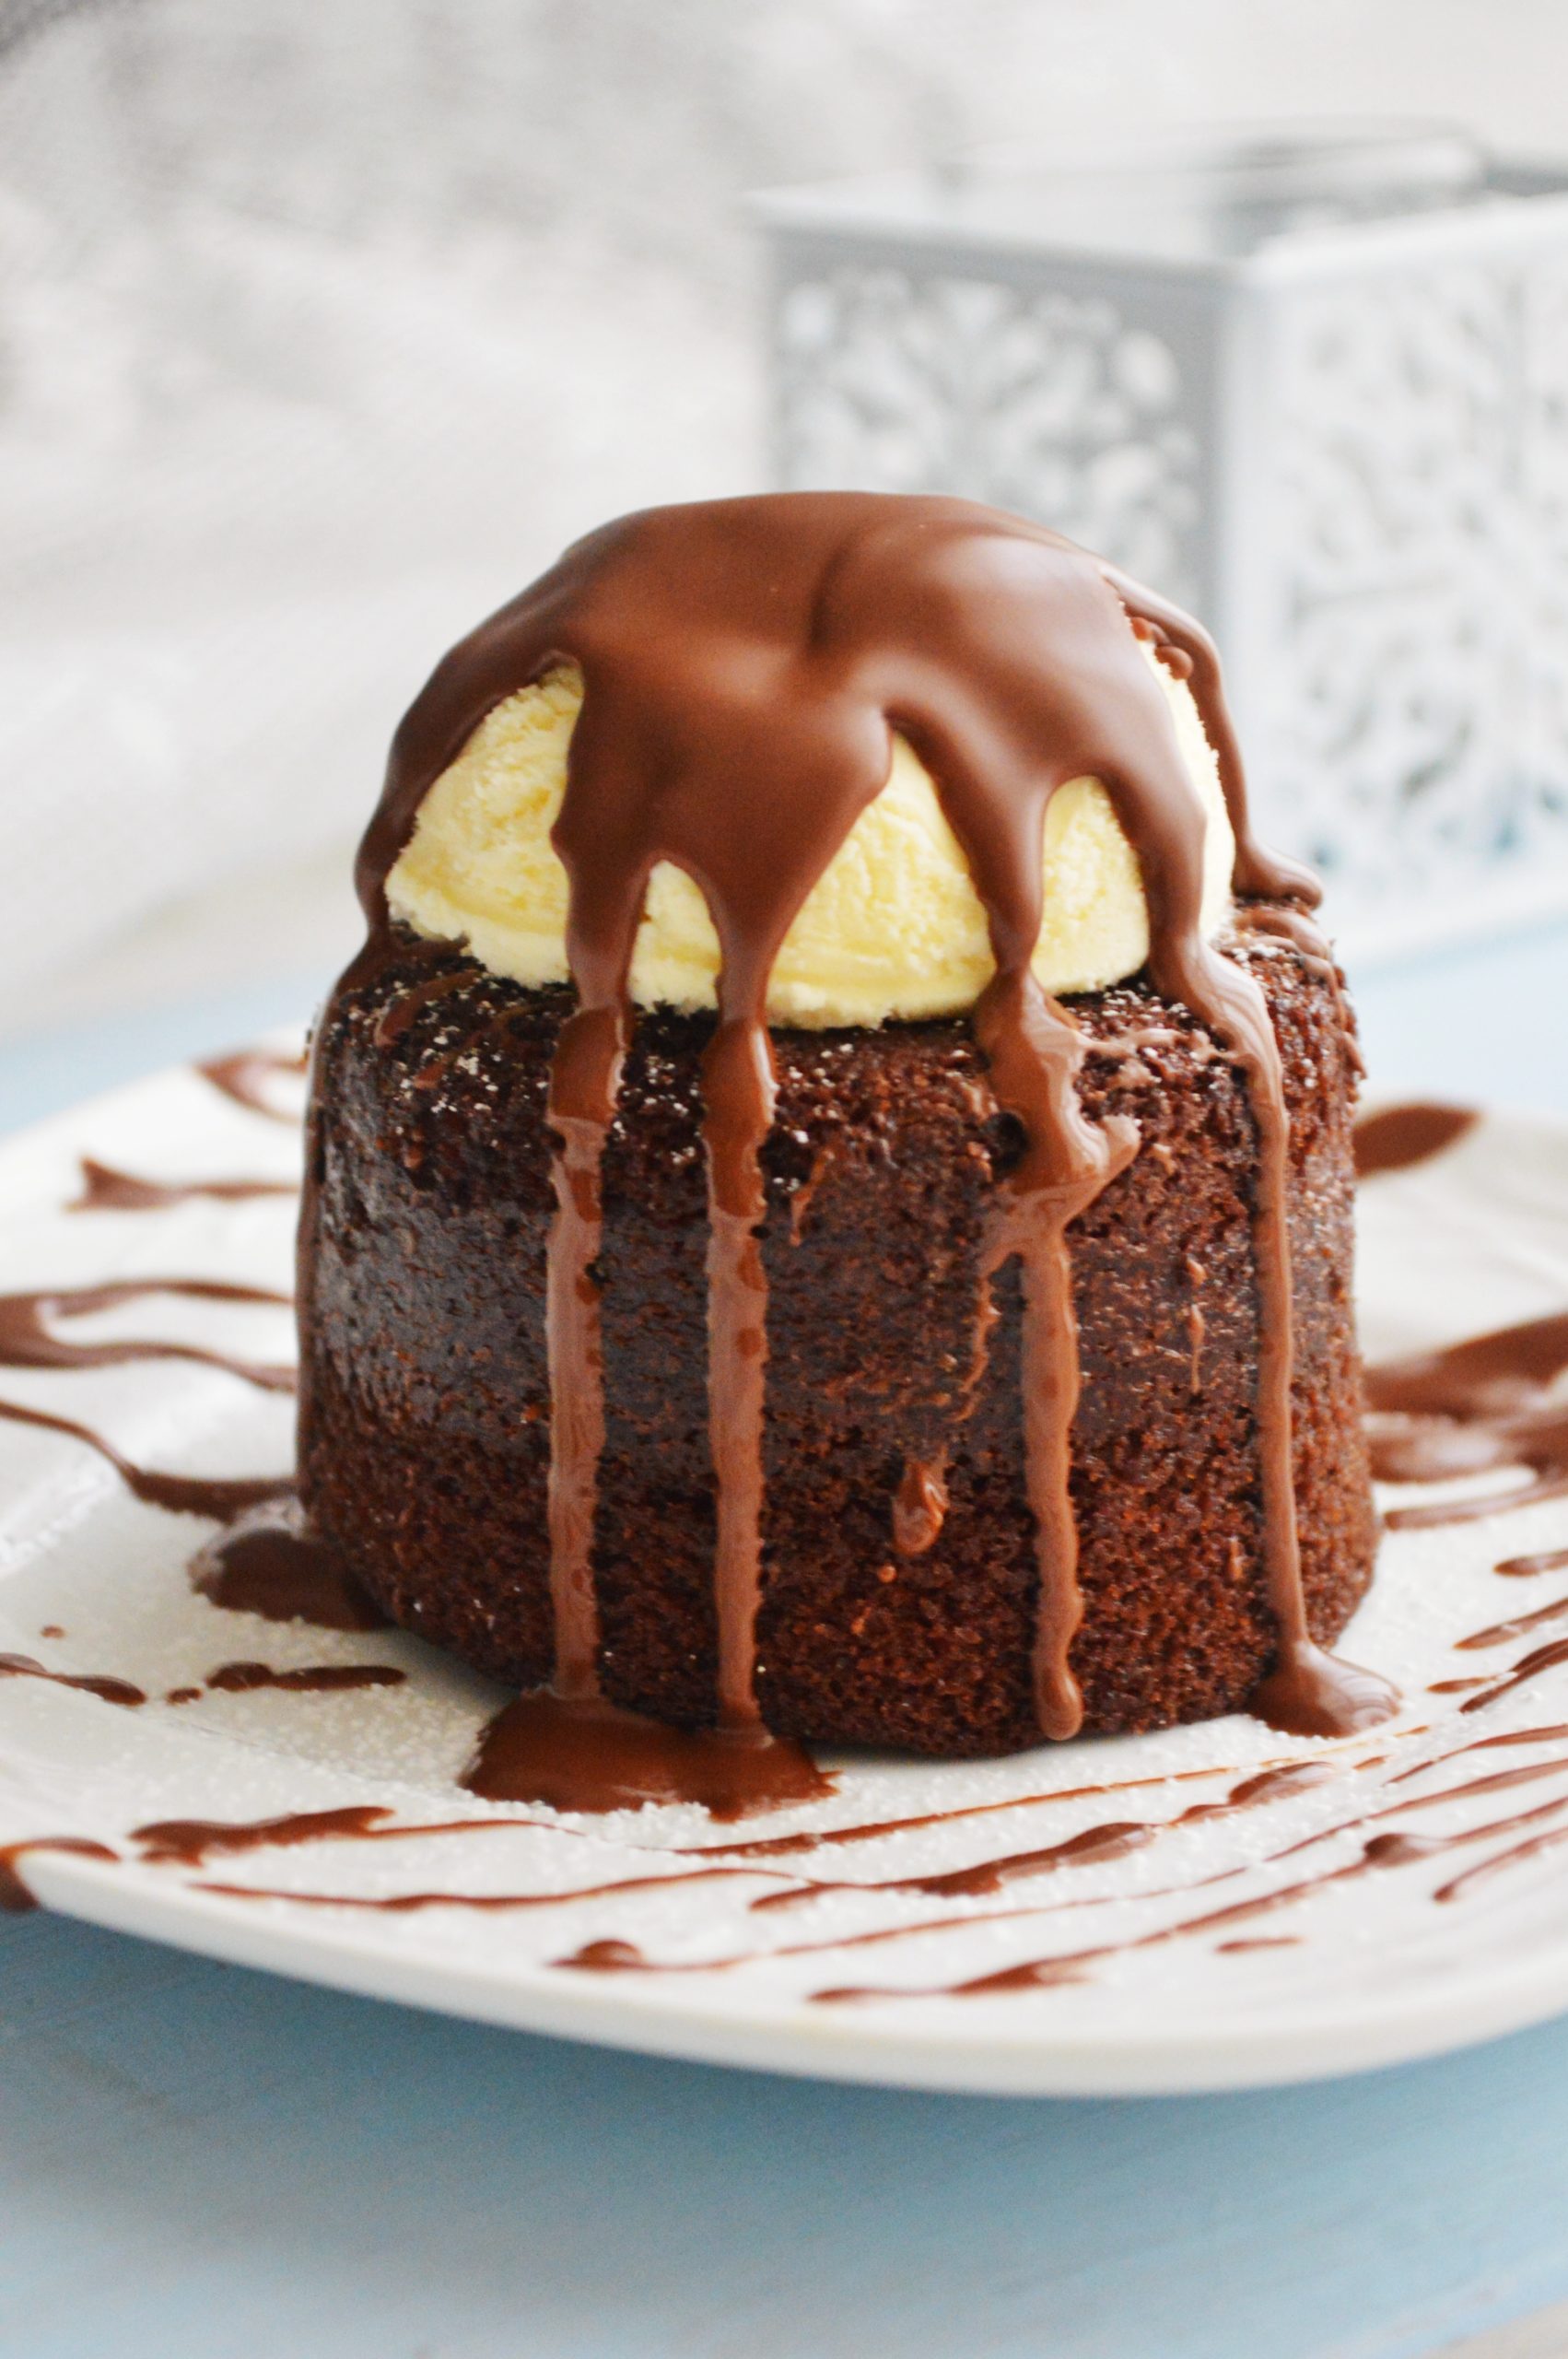
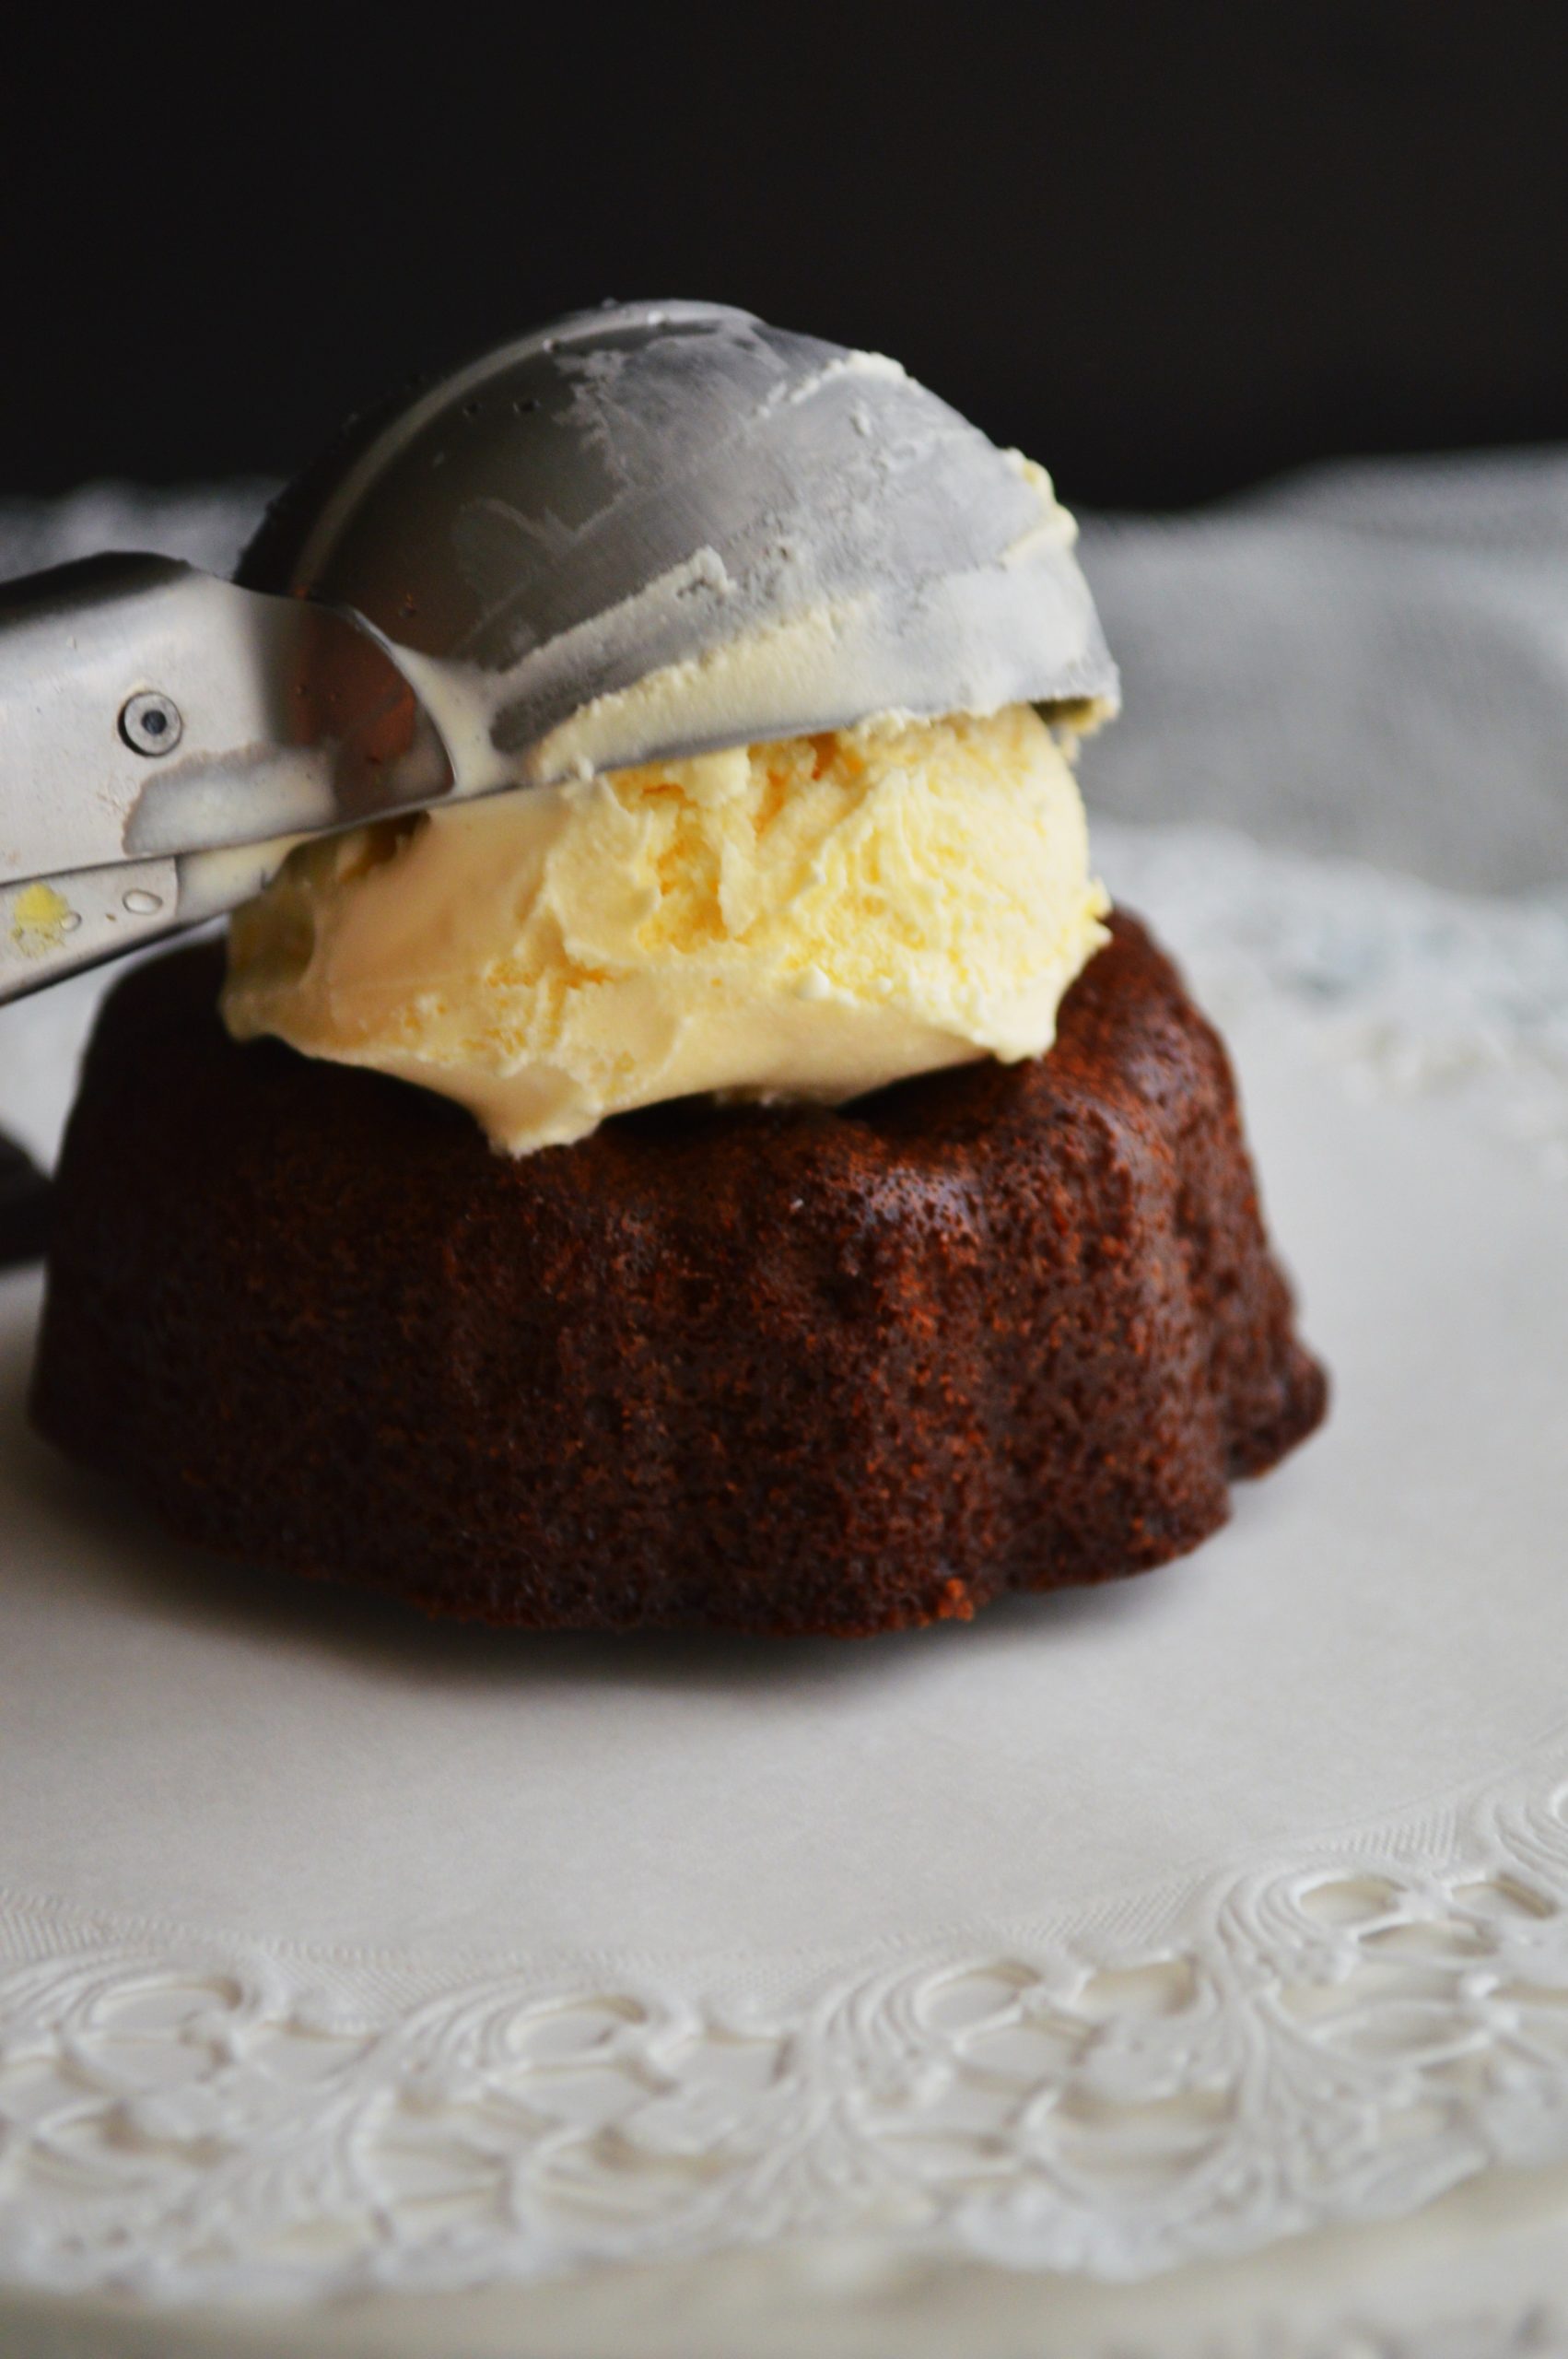
4. When ready to serve, take one cake and place on a microwave-safe plate. Heat for 30 seconds. Remove from microwave and top with one big scoop of vanilla ice cream, then drizzle on Magic shell. Serve and enjoy!
Notes:
✔️ Store the cakes in a sealed container in the freezer and you can store them for up to 2 months.
✔️ If you feel lazy to prepare the chocolate cake from scratch, choose the easy way and use 1 box of devil’s food cake mix or just any chocolate cake mix for that matter.
✔️ You can also skip making the hot fudge at home and make use of Hershey’s ready made hot fudge.
Chocolate Molten Lava Cake
Ingredients
INGREDIENTS
- 1/2 cup 113 gms butter( room temperature)
- 2 cups sugar
- 3 large eggs
- 3/4 cup sour cream low fat or full -can be substituted with yogurt or cream mixed with a tsp of yogurt
- 1 tsp vanilla extract
- 2 cups all purpose flour
- 2 tsp baking soda
- 1/2 tsp salt
- 1/4 cup cocoa powder
- 2- oz 57 gmsdark chocolate
- 1 cup water boiling
For the hot fudge sauce
- 1 cup sugar
- 2 tablespoons flour
- 1/4 cup cocoa powder
- 1 cup milk
- 2 tablespoons butter
- 1 teaspoons vanilla
For the magic shell
- 1/2 cup coconut oil
- 12 oz. 340 g semi sweet chocolate chips, milk chocolate or dark chocolate
Instructions
DIRECTIONS
- Preheat the oven to 350F/180 C and lightly grease two 12-cup muffin tins or ramekins.
- 2. In a large bowl, cream together butter and sugar until light. Beat in eggs one at a time.
- 3. In a small bowl, whisk together flour, baking soda and salt. Add half of flour mixture to the butter mixture, followed by the sour cream and vanilla extract, followed by the addition of the rest of the flour mix. Stir well between each addition and mix until no streaks of flour remain.
- 4. Stir the cocoa powder and the dark chocolate into the boiling water. Pour chocolate water into the rest of the batter and stir until uniform.
- Evenly distribute batter into prepared baking cups. Bake for 13-15 minutes, until a tester comes out clean and the cakes spring back when lightly pressed.
- Turn cakes out onto a wire rack to cool completely before filling.
For fudge sauce
- In a medium bowl, whisk together the dry ingredients.
- 2. Over medium heat, combine milk, butter and vanilla until the butter has melted. Add dry ingredients to the milk mixture, constantly whisking. Boil, stirring constantly until thick and smooth, about 5 or 7 minutes. Cool and refrigerate unused portion
For Chocolate Shell
- In a large (microwavable) measuring cup or bowl combine the coconut oil and chocolate chips.
- 2. Microwave in intervals of 30 seconds at 50% power, stirring in between until smooth. Took me 3 intervals to reach the perfect consistency.
- 3. Drizzle over ice cream and let sit for 30-45 seconds to harden.
- 4. Store in an air tight container at ROOM TEMPERATURE. (The Magic Shell may harden slightly, but just microwave for a few seconds till it is liquid again.)
Assembly
- Let cakes cool for 10 minutes in pan, then take a knife and loosen the edges. Carefully remove cakes from the pan, and place on a wire rack to cool.
- 2. Then take a knife and slice the ‘dome’ off the top of the cakes, so they are flat. Once the tops are flat, turn the cakes upside down. Using a sharp knife, cut out a 1-inch circle out of the center of the bottom (now the top) of each cake. The hole should be at least 1-inch deep. Scoop out the chunk of cake and discard. Repeat this process with all the cakes.
- Spoon 2 Tablespoons of hot fudge into each of the holes in the cakes.
- When ready to serve, take one cake and place on a microwave-safe plate. Heat for 30 seconds. Remove from microwave and top with one big scoop of vanilla ice cream, then drizzle on Magic shell. Serve and enjoy!
Notes
✔️ Store the cakes in a sealed container in the freezer and you can store them for up to 2 months.
✔️ If you feel lazy to prepare the chocolate cake from scratch, choose the easy way and use 1 box of devil’s food cake mix or just any chocolate cake mix for that matter.
✔️ You can also skip making the hot fudge at home and make use of Hershey’s ready made hot fudge.

Oh my God! Sadia! What are you doing to me! One of the best chocolate desserts I have ever seen x
Thanks a ton Dimple for such a flattering comment. Soo happy! 🙂
Oh my, these look absolutely decadent! I’ll take mine with ice cream please 🙂
Oh sure! 😉
Thank you Nancy! 🙂
Oh my goodness Sadiya!!! My mouth is watering like crazy! Those pictures are to die for.. I’ve always wondered how people get that perfectly molten center because when I bake these molten lava cakes, the centre isn’t flowy., I’m going to try your technique! It’s brilliant really!
Thank you Radhika. I know, it used to be kinda the same story for me too. But with this technique it came out perrfect. Do try making them this way and lemme know how it turned out for you. 🙂
OH MY GOOD LORD….. !
My eyes popped out seeing the pics Sadiaaaaa….
It looks nothing short of a professional’s work – the cake and of course your fabulous pics….
When I had this from Chili’s last november, the first n the only time, I wondered when I would be going back there to have this heavenly dessert??? Now I guess I can try it out myself in my kitchen with the help of your super, detailed and best recipe…
Jazakallah Khair Sadiaaaa….
OH MY GOD, IT LOOKS AWESOME, YUMMY…..
PURE CHOCOLATEY PLEASURE….
Barak Allah feek sunithatha! How sweet of you!! One of the bestest comments ever. Thanks a lot. Feeling soo happy that i cant stop smiling. 🙂 🙂
Wow! Sadia, these are stunning! Every picture is heavenly.
Thank you dear! 🙂
Wow, that looks delicious, delicious, delicious! Very impressive!
Thanks, thanks, thanks! 🙂 🙂 🙂
Your posts are simply awesome.. The photos n the dishes are always deol drool.. !
Oops I meant drool drool.. 🙂
Hehe! Thanks Anitha! 🙂
As usual you outdo yourself! This one goes on my make-as-soon-as-you-can list!
Thanks a lot Aruna! Yeah pleees do make it asap and lemme know how u liked it asap. 🙂 🙂
What lovely presentations! I think your friend nailed it on the idea of making the cake and fudge separately. We love molten lava cakes, and I make them every now and then, and I admit the whole timing thing is so daunting!
Yeah soo true. I would have never thought of this idea, if my friend wouldn’t have mentioned it to me. This sure is a foolproof technique. 🙂
Im so happy that i made this. It was perfect. Just like you said, Chili’s style. Yeah yeah gimme more like this! 🙂
Hahaha! Dunno what to say. Shy is coming. ☺️
Wow.. Drooling !!! Superb clicks Sadia… 🙂
Thanks a lot Najla! 🙂 🙂 do try making them. Im sure you will love it.
You’re right. This certainly looks praiseworthy! Pinning this for sure 🙂
Thank you for the sweet comment and for pinning. I will follow you on Pinterest too. 🙂
gooey melting chocolate, Yum, Yum Yummmmmmm… I suggest when you make them for anyone don’t tell them this secret 😀
Thanks dear! Oh yeah, that is a good idea. Im sure no one will even know the trick as the ice cream will mask the hole. 😉 🙂
It’s hard to come by experienced people about this topic, however, you sound like you know what you’re
talking about! Thanks
Awww! Thats soo kind of you to say. Thanks! <3 <3
Sadia, this is fantastic, love the idea of hollowing out and filling with molten chocolate. Totally delicious, decadent and well, I want one, it’s making me so hungry.
Yeah, it sure is the best and no fail method to get the amazing gooeyness to come out of the cake. Do make them, i swear, you wont regret it. Its that good. 🙂
I just love all of your photos for this post! Great job!
Thanks a lot Patty! 🙂
This is soooo beautiful!
Thanks a loot sweetie! 🙂
Such an elegant and decadent dessert. Lovely. Also, your photos are absolutely fantastic!!
Thank you! The cake was so good looking that the photo had to be fantastic. 🙂
That looks gorgeous, Sadia! Beautiful photos! I’m suddenly craving chocolate! 🙂
Thank you Angie! 🙂 🙂
Is your party still going on? Can i come? 😀
Sadia, party is on, and I’m counting on you to be there! 🙂
Oh yaaay! Im cumin right now! 🙂 thanks!!
Lovely dessert 🙂
Thanks! 🙂
gosh! i am speechless!!! gorgeous pictures and a beautiful dessert. You have to do a post on food photography. You really are good with “drips and pours” in your pictures.
Aww! How sweet! Thanks for the sweet comment darling! Woah! I am soo not ready for a photography post yet. Have lots more to learn about the camera. Maybe i will make a post on photography, someday. I must be confident enough for that.
Can I add any other oil as m bit doubtful of the coconut y taste in chocolate. .Help me out dear I wanna make soon
Hey Farha! Actually coconut oil is THE best option for this. And i felt there was no much coconut taste on the chocolate. Yeah, but a slight harmless change in taste would be there.
But if you don’t wanna use coconut oil, the substitute would be butter or shortening. But the shell would be softer and you will have to keep it in the fridge for it to harden well, i guess. With coco oil, you will just have to pour the chocolate over ice cream and it will form a nice shell.
N btw hop i am not late in replying. If so, i am sorry! I just got up from sleep now. 🙂
Such a great way of making Lava Cakes and they look sooo delicious! Your photos are simply wonderful Sadia. 🙂
Thanks a ton dear! 🙂 🙂
Oh, Sadia, what are you doing to me–this looks fabulous! An interesting take on the chocolate molten lava cake with the removal of the dome technique! I love all your step-by-step photos!
Yeah yeah that is the highlight of this post. 🙂 🙂 thanks Ngan for taking the time to comment. 🙂
Wow! What a perfect creation! And the pictures are so stunningly beautiful! Awesome job. Now the only problem is I am craving it so badly. Actually I also like that you baked it in muffin pans – that makes it a mini indulgence! 🙂
Thanks a lot dear! If you are craving for this, you have to definitely make this one for yourself. You will be in love with this cake. 🙂
Whoa this looks amazing! Beautiful pictures!
Thanks a lot Alex! 🙂
Ditto to all of the comments made so far – very nice pictures 🙂
Thanks a lot Aunt Juju!:)
BEAUTIFUL photos of a fabulous dish! You have me drooooooling! 🙂
Thank you dear! 🙂
Are you trying to kill us? 😉 This is total death by chocolate…..! And I love your food photographs. Just waiting for my student life to end(which is not anytime soon 🙁 ), so i have the time to take pics like that myself using something other than iphone 🙂 😛
You are right, you have to have the time and patience to take droolworthy food fotos. In shaa Allah you will take pictures much better than this soon. Btw thanks a lot for the comment. 🙂
Oh wow Sadia! This has to be the most beautiful post I have ever seen involving chocolate cake! Everything about it is breathtaking. Bravo!
You are soo kind! Thanks a lot! 🙂
Seriously? Can I please come to your house and get one of these right now? What’s that? You gave us the recipe and pictures? Sigh…I guess I will just have to make them myself! But, what a great dish to bring to a party!
Hahaha! Oh yeah, you definitely def have to make this. That’s my order! (In a sweet tone). 😉 🙂 you will absolutely love it. 🙂
These cakes look perfect! I have often looked at recipes of the molten chocolate cakes but have never made them. I like your method and I think I will give it a try. Thanks for sharing!
So glad to know that you found this method good. Do make em. If you do, lemme know how you liked it k. 🙂
Sadia, My mouth is watering to the point I am speechless! Absolutely magnificent dessert and a photogenic one! 😀
Thanks Fae! Yeah all the photo credits goes to the very beautiful lava cake. 🙂
How incredible! Your photographs are stunning. I am now experiencing a massive chocolate craving! 🙂 This looks scrumptious.
Hey there Lisa! Thanks fr the like, follow and the sweetest comment. Really happy! 🙂
OMG! This is so great.. Now this is what you call decadent. And such great photography, Sadia! You’re a rockstar 🙂
No, you are a rockstar! Thank you soo much for the lovely comment. 🙂
I love, love the shots of the chocolate fudge oozing out! And the chocolate shell – didn’t realise I can make them at home. Bookmarked! 😀
Thank you for the compliment! Do do make these. 🙂
Oh, this is so beautiful!! I had molten lava cake planned for Valentines Day… and things just didn’t work out due to a dead furnace and frozen pipes at our cabin two hours away! Now I know why..I was meant to try your recipe instead! LOVE this.. I look forward to catching up on your blog.. 🙂
Aha! 🙂 YAAY! that you couldn’t make the cake before. Hehe! Sorry to say that! But, happy that you will be making the cakes from here. 🙂 🙂 hop you will like it. Lemme know. 🙂
Oh wow, they look so delicious, I love chocolate lava cakes! I am a chocoholic and I know it so this one is a favorite of mine!
Michael 🙂
Thanks a lot Michael! So sweet of you! 🙂
Sadia, this is the ultimate chocolate lava cake! You win, hands down! It’s very hard to achieve that molten lava oozing out of the cake, so your method is ingenious. I will definitely try it. Thanks for bringing this to Fiesta Friday, hon. I think you’re everybody’s best friend now, but I’m bestest friend, so nobody touch my cake, actually make that 2 cakes! 🙂
Hahaha! You sure is my bestest friend. You can have all the cakes. 🙂 🙂 <3
Oooh!!! After reading your comment suddenly i am feeling proud of myself too. Thankyouuu ene! You are the best. 🙂
it looks amazing!
🙂 thank you!
This looks amazing! I love that oozy chocolate centre, heavenly!
Thanks a lot! 🙂
What a work of art! Beautiful! Hand me that spoon please 🙂
Thanks Afra! You can have the full cake. 🙂
Gorgeous as ever Sadia 🙂
Magical!
Thanks Sonal! 🙂
This looks absolutely incredible!
Thank you! 🙂
Perfect molten lava cake and great photos!
Thank you Liz! 🙂
Hi Sadia,
We have just sent you a message through email regarding our project.
We MyTaste.com one of the biggest recipe search engine in United States and in the world, would like to invite your blog to be featured on our site and make your recipes available to many people.
If you like it, you can join through this link
http://www.mytaste.com/add-your-food-blog
This is one way to share your recipes to the world and it can also help you to increase your blog traffic.
Full information has been sent to your email.
Have a good day!
Kind regards,
Thanks a lot fr letting me know. But i had already joined your site. My blog is featured there too.
Your pictures are as admirable as the recipe itself, great job xx
Thank you Deena! 🙂
After I originally commented I appear to have clicked on the -Notify me when new comments are added- checkbox and from now on every time a comment is added I get 4 emails with the exact same
comment. There has to be a way you are able to remove me from that service?
Thanks!
Oh really? That must be soo annoying. I currently don’t know how to fix this. Lemme check with someone and will do something soon for sure. Apologies for the late reply.
That looks incredibly delicious!!!
You actually make it seem so easy with your presentation but I
find this matter to be really something that I think I would never understand.
It seems too complex and extremely broad for me. I am looking forward for your
next post, I’ll try to get the hang of it!
Thank you! Its seriously not that difficult. 🙂
Wow beautiful and so so delicious!
Thank you Rachel! 🙂
Sorry! But can I ask for the measurements of 6 lava cake (in ramekins)? Thanks!
Hello Ashlin! Sorry for the late reply. For 6 cakes in ramekin, reduce the ingredients quantity to half.
Just a question please: When freezing, you mention just to heat in a microwave for 20 -30 seconds… is this after the fondant has defrosted?
Thank you
Yeah it would be better to keep the cake outside for half an hour before heating it. Then 30 seconds in the microwave and enjoy. You can add extra sauce into the cavity before heating.