 Time flies so fast. Its been two years since I started savory and sweet food. Two years! Time really flies when you are busy baking and cooking and doing what you love. Something that i started off to keep myself busy, has turned out to be much, much more today, it has become my passion now. Another year has rolled around and i truly, deeply thank all of you who took the time to read my posts and recipes.
  When i first decided to write a food blog i had no idea what an adventure it was gonna be. I was so nervous when i pressed ‘publish’ for the first time. I didn’t know who would read my words. I used to fret, fret over the number of readers in the beginning days. Used to really get stressed out thinking if i will have any reader at all. But luck was on my side and in the next few months the community began to grow slowly. And now by God’s grace i have so many wonderful readers who support me soo very much, without whom I wouldn’t have had the confidence to keep posting with so much enthusiasm. Thank YOU sooo much guys.
  One person whom i cannot thank enough is my dearest husband, Fadal. He has been the biggest support throughout this journey. He has been so patient with me when I keep rambling about food and recipes 24/7, when i keep him waiting to have his lunch, because i will be photographing it, when i keep sending him to the grocery to get stuff for my cooking, and when i spend his money buying endless number of props. Sorry dear and thank you soooooo much. I have to thank my ever loving siblings and friends too for supporting me much.
  I published my first post of Rasmalai on 21st of may to be exact. From then to now so much has transformed. This blog has definitely improved my cooking ability, i started exploring the culinary world with more excitement. Ever since this blog i have become a food styling enthusiast and a photography freak. Seriously, over these two years i have started to love photography like never before. Well, what i love more than all this is prop hunting. Ooooh i soo love it. Prop shopping is a stress buster for me, its like i am in a spa or something. 😀
 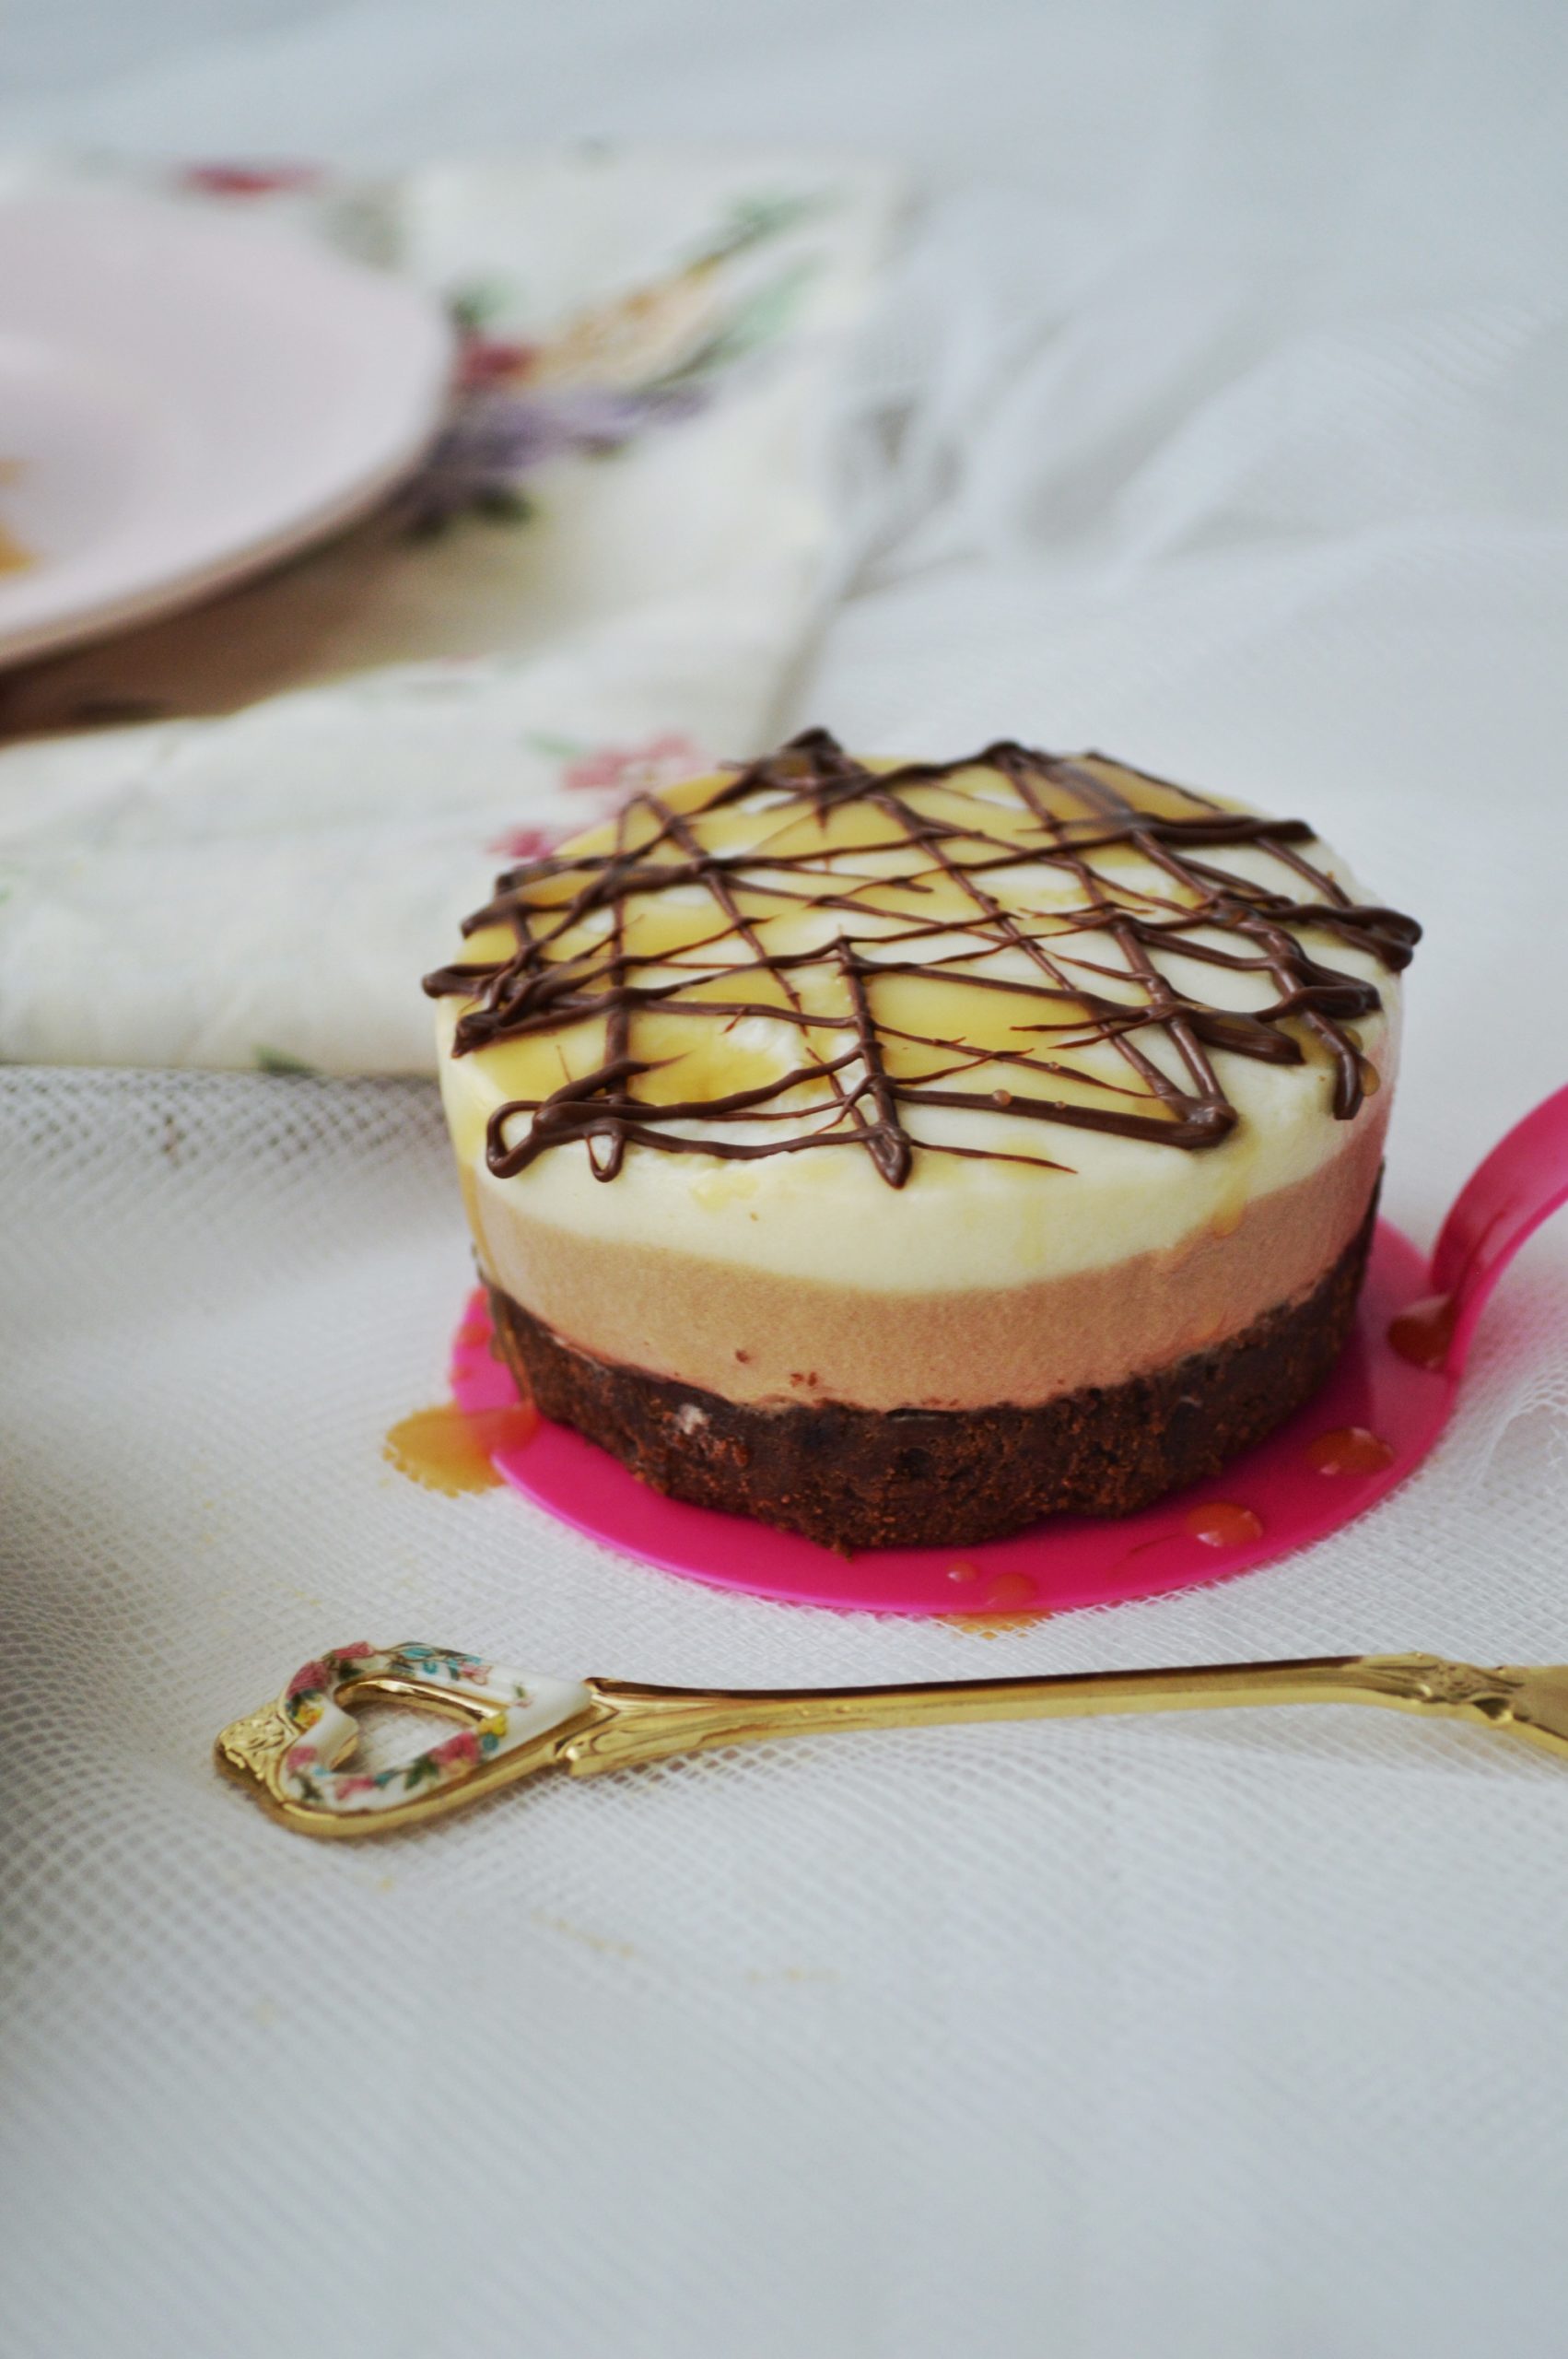 I want to dedicate this post to all of you- my long time readers and new ones, family and friends. Each like, comment and feedback you guys give me on the posts and after trying out recipes gives me so much joy, it really means a lot. Without you savory and sweet food wouldn’t have been possible. Thanks each and everyone.
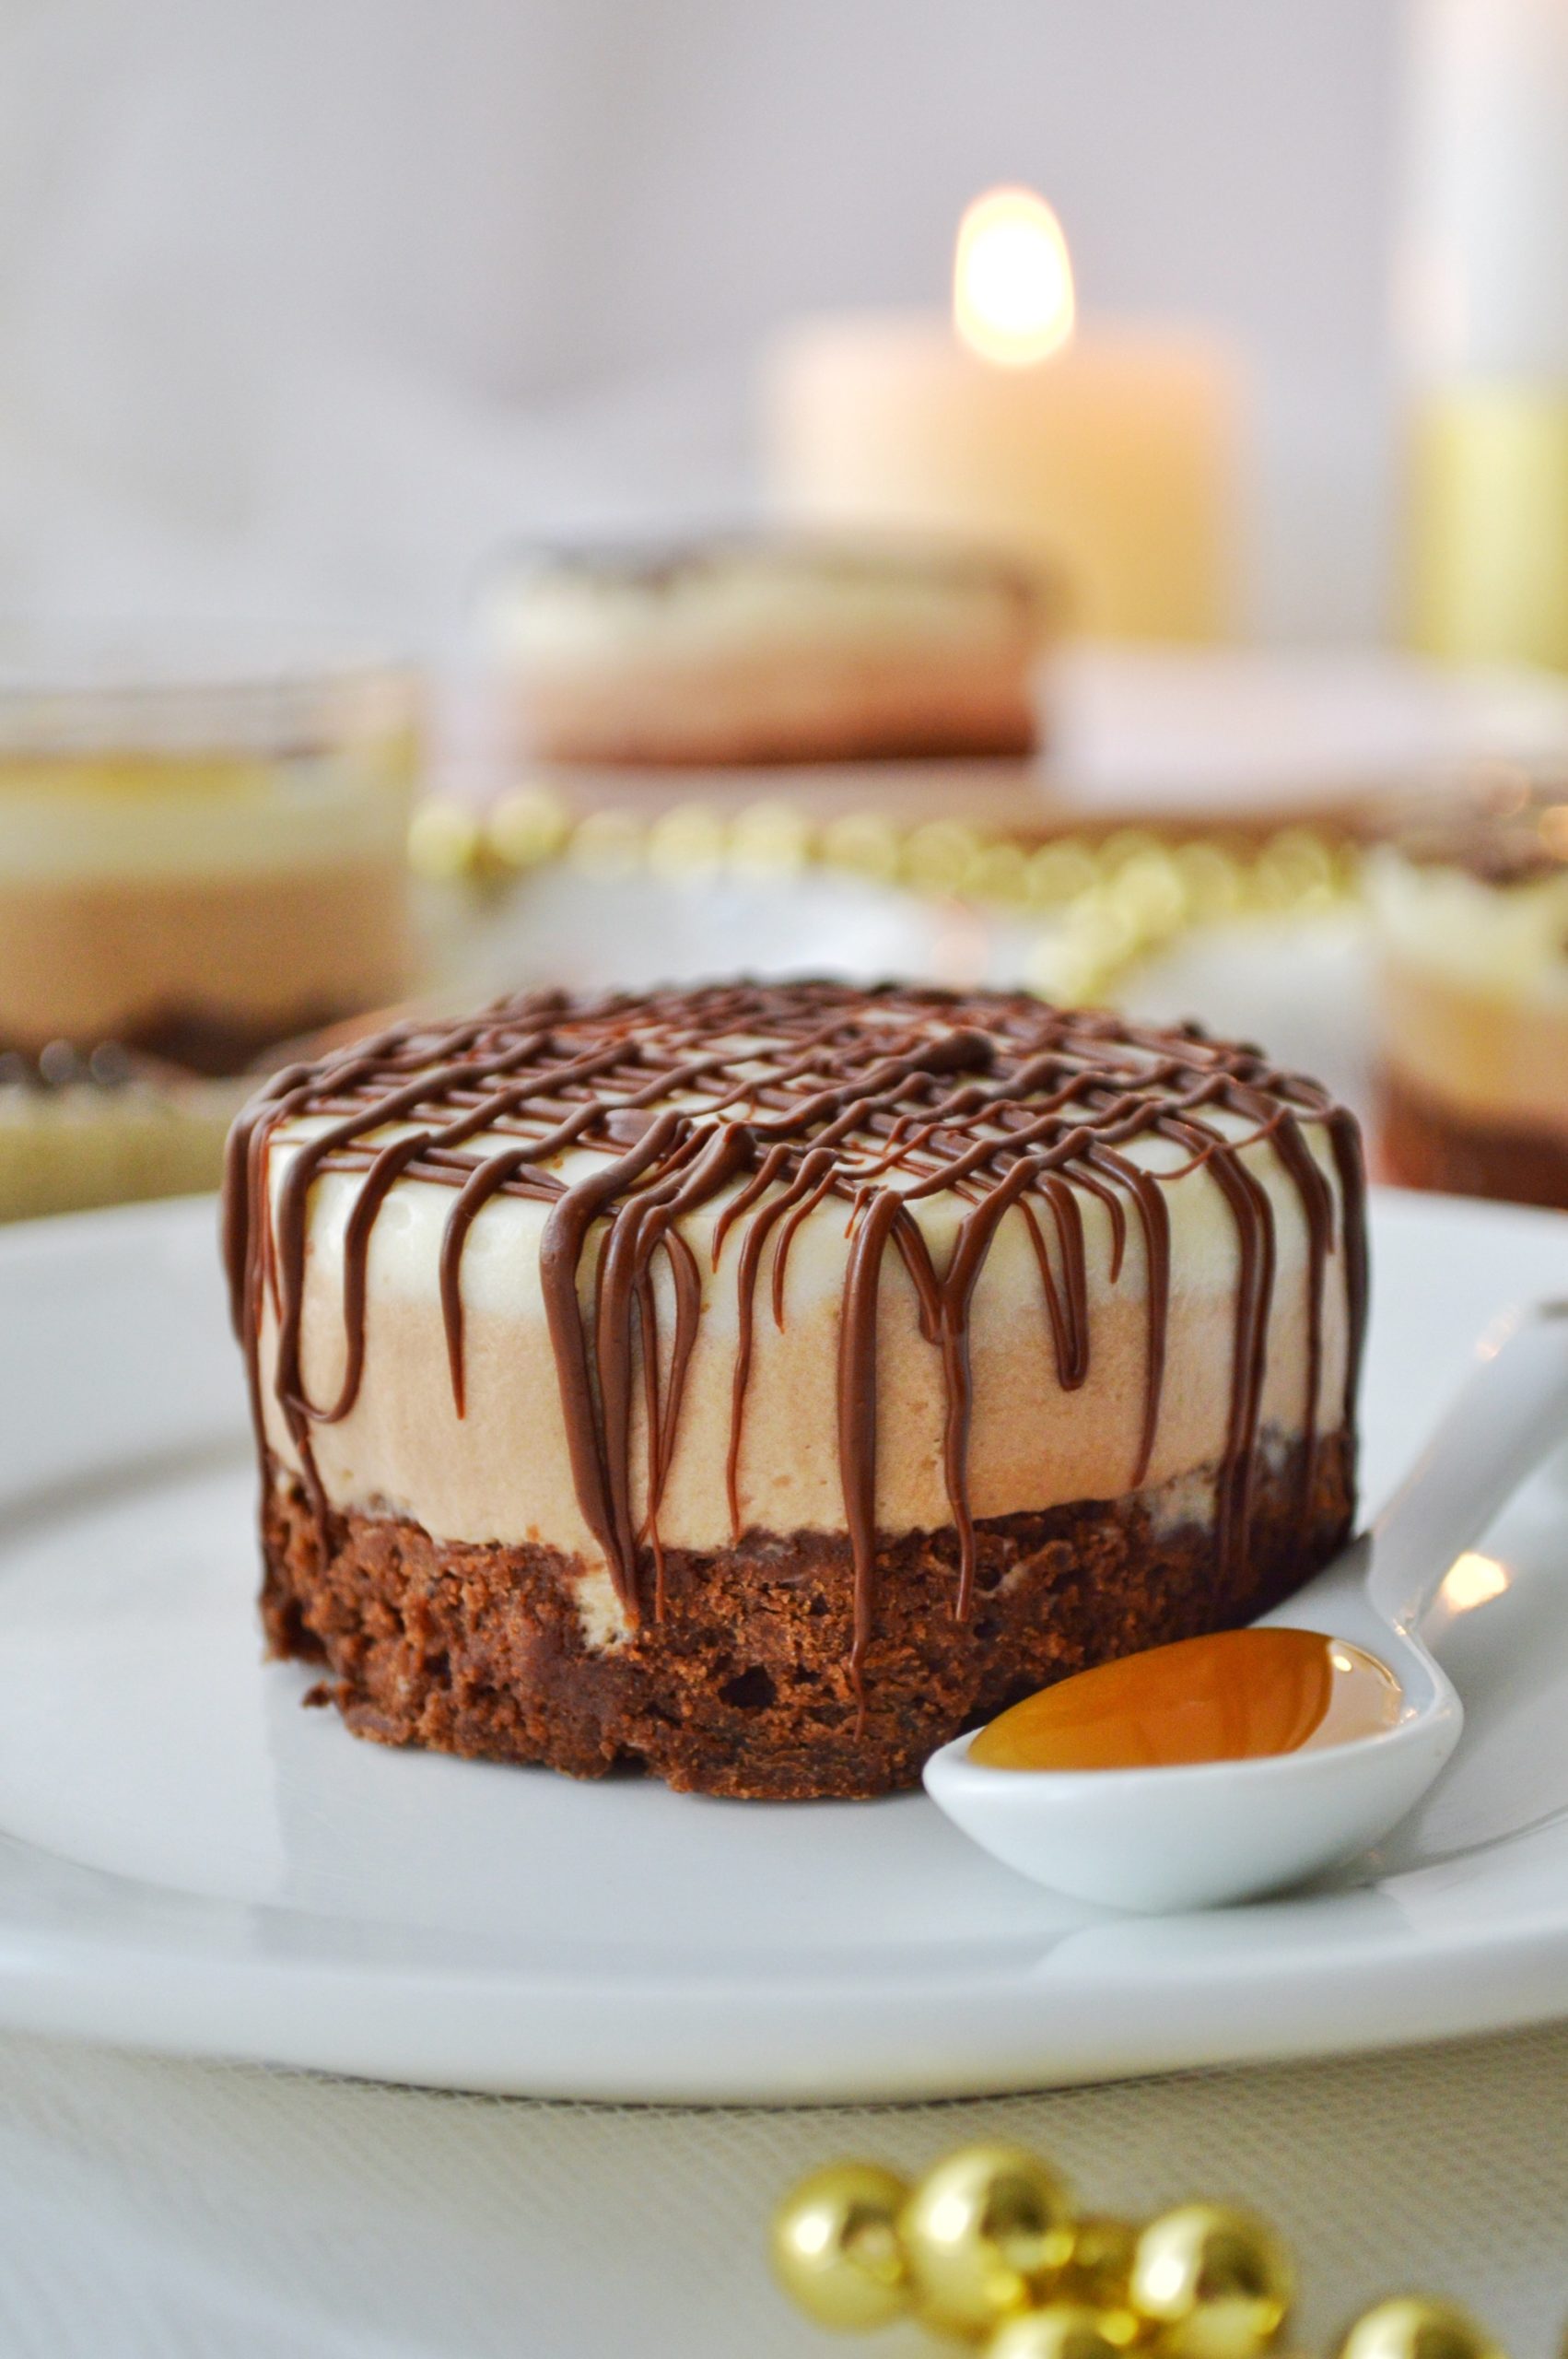
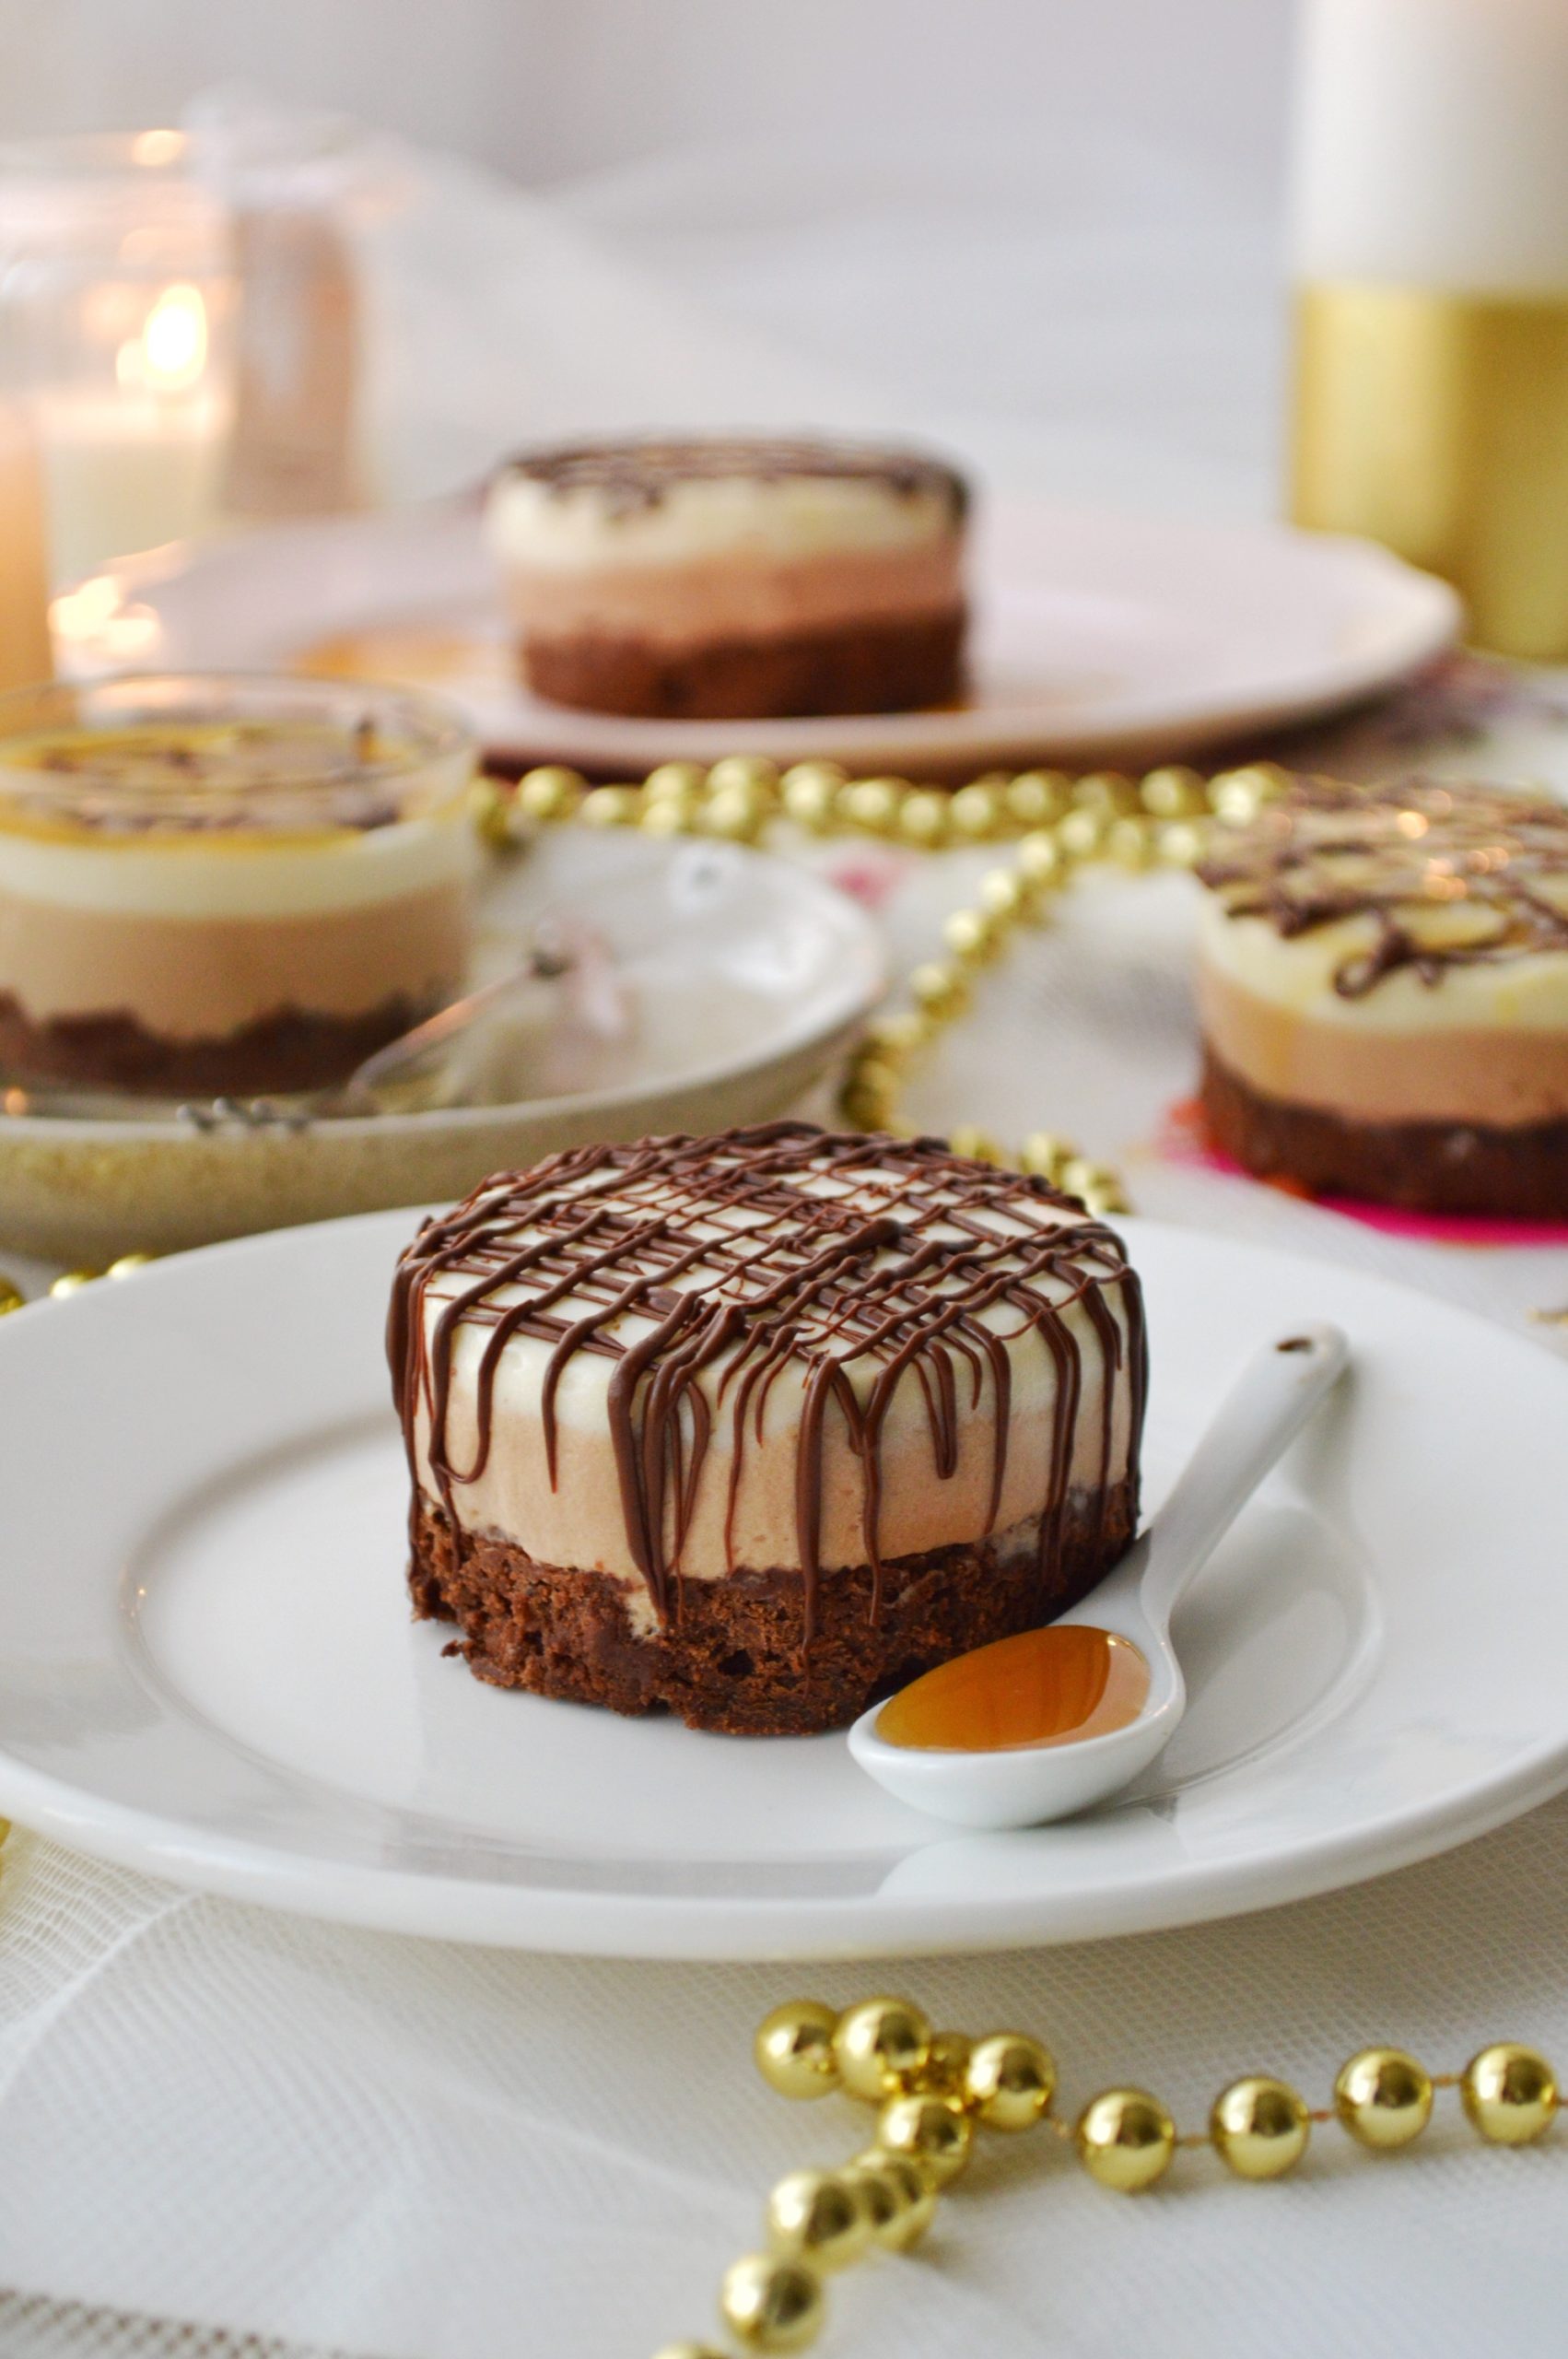
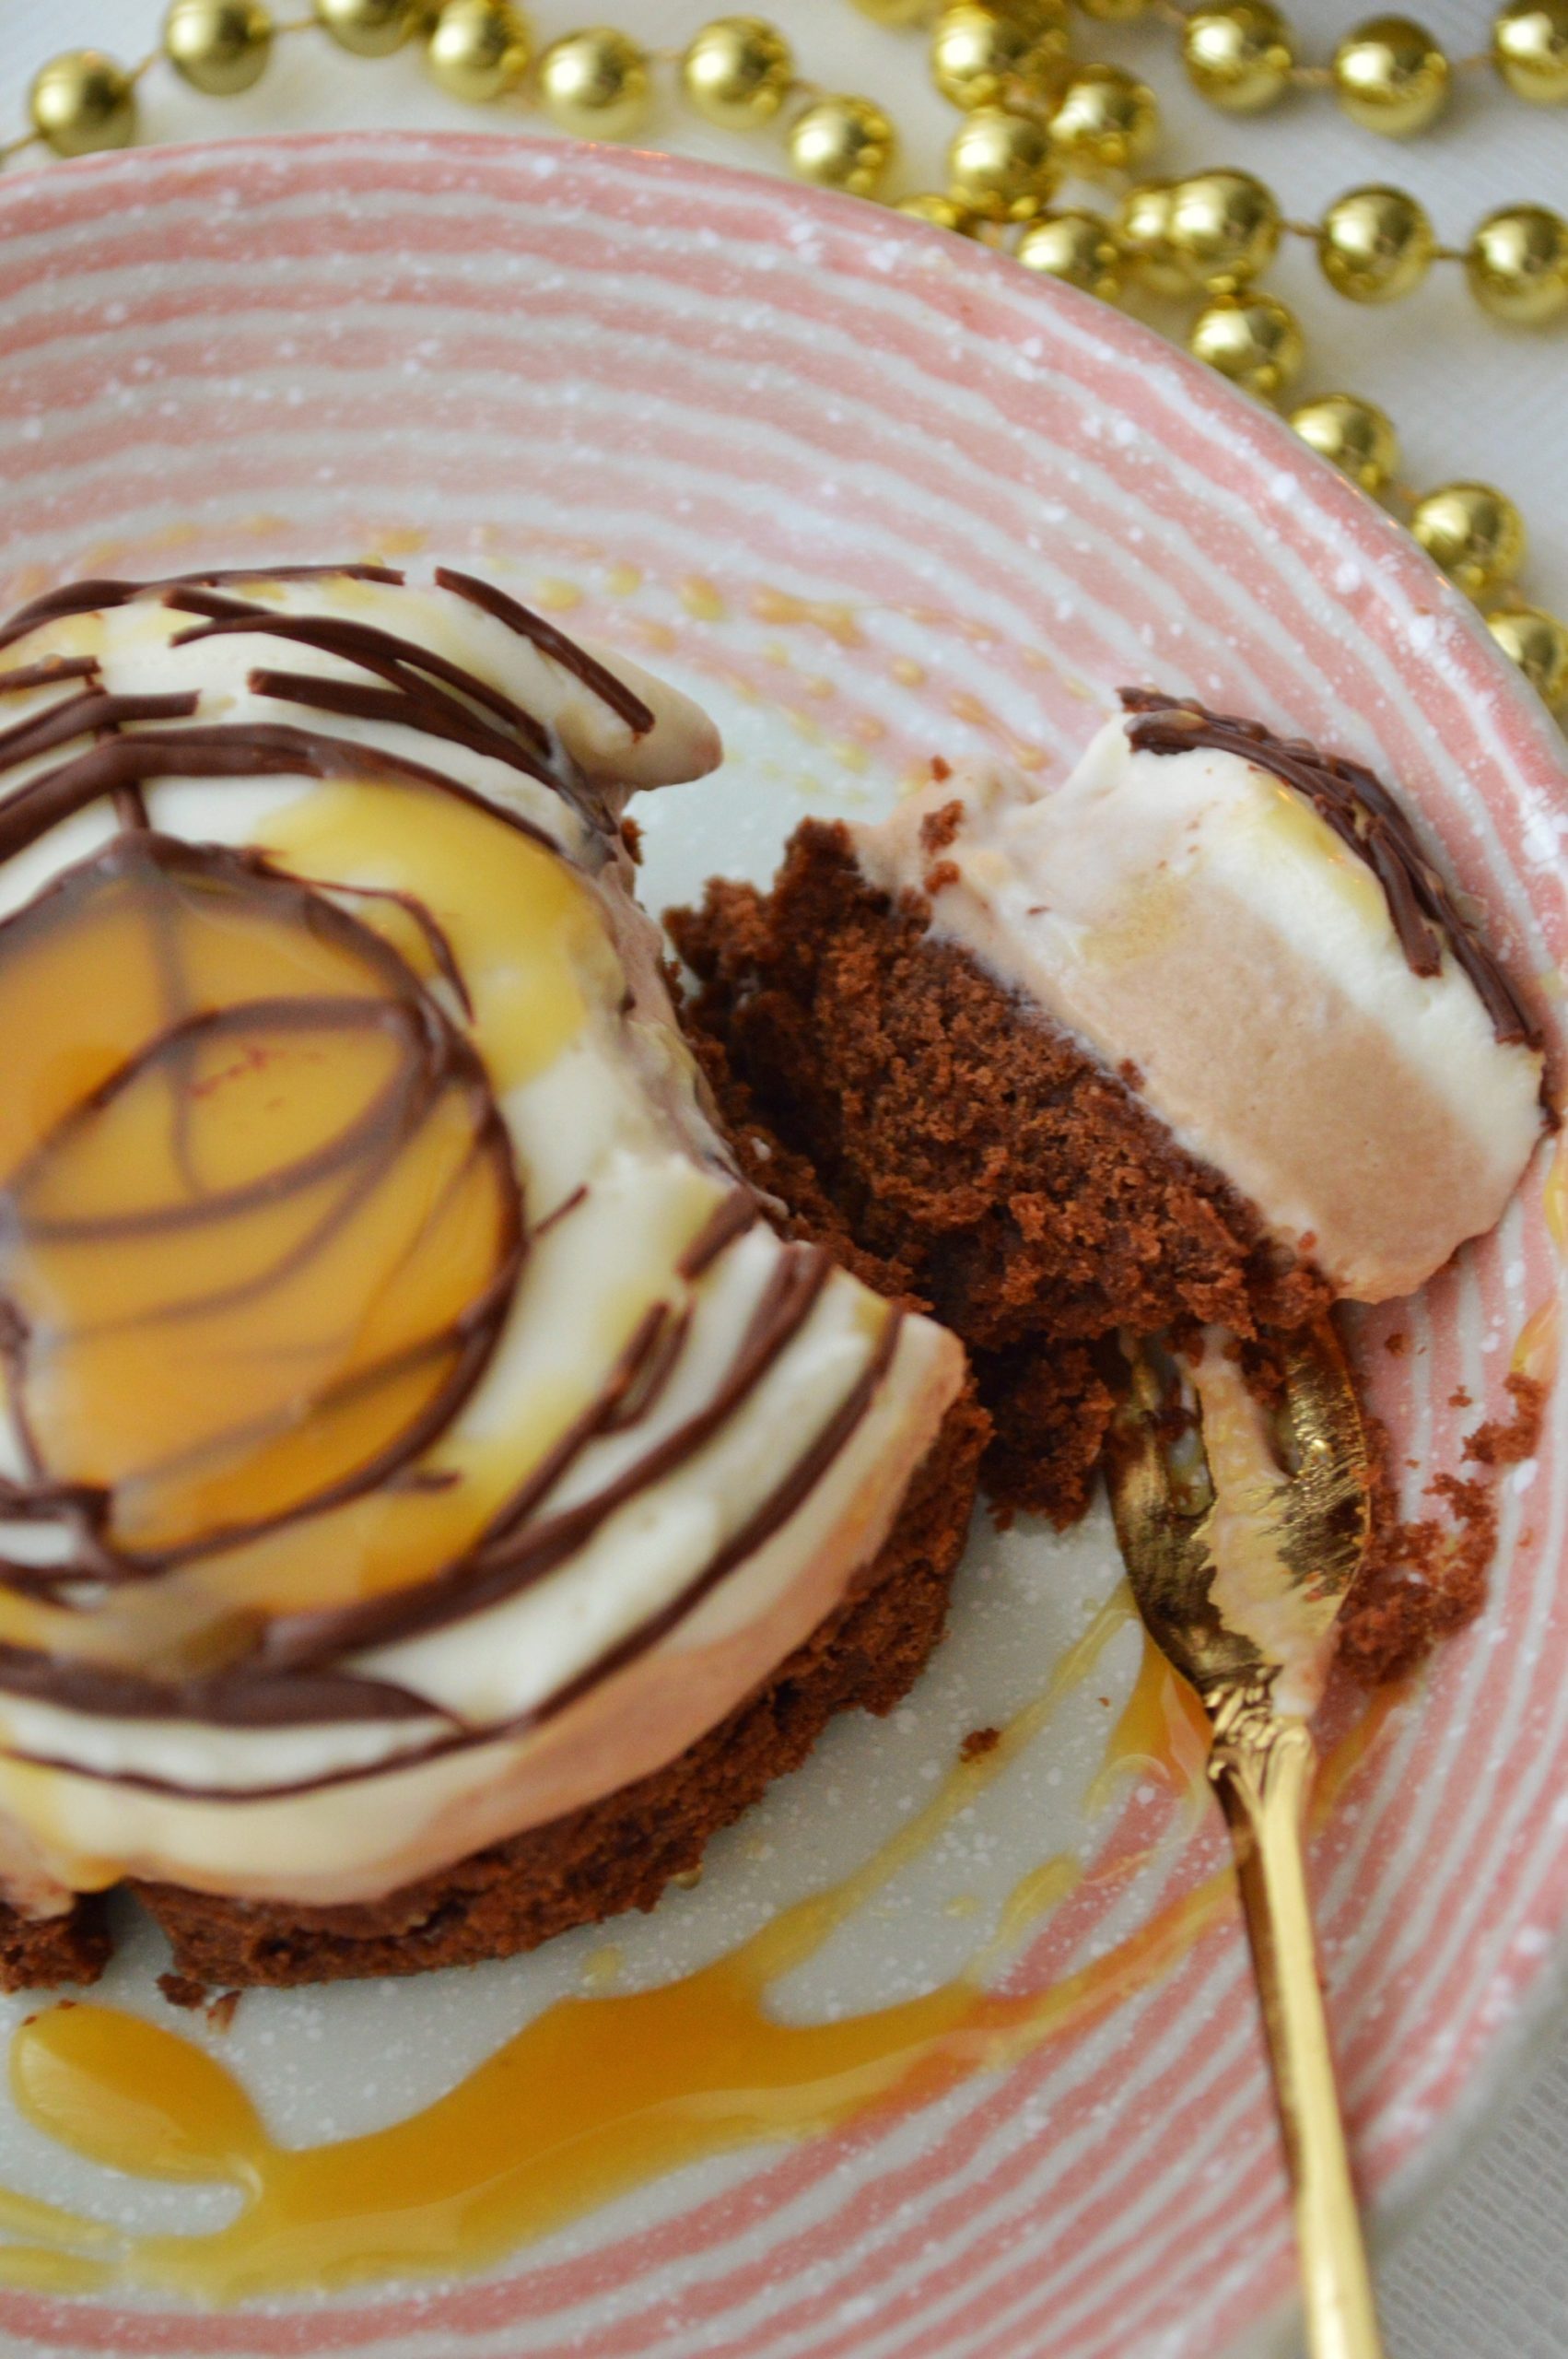
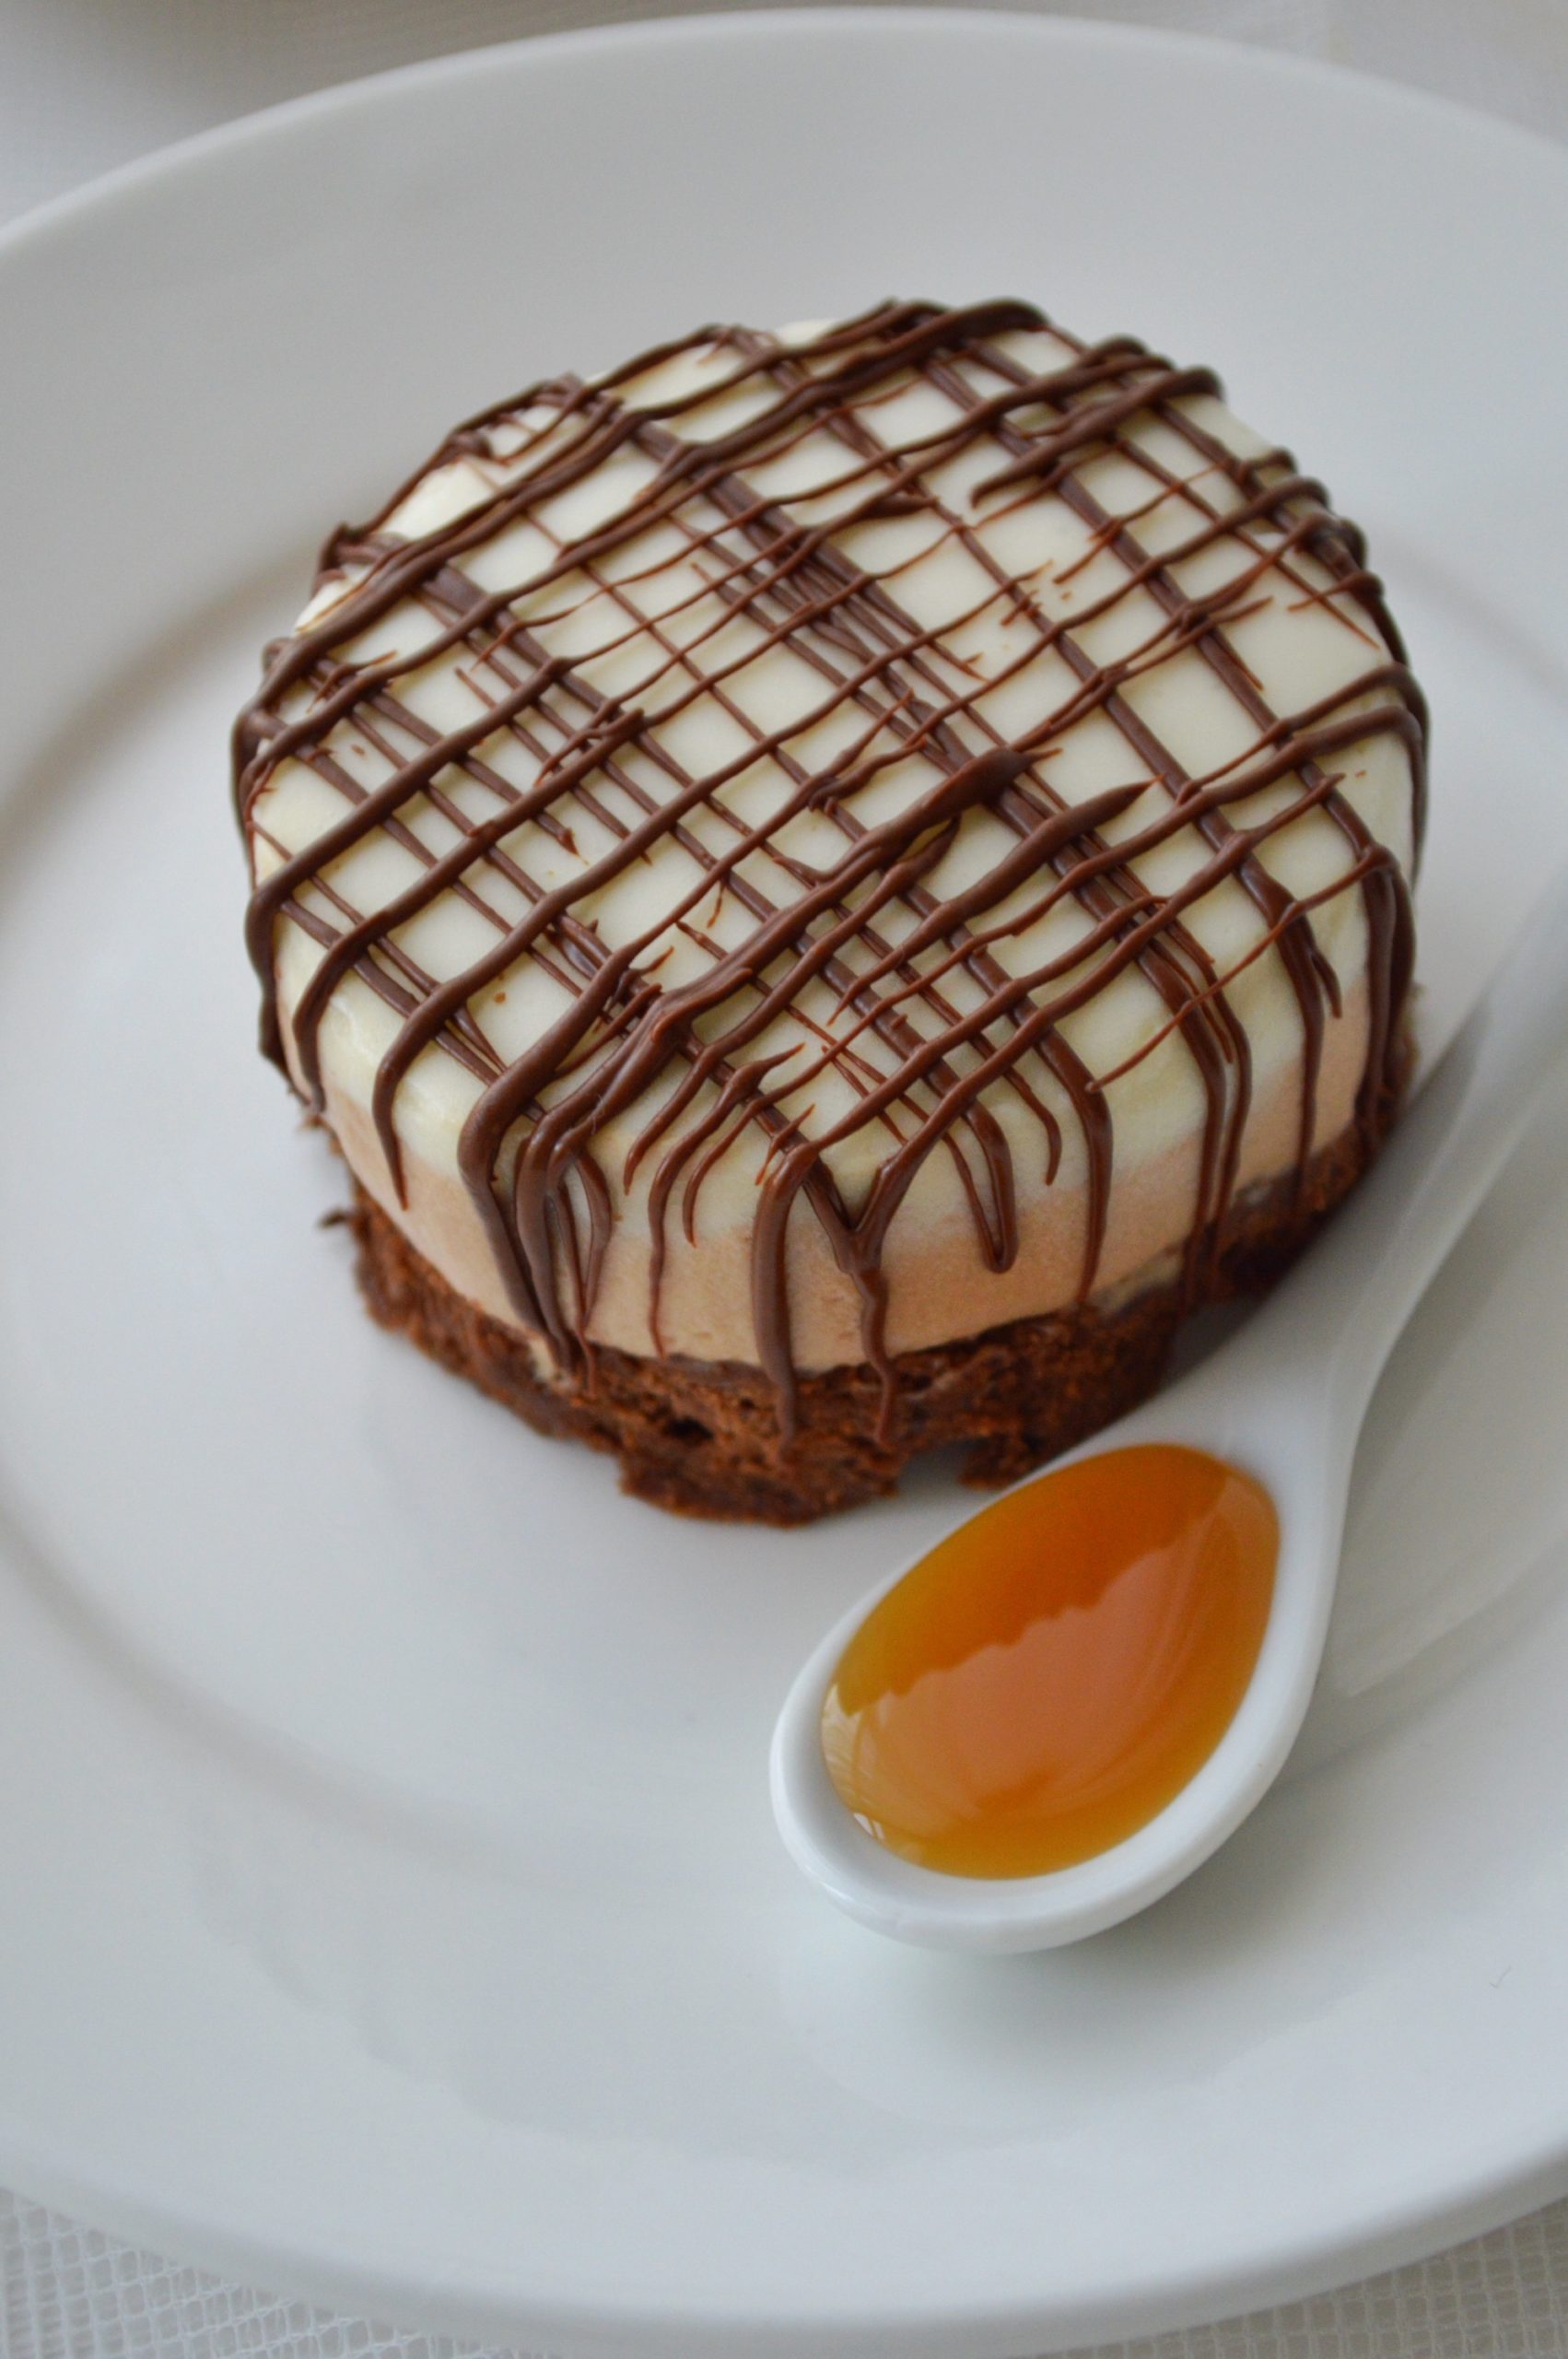
 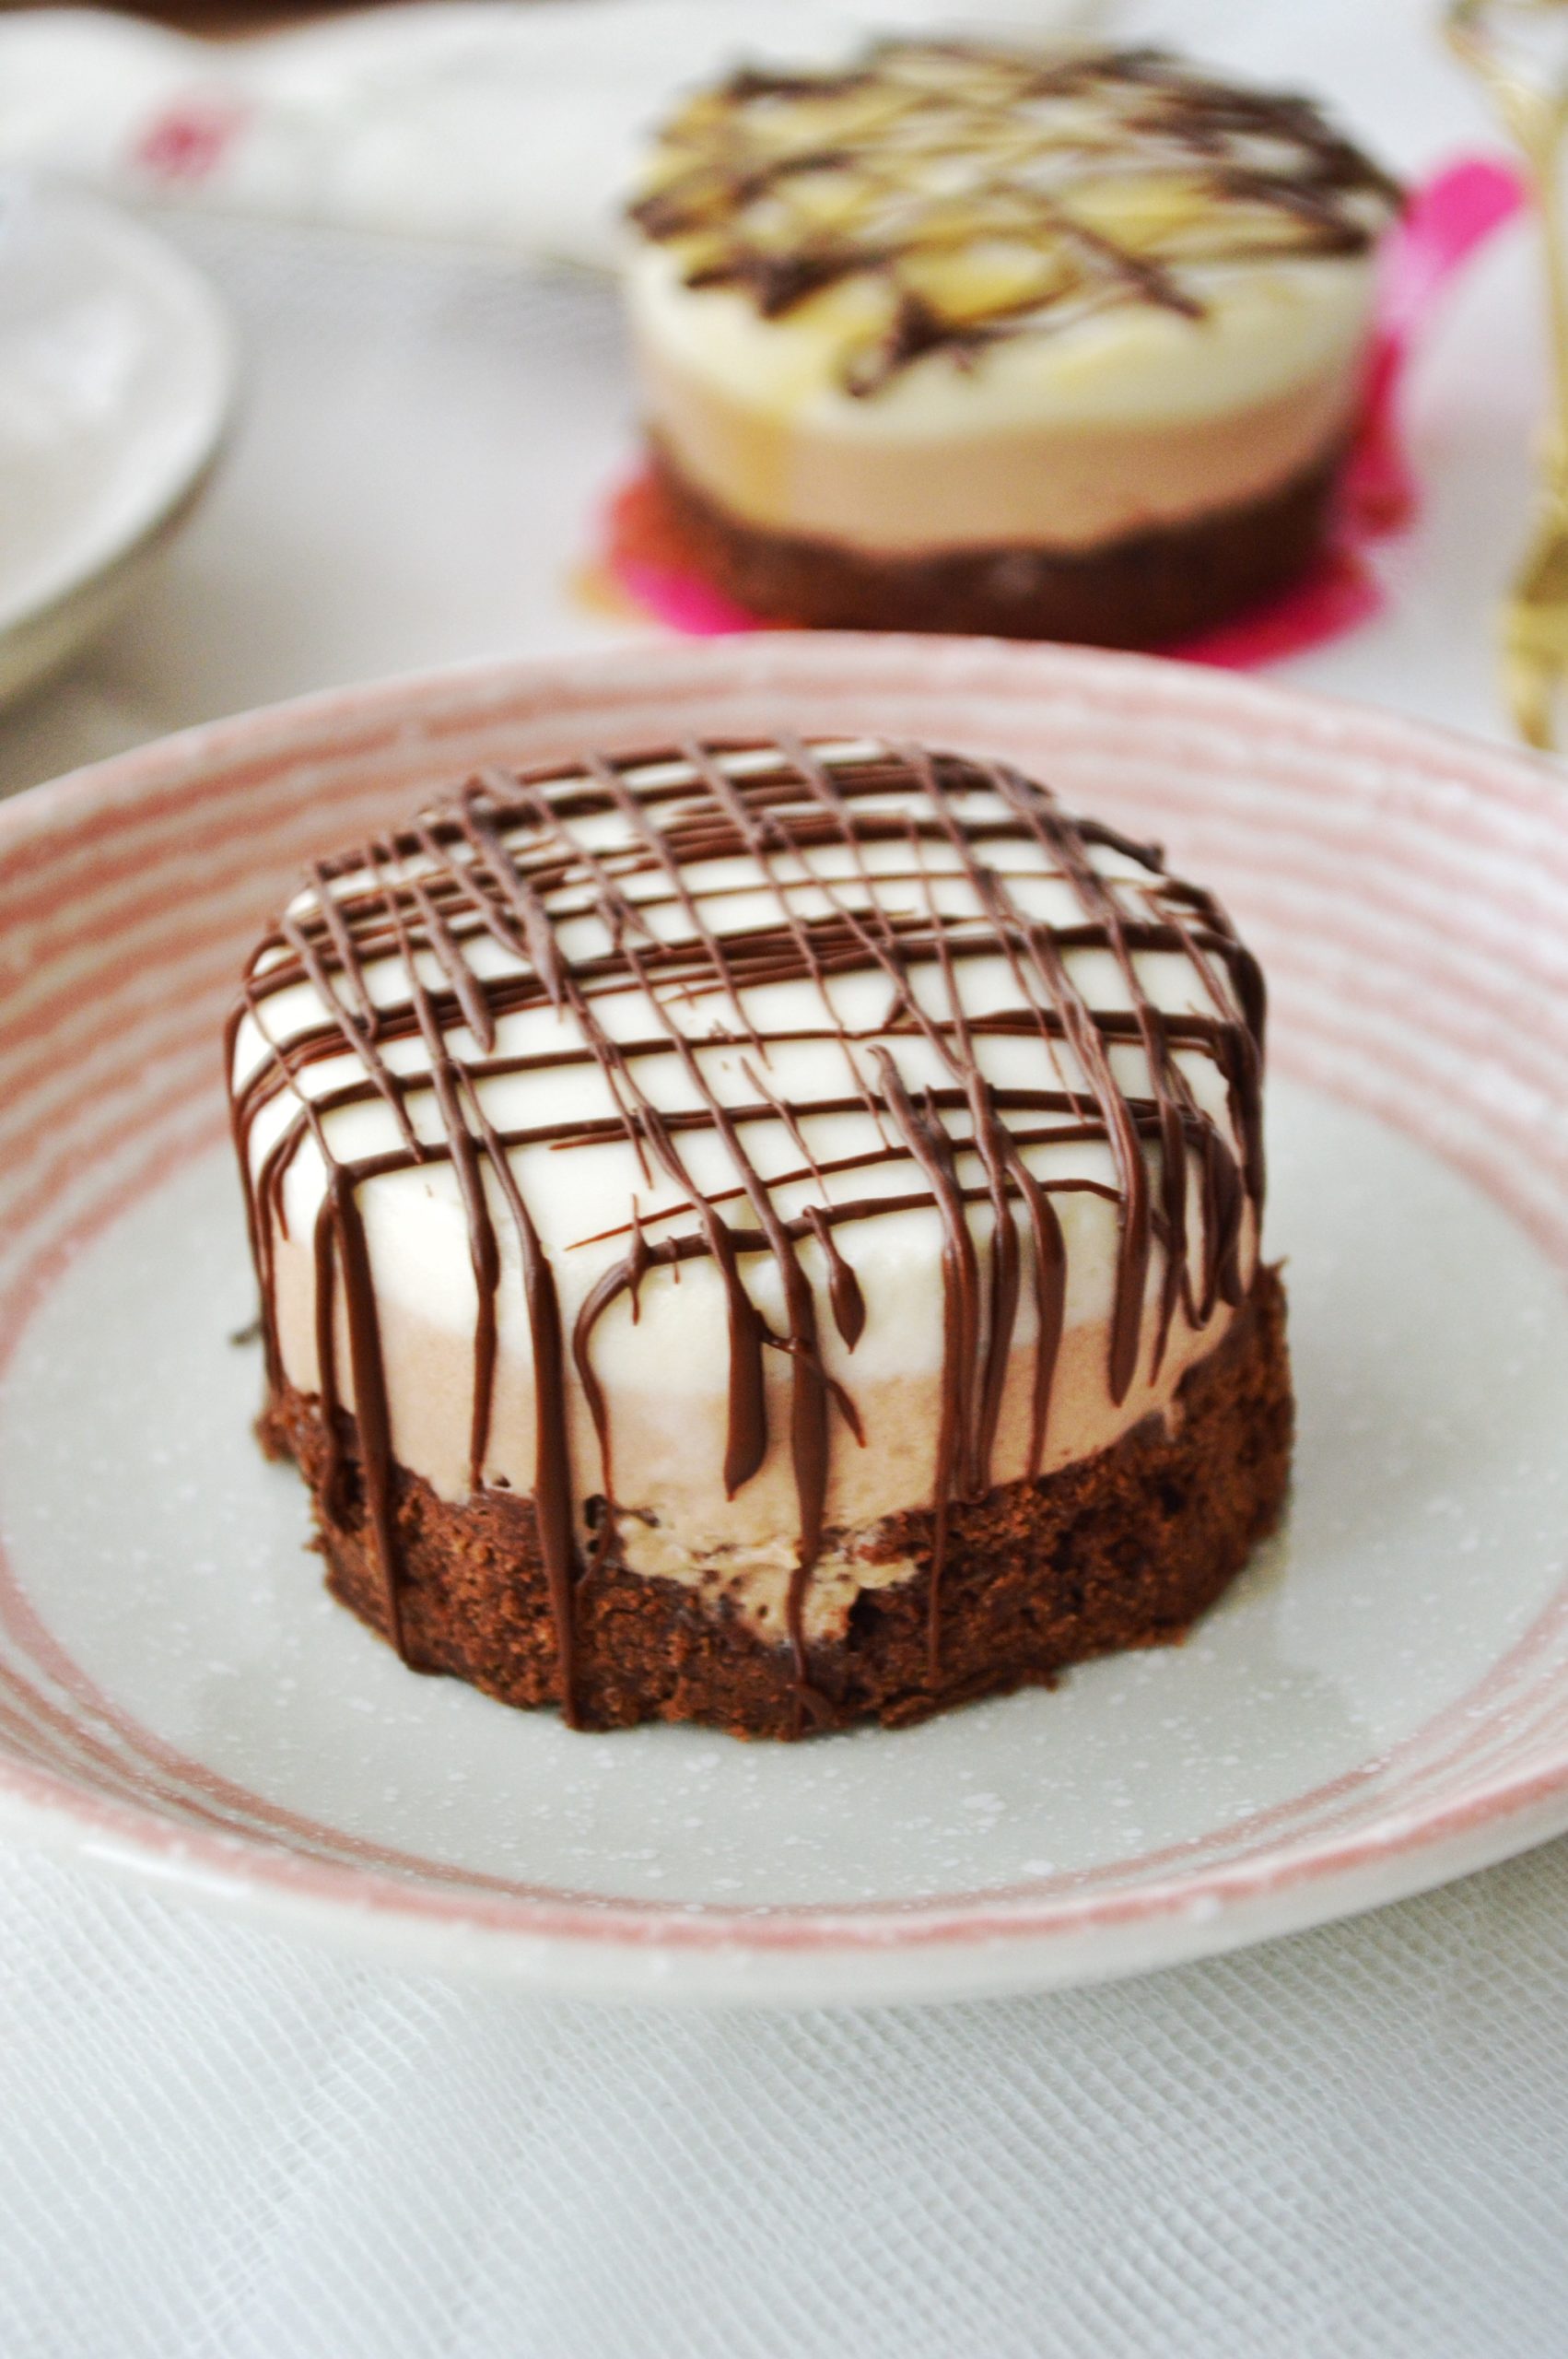 Every celebration calls for a sweet treat and what i have for you today is triple chocolate mousse cake. I had bookmarked this recipe and has been wanting to make this for a long time ever since i saw this gorgeous dessert in the gorgeous Lucy’s blog. ThIs is the one and only cake for true chocolate lovers. This has a rich dark chocolate cake layer, then a creamy milk chocolate mousse layer and a white chocolate mousse layer that melts in your mouth and transfers you into a sweet bliss.
Another announcement is that i have done a video tutorial on this recipe. This is the first time i tried making a video as i wanted to do something special for the anniversary. It was not very easy to cook and shoot at the same time, but somehow managed it. Its not perfect but really hope you guys will like it. Please do let me know, would love to hear your feedback.
Makes 6-8 Recipe courtesy: Lucy of Supergoldenbakes
For the cake layer:
- 90g dark chocolate chopped
- 100g unsalted butter at room temperature
- 2 eggs at room temperature
- 200g/ 1 cup light brown sugar
- 5-6 tbsp whole milk
- 2 tbsp cocoa powder
- 150g/ 1 1/4 cup plain flour
- 1 tbsp espresso powder
- 1/2 tsp baking powder
- 1/4 tsp salt
For the milk chocolate mousse:
- 180g milk chocolate chopped
- 120ml/ 1/2 cup whole milk
- 280ml/ 1 1/4 cups double cream
- 1 tsp gelatine powder
- 2 tbsp very hot water
- 3-4 tbsp toffee sauce/ salted caramel sauce
For white chocolate mousse:
- 90g white chocolate chopped
- 60ml/ 1/4 cup whole milk
- 70 ml double cream
- 2 tbsp very hot water
- 1/2 tsp gelatine
- 1 tsp vanilla essence
NOTES:
✔️ Melt gelatine according to package directions. Some brand instructs to mix gelatine in cold water.
✔️ It is the easiest to make this using ring moulds. You can make these in small pudding glasses too.
✔️ It is little time consuming to make this but you can plan and make this in two days. Split the recipe and make the cake layer on one day and make the mousse layers the next day, then it wont be that long a procedure.
Method:
Cake layer:
- Preheat oven to350F. Line a rectangular tin with baking sheet.
- Melt Chocolate in the microwave by stirring every 20 seconds till melted.
- Using paddle attachment, cream butter and sugar together for several minutes till light and fluffy.
- Add eggs one at a time and beat well.
- Pour in milk and incorporate.
- Combine all dry ingredients and sift them.
- Add the dry ingredients to the batter alternating with melted chocolate and mix till combined. The batter will be quite the thick.
- Pour this into the prepared tin and level with spatula.
- Bake for 20-25 minutes until cake is done.
- Remove the baking paper and cut the cake in rounds. If you are using a ring mould, then keep the cake in that and keep in freezer. Otherwise use a papercollar method. For that fold a large square of baking paper (30cm/12inch) in half. Roll it to giv the paper shape, open it and wrap around the cake and secure with tape. Keep in freezer.
Milk chocolate mousse layer:
- Sprinkle gelatine over 2 tbsp of very hot water and stir briskly.
- Heat milk in a saucepan. Just when it comes to a boil take it off the flame and add the gelatine mix. Whisk to combine.
- Pour hot milk over chopped chocolate. Leave for a couple of minutes. Then whisk it till completely melted. Set aside to cool.
- Whisk the double cream till you get stiff peaks. Add a scoop of cream to the chocolate and mix well. Pour in the toffee sauce and mix. Fold in the remaining cream to the chocolate.
- Pipe the mousse to the paper collar or ring half way up. Return to the freezer.
White chocolate mousse cake layer:
- Follow the same procedure as milk chocolate mousse but just add vanilla essence to milk while boiling.
- Pipe white chocolate mousse on top of the milk chocolate mousse and keep in freezer for an hour to set.
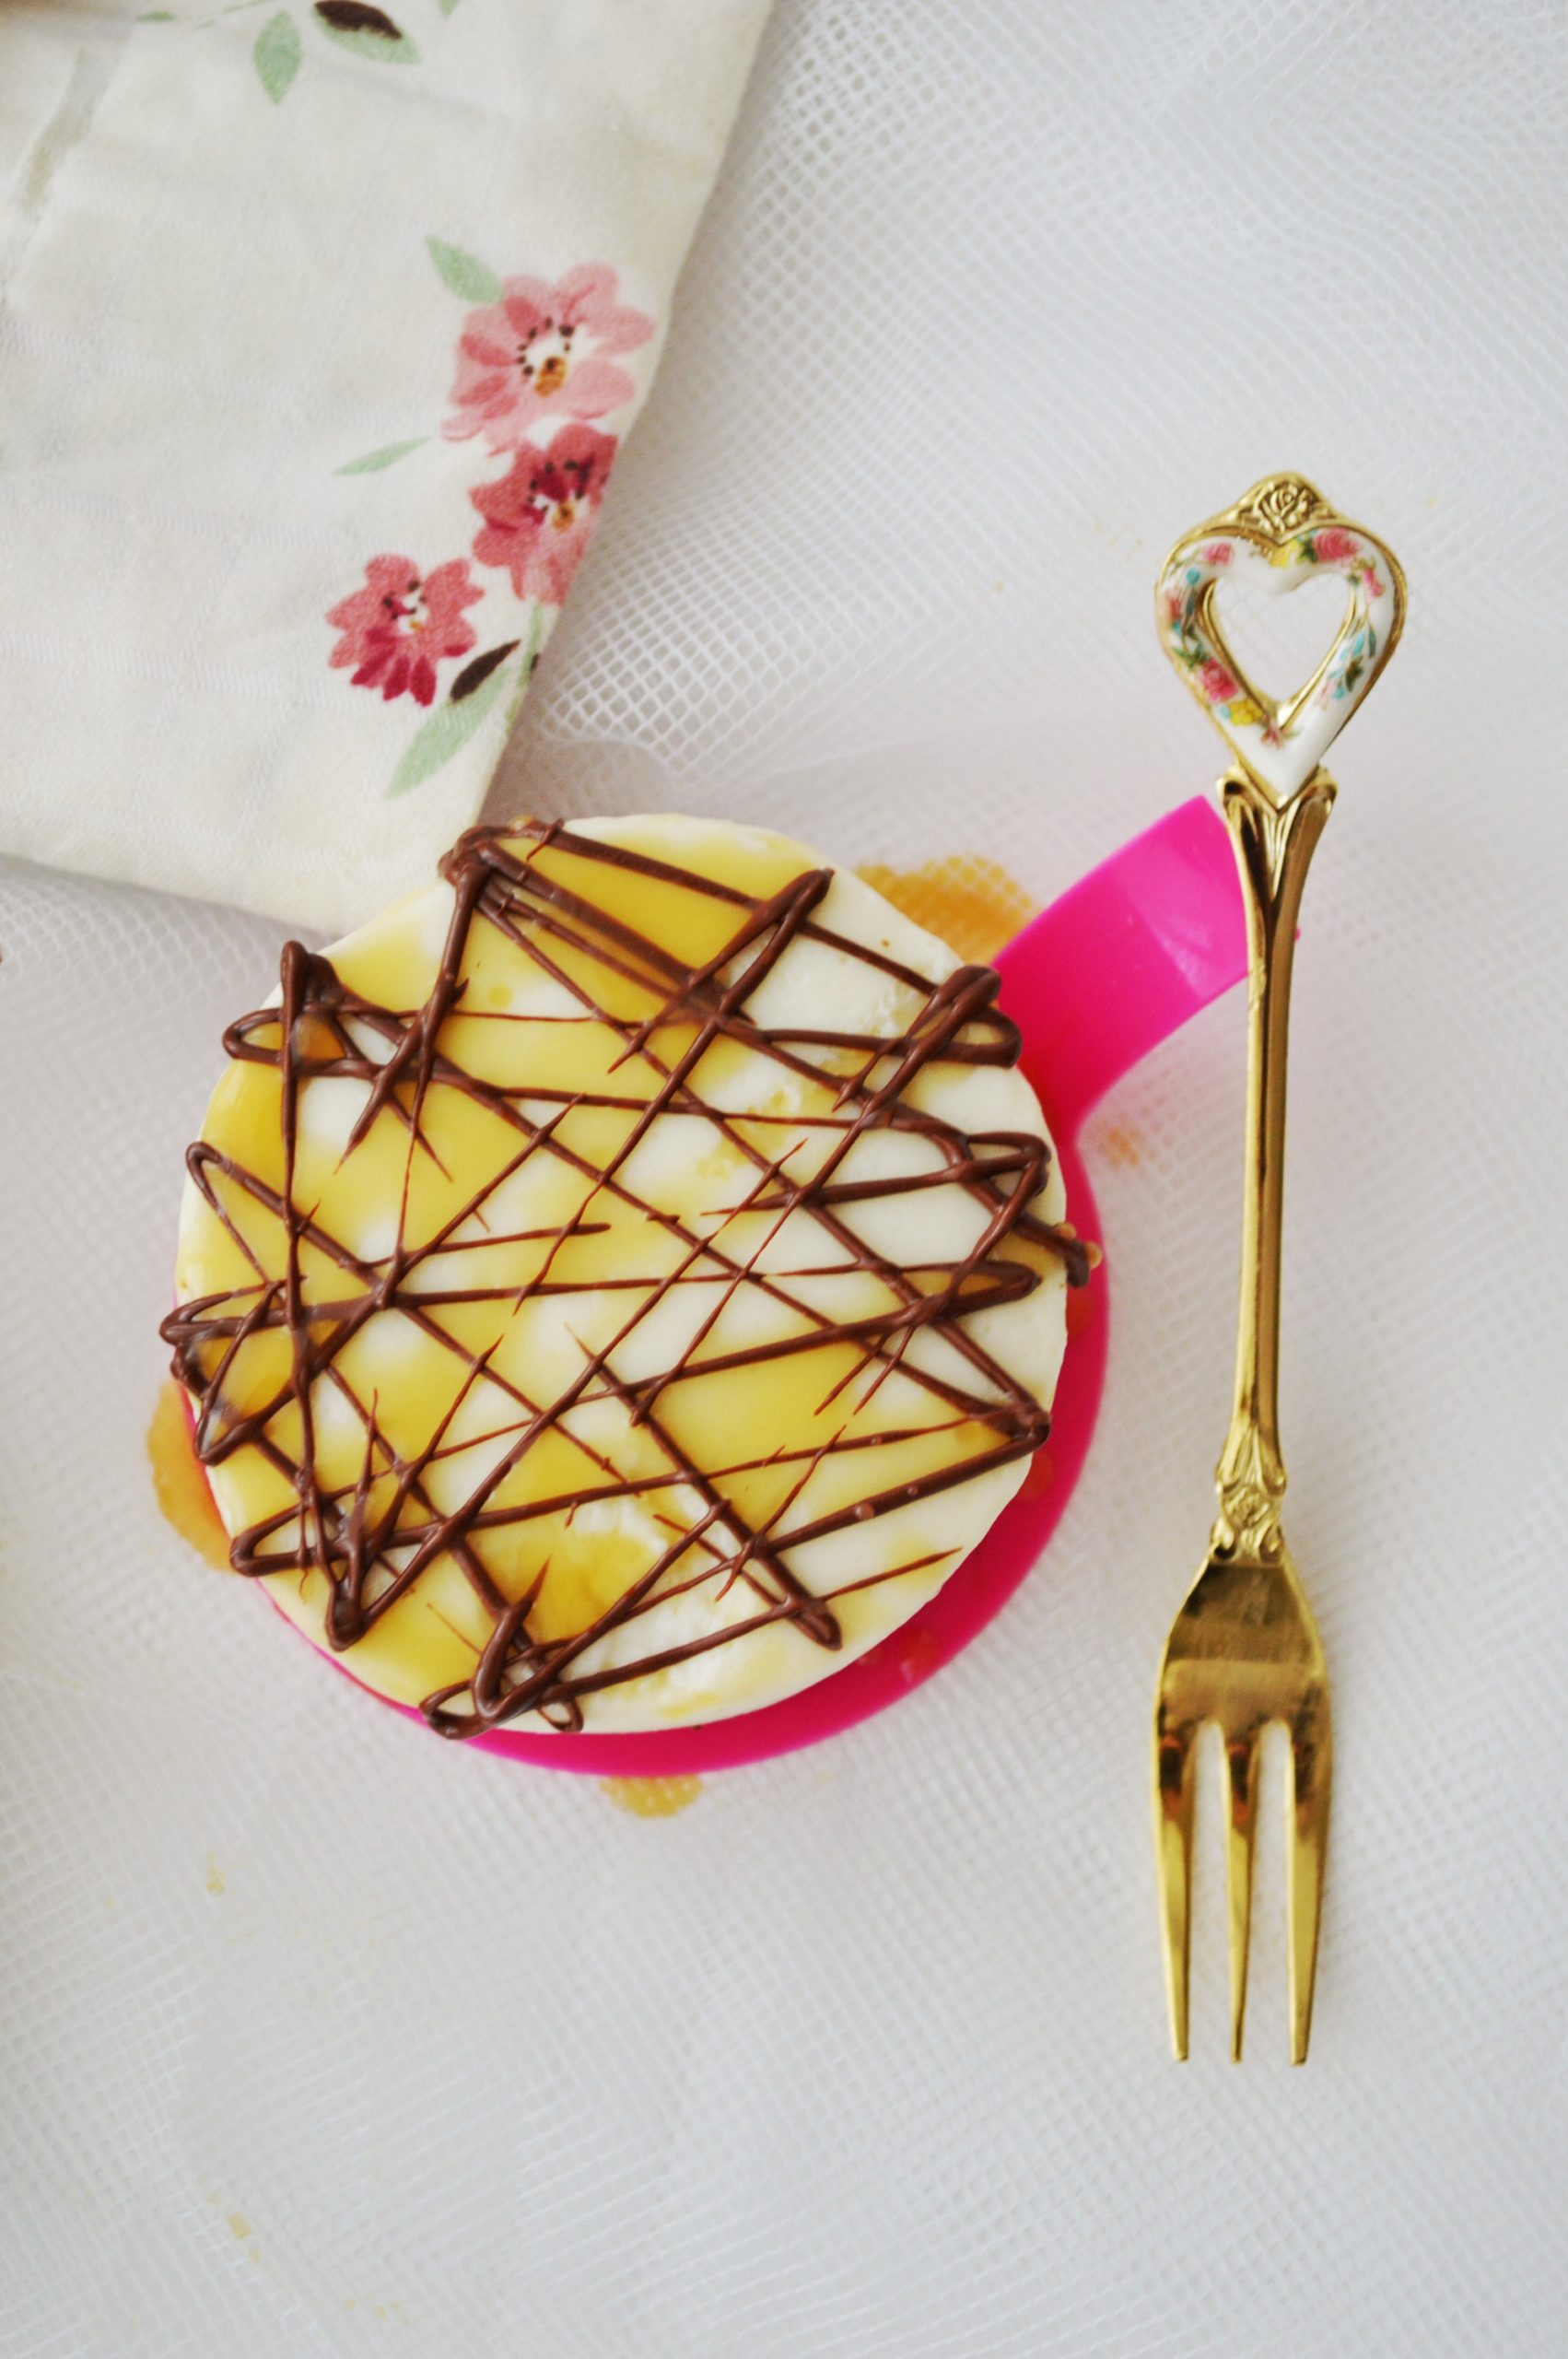
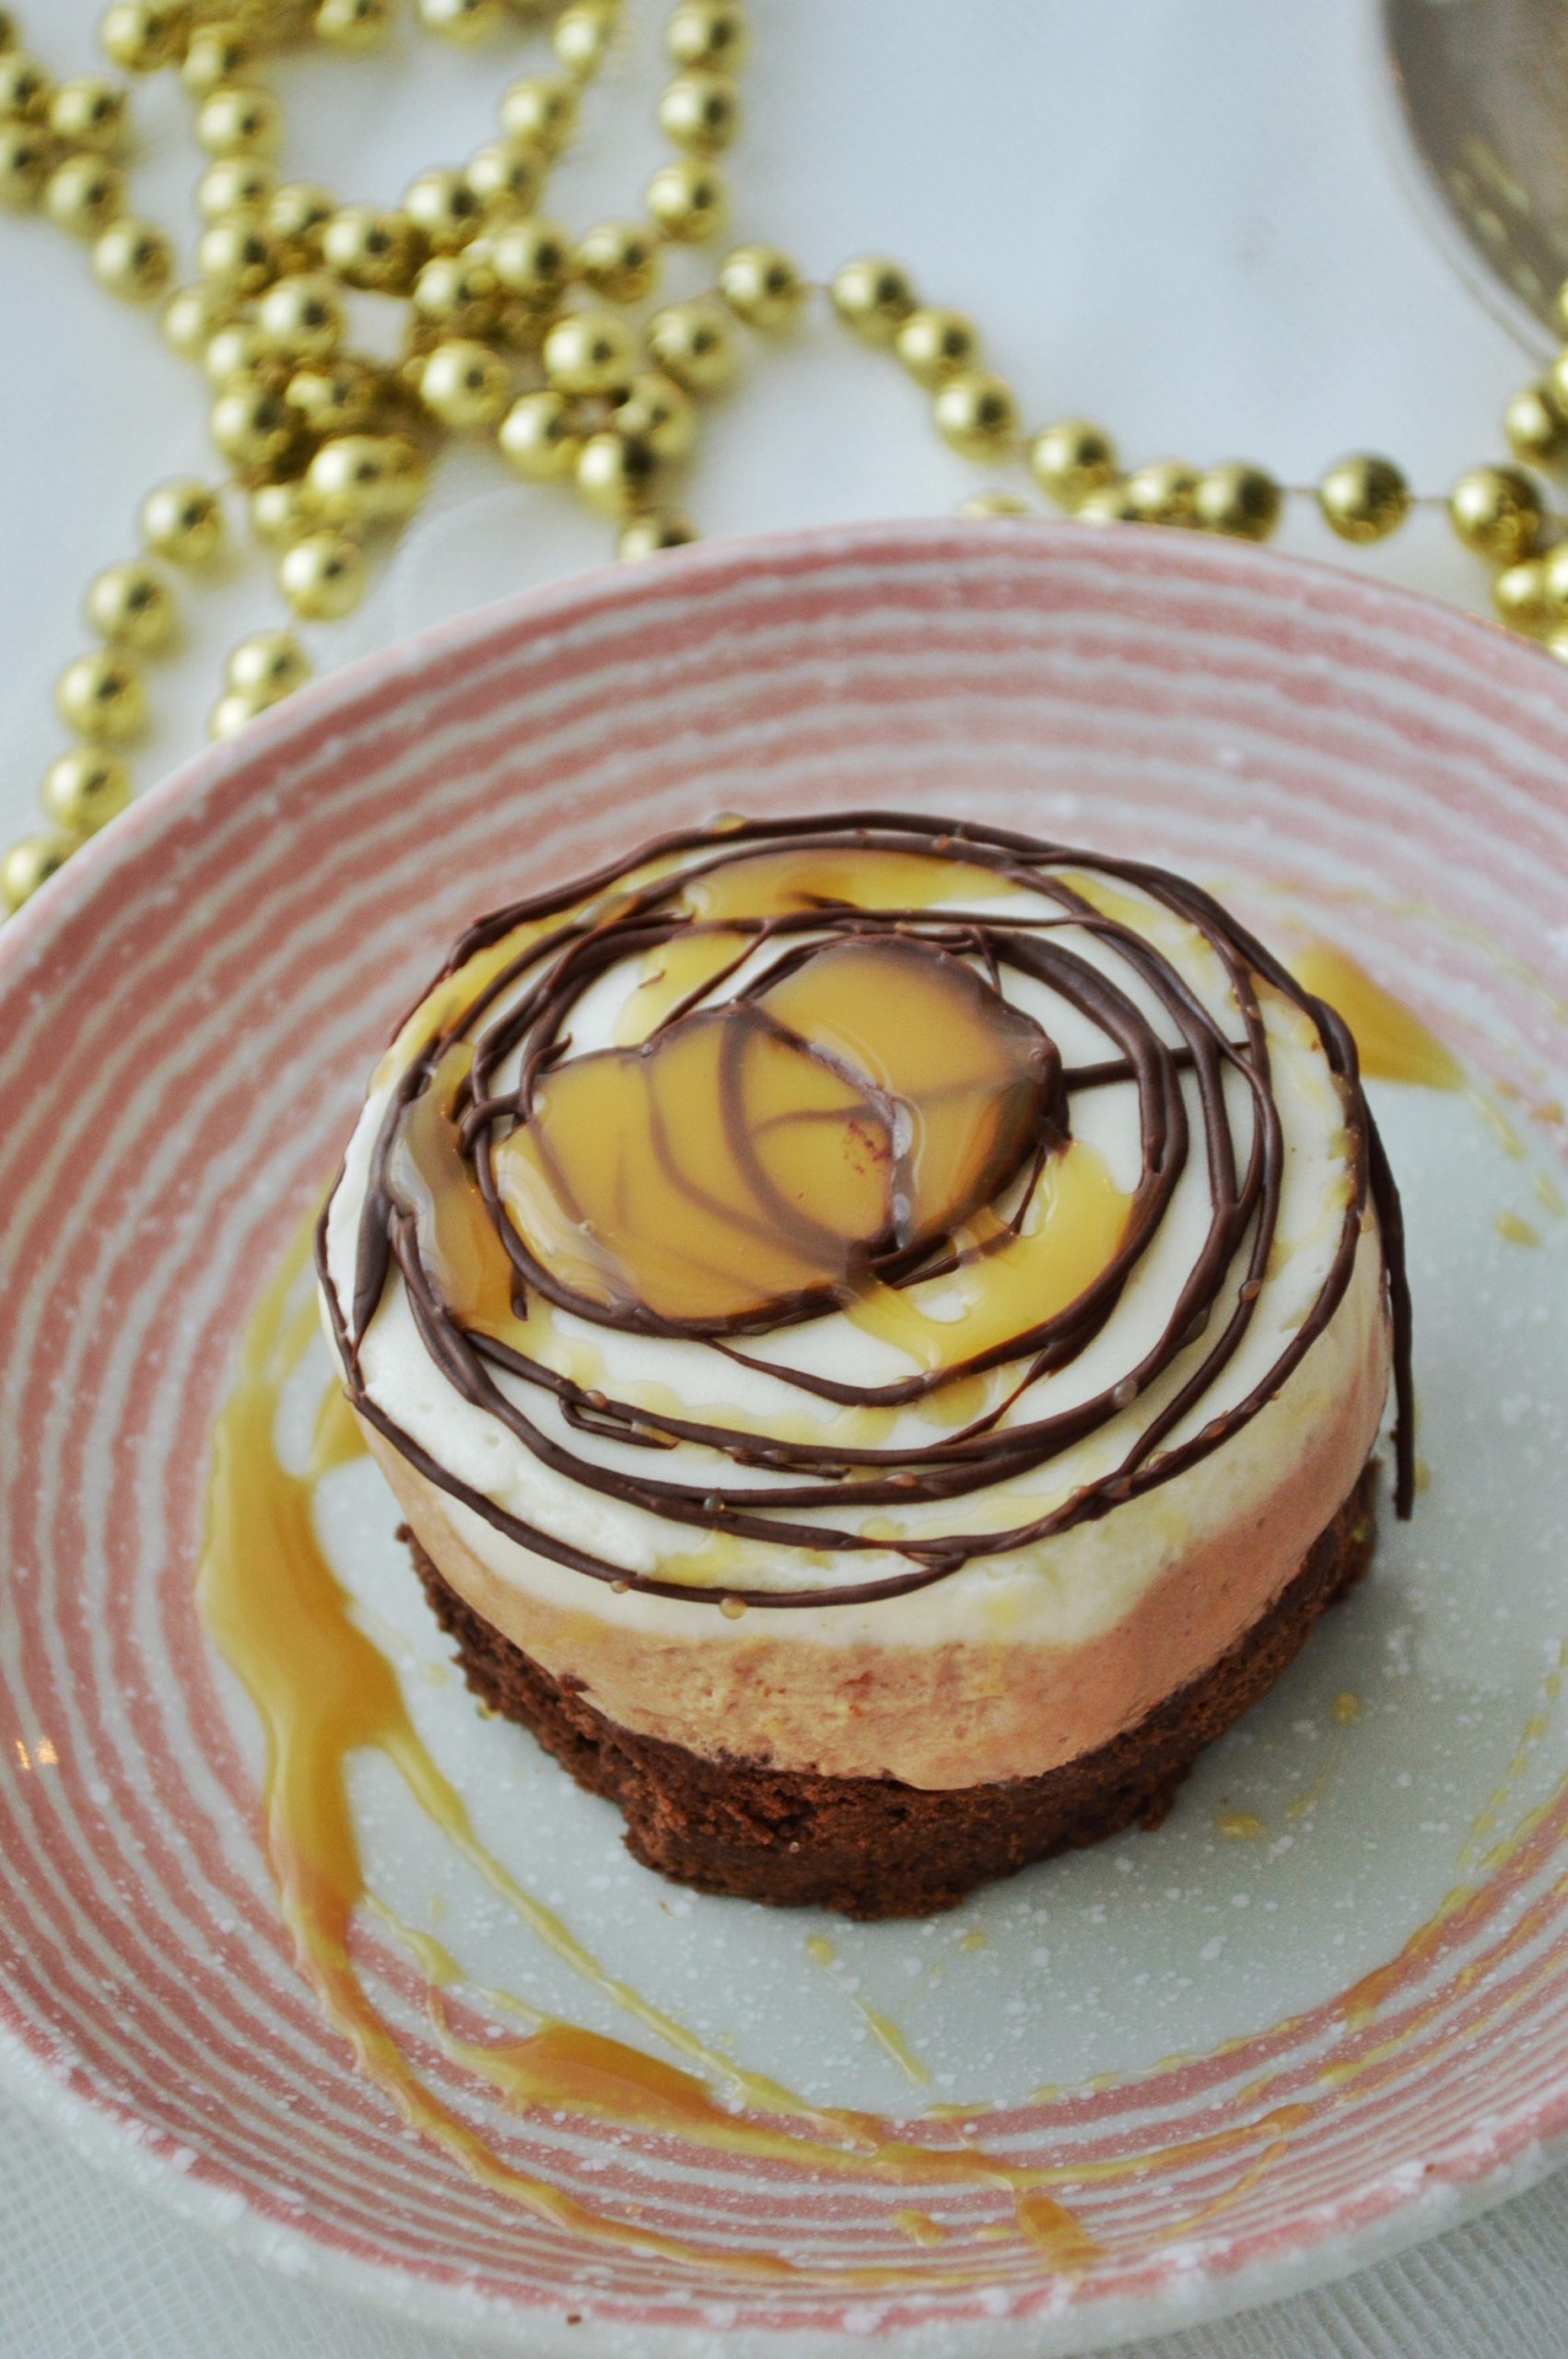
Warm the ring moulds with your hands and carefully push the cake out. If using paper collar remove the collar. Garnish it with melted chocolate, caramel/toffee sauce and chocolate shavings. Transfer to fridge if not eating immediately. It is best when eaten at room temperature.
Triple Chocolate Mousse Cake
Ingredients
INGREDIENTS
For the cake layer
- 90 g dark chocolate chopped
- 100 g unsalted butter at room temperature
- 2 eggs at room temperature
- 200 g/ 1 cup light brown sugar
- 5-6 tbsp whole milk
- 2 tbsp cocoa powder
- 150 g/ 1 1/4 cup plain flour
- 1 tbsp espresso powder
- 1/2 tsp baking powder
- 1/4 tsp salt
For the milk chocolate mousse
- 180 g milk chocolate chopped
- 120 ml/ 1/2 cup whole milk
- 280 ml/ 1 1/4 cups double cream
- 1 tsp gelatine powder
- 2 tbsp very hot water
- 3-4 tbsp toffee sauce/ salted caramel sauce
For white chocolate mousse
- 90 g white chocolate chopped
- 60 ml/ 1/4 cup whole milk
- 70 ml double cream
- 2 tbsp very hot water
- 1/2 tsp gelatine
- 1 tsp vanilla essence
Instructions
DIRECTIONS
Cake layer
- Preheat oven to350F. Line a rectangular tin with baking sheet.
- Melt Chocolate in the microwave by stirring every 20 seconds till melted.
- Using paddle attachment, cream butter and sugar together for several minutes till light and fluffy.
- Add eggs one at a time and beat well.
- Pour in milk and incorporate.
- Combine all dry ingredients and sift them.
- Add the dry ingredients to the batter alternating with melted chocolate and mix till combined. The batter will be quite the thick.
- Pour this into the prepared tin and level with spatula.
- Bake for 20-25 minutes until cake is done.
- Remove the baking paper and cut the cake in rounds. If you are using a ring mould, then keep the cake in that and keep in freezer. Otherwise use a papercollar method. For that fold a large square of baking paper (30cm/12inch) in half. Roll it to giv the paper shape, open it and wrap around the cake and secure with tape. Keep in freezer.
Milk chocolate mousse layer
- Sprinkle gelatine over 2 tbsp of very hot water and stir briskly.
- Heat milk in a saucepan. Just when it comes to a boil take it off the flame and add the gelatine mix. Whisk to combine.
- Pour hot milk over chopped chocolate. Leave for a couple of minutes. Then whisk it till completely melted. Set aside to cool.
- Whisk the double cream till you get stiff peaks. Add a scoop of cream to the chocolate and mix well. Pour in the toffee sauce and mix. Fold in the remaining cream to the chocolate.
- Pipe the mousse to the paper collar or ring half way up. Return to the freezer.
White chocolate mousse cake layer
- Follow the same procedure as milk chocolate mousse but just add vanilla essence to milk while boiling.
- Pipe white chocolate mousse on top of the milk chocolate mousse and keep in freezer for an hour to set.
- Warm the ring moulds with your hands and carefully push the cake out. If using paper collar remove the collar. Garnish it with melted chocolate, caramel/toffee sauce and chocolate shavings. Transfer to fridge if not eating immediately. It is best when eaten at room temperature.
Notes
* Melt gelatine according to package directions. Some brand instructs to mix gelatine in cold water.
* It is the easiest to make this using ring moulds. You can make these in small pudding glasses too.
* It is little time consuming to make this but you can plan and make this in two days. Split the recipe and make the cake layer on one day and make the mousse layers the next day, then it wont be that long a procedure.

Very classy post! Superb video…
Happy Anniversary, proud of you!!!
Thank you! <3
Happy anniversary! I loved your video and definitely think you should be making more. Delicious recipe!
Thank you. Happy you liked the video. 😀
hubba hubba – what a fab cake! And happy blog birthday 😉
Thank youuu! 😀
Happy Anniversary, Sadia! Excellent video. Look forward to trying many of your recipes. 🙂
Thanks a lot Aruna! Would be really happy if you make dishes from my blog. 🙂
Great video and mousse cake Sadia!! 🙂
Thanks a lot Lili! 🙂
Great post and a great video!
Happy Anniversary, Sadia! 🙂
Thanks a looot Sonal! 🙂
Happy anniversary Sadia! what a great post and love all your props and photos! They are mind blowing! 🙂
Thanks Radhika! 🙂
Enjoyed your video!
Thank you! 🙂
Happy anniversary!!!loved the video…tooo good,classy!
Thanks a lot Safreena! Glad you liked it. 🙂
Happy Anniversary Sadia. Loved your post, video, photos and also the props used. Cheers 🙂
Thank you dear! 🙂
Congratulations on 2 wonderful years of blogging Sadia! What a gorgeous video you’ve made too – I loved watching how your mousse cakes were made. They look absolutely stunning!
Thanks a loot dear! 🙂
Congratulations and that’s an awesome dessert dear
Thanks Dhanya! 🙂
Happy Blogiversary Sadia! Lovely video of a fabulous dessert!
Thanks Naina! 🙂
What a lovely post, and great video 🙂 happy blogiversary!!!! xxx
Thanks Elaine! 🙂
Your blog is such a wonderful labour of love–I always first notice the incredible photos and props, and of course the wonderful recipes! I loved the video! It was so charming to watch with the music and very clear shots of all the steps 🙂 The paper rings was such a clever idea–I shall have to try that sometime!
Thank you very very much for the wonderful comment dear! 🙂
Lovely blog…!!! Congrats
Thank you! 🙂
This is just stunning, Sadia! Your recipes rock! 😀
Thanks a lot Chef Julianna! 🙂
Happy Blogiversary dear Sadia! And I loved this idea…. simply superb. It’s so well executed and you have such neat petite pretty hands!! Am waiting for more videos like this, and maybe we can have your voice over next time. Love it. Congratulations again. Much Love, Namrata
Awww thanks a loot Namrata! 😀 🙂 <3
Great Video and loved your fingers…haha…I was concentrating on your hands instead of recipe. And ya great recipe as well and loved your ring. I think I’m commenting here for the 1st time but use to try your recipes and loved it. I am thinking about creating a blog like this.You are dragging me to this.Good Luck Sadia 😀
Heyy Naeema!
Hahaha thanks a lot for this comment. Glad you liked the recipe and my fingers and my ring. Very sweet of you Naeema!
Btw if you like blogging, you should start your own blog soon. It’s fun. All the best dear.