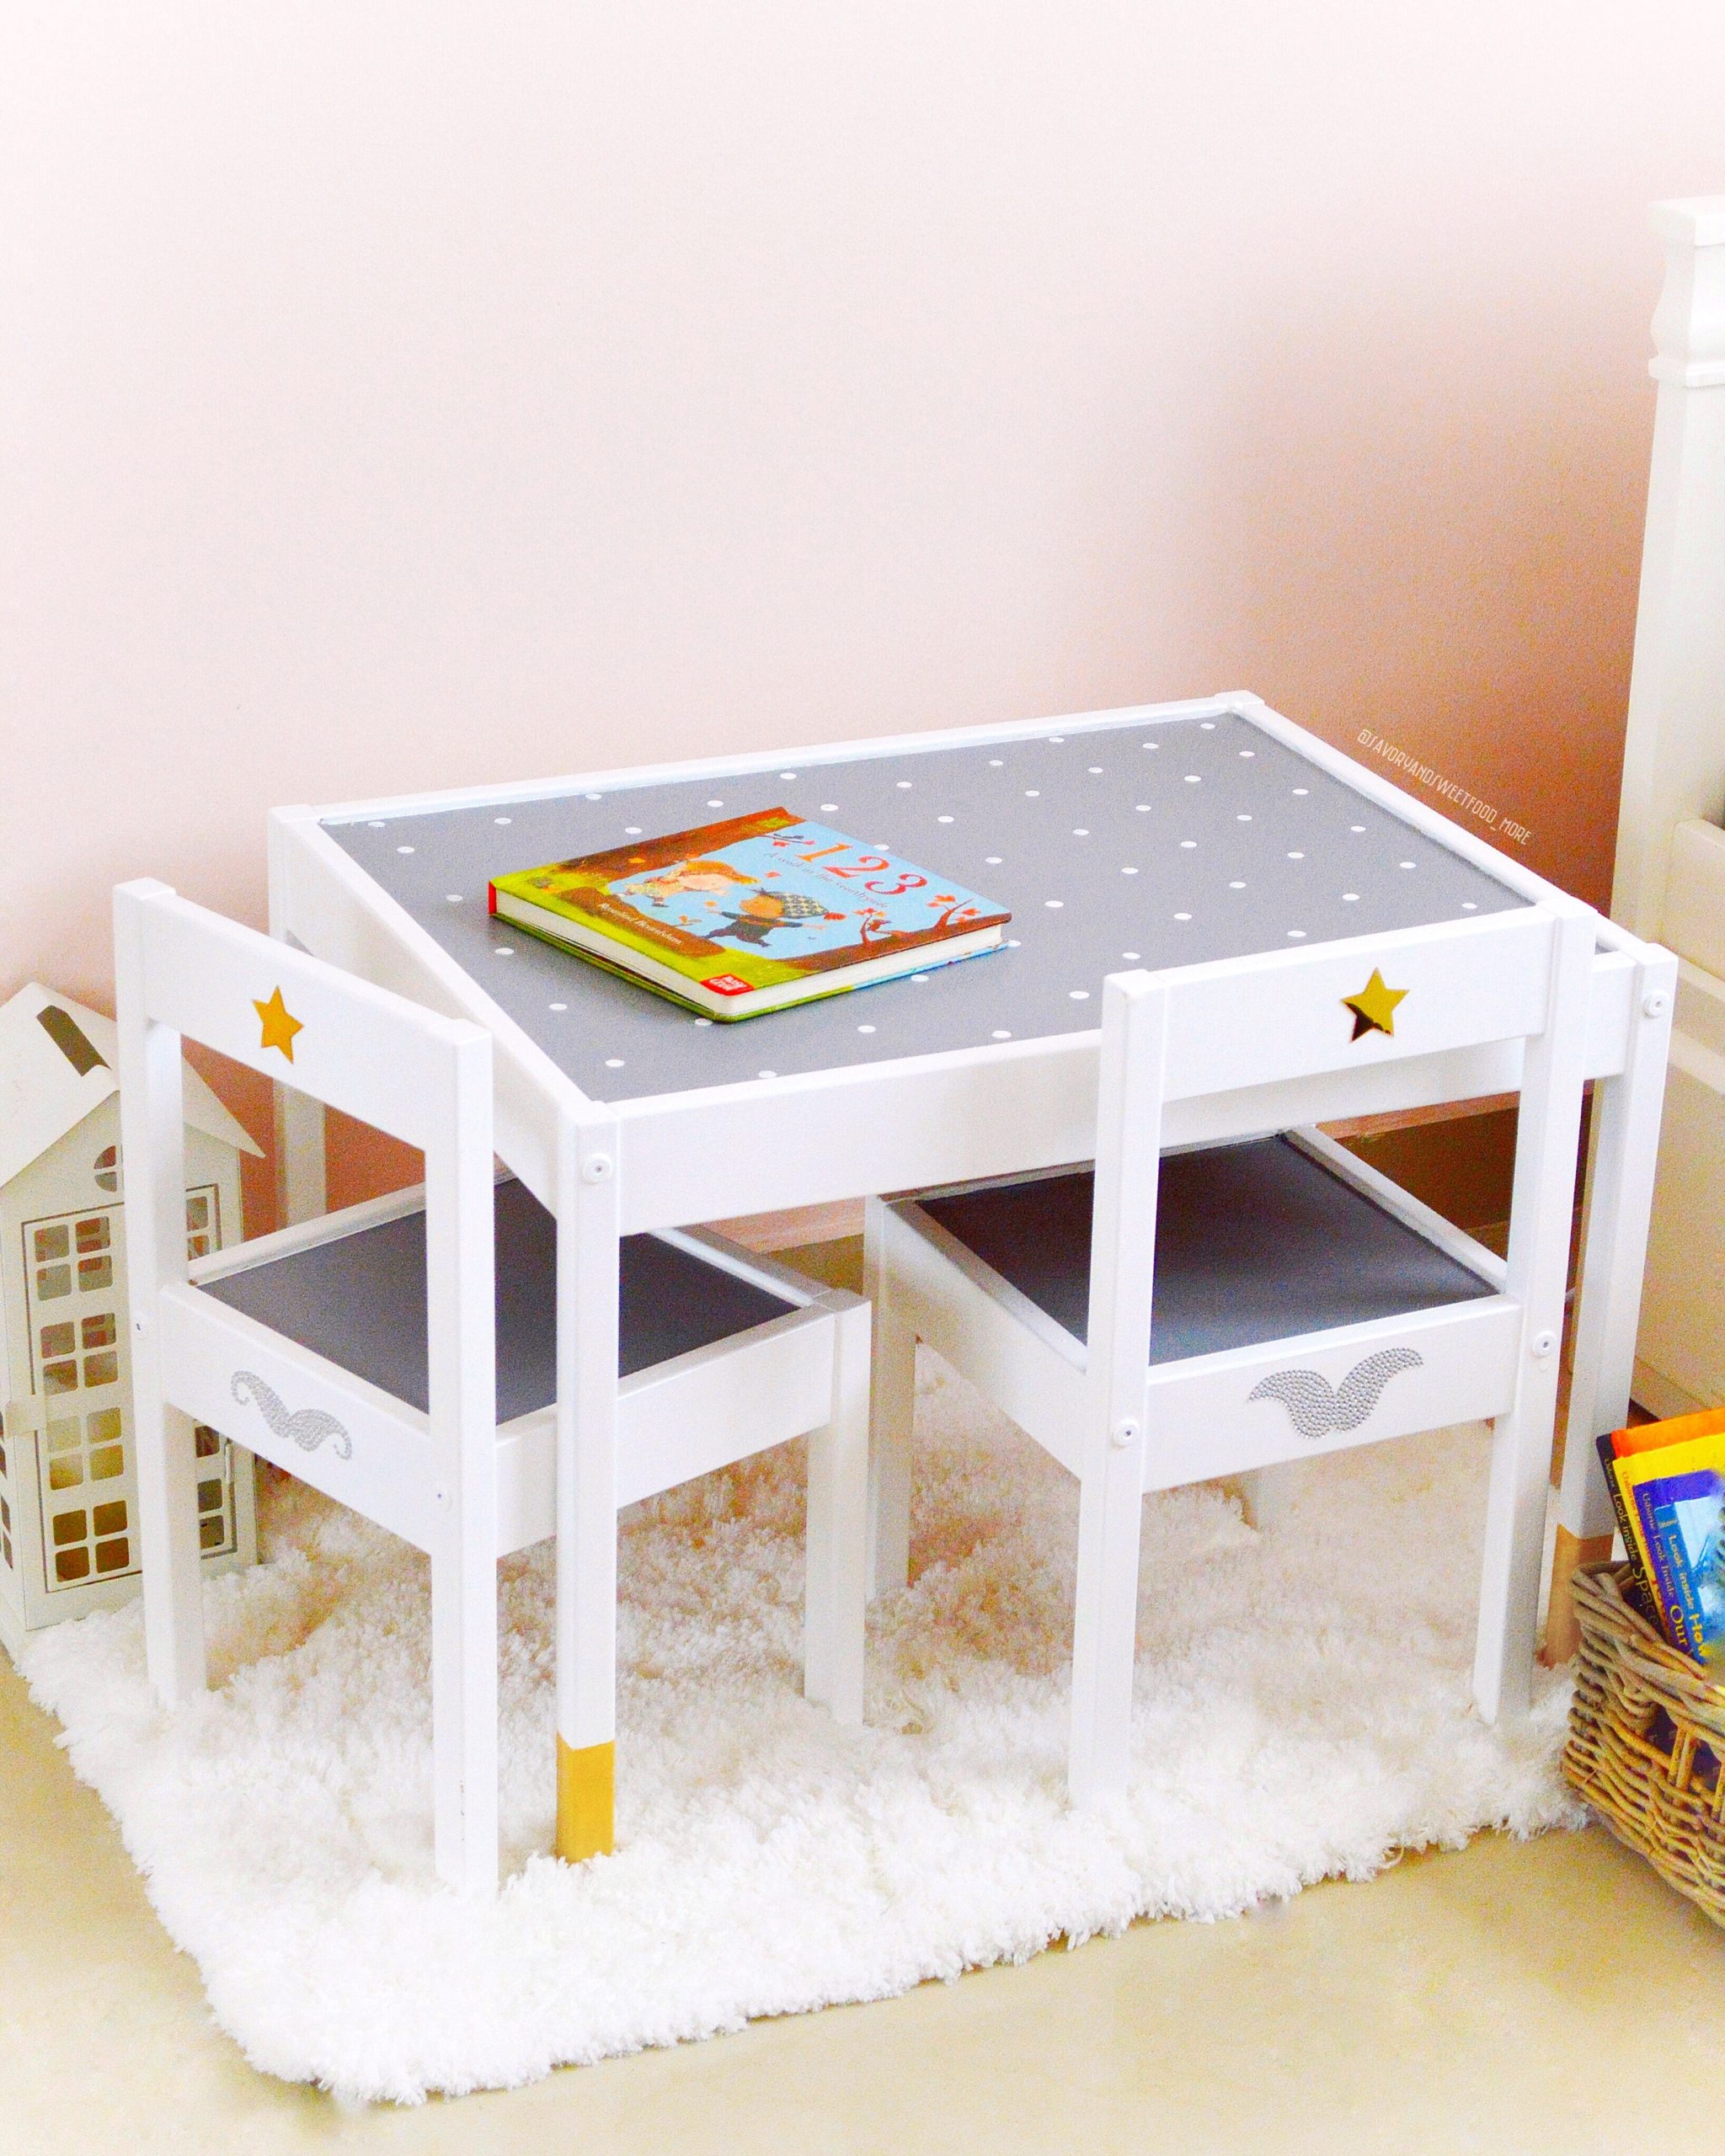
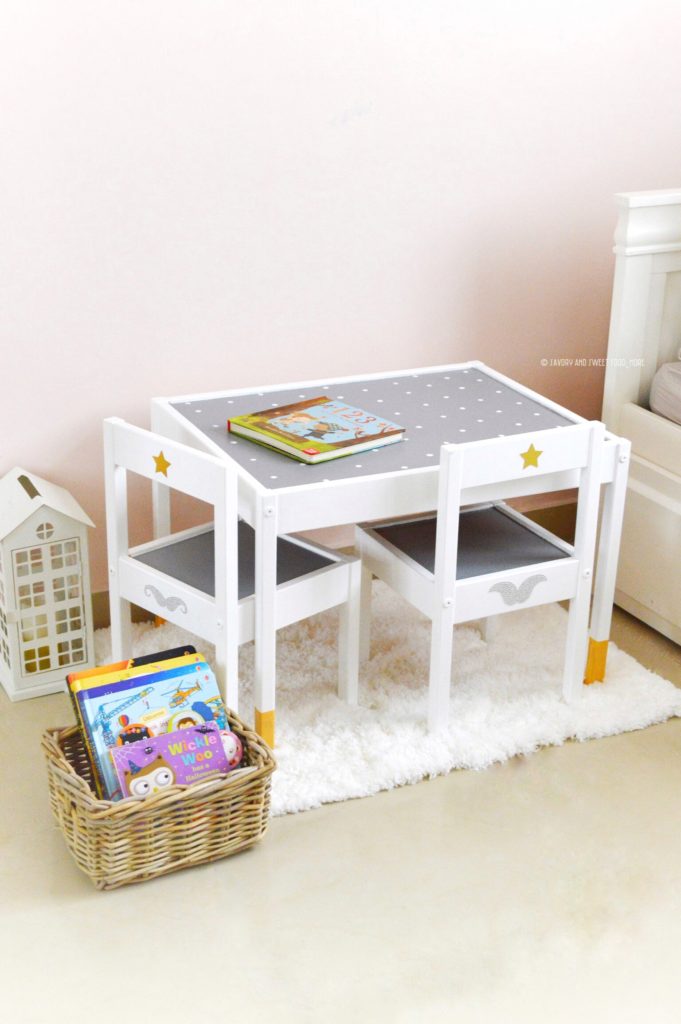
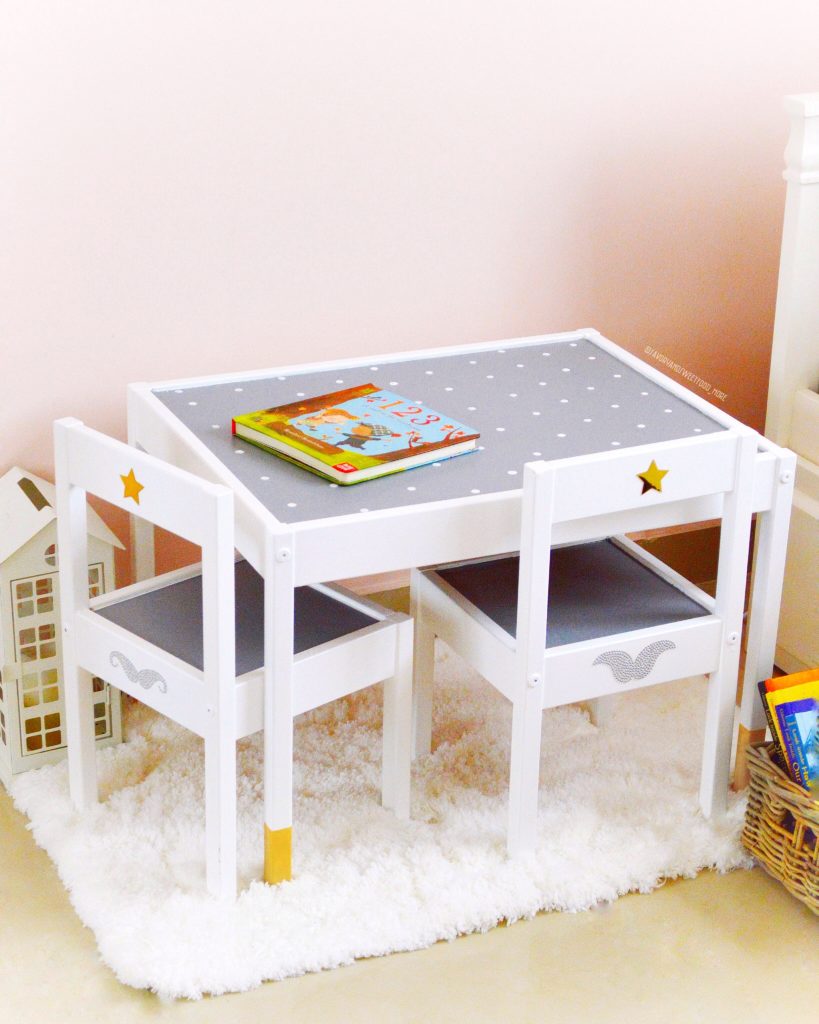
Give your child’s IKEA Latt table set a makeover with few simple steps which you can do in two days. You just need paint, adhesive contact paper and few pretty stickers.
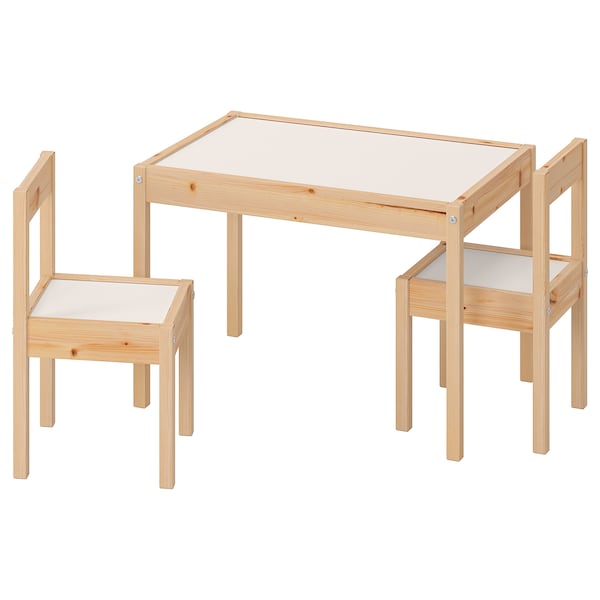
I bought this Latt IKEA table for my son 3 years back and he is still using it pretty much everyday. It was the perfect buy for Hamad. But after using it for these many years, there were paint on it everywhere and the white laminate had got ruined with few scratches here and there. So I thought of giving it a makeover by giving it my own personal touch.
It was a simple process and I finished this DIY in two days. I am pretty impressed with how it turned out. You can search on Pinterest for lots of different LATT hacks and get inspired. I didn’t take the step by step pictures as I wasn’t sure how it will turn out and was learning myself. But there are many detailed explanations in other blogs on this. Pinterest is the encyclopedia for that. But it is very simple. Here is how I did it.
Materials required:
- IKEA Latt table and chair set
- Self-adhesive contact paper
- White paint+primer (I used clark+kensington, paint+primer in one)
- Paint brush
- Pen knife
- Acrylic paint
- Decorative stickers
- Cello tape/painter’s tape
NOTES:
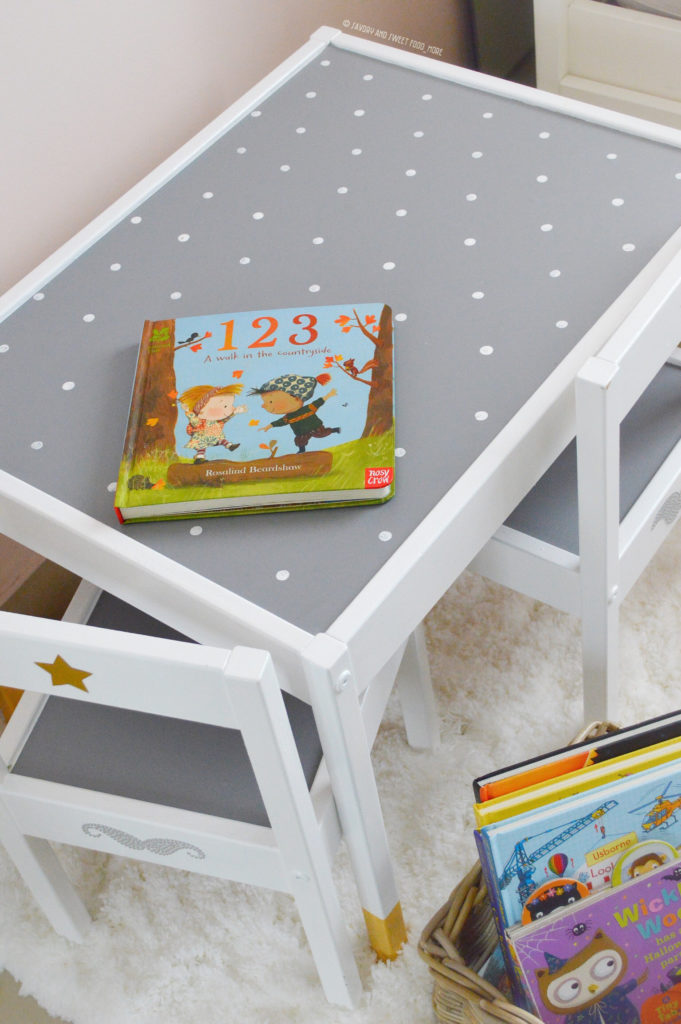
- I wanted a polka dot patterned contact paper, but I couldn’t find one. So I bought a grey color contact paper from Jarir Bookstore (Kuwait) and painted white polka dots on it with white acrylic paint.
- I bought the paint from Ace Hardware and the stickers from Jarir bookstore.
How I did it:
- Clean the table well to remove dirt if it is an old, used one.
- Tape the edges of the tabletop and chair seat to avoid getting any paint on the white laminate.
- Paint the legs and the borders of table top with the paint. Let it dry and paint another coat. (You can add more coats if you like)
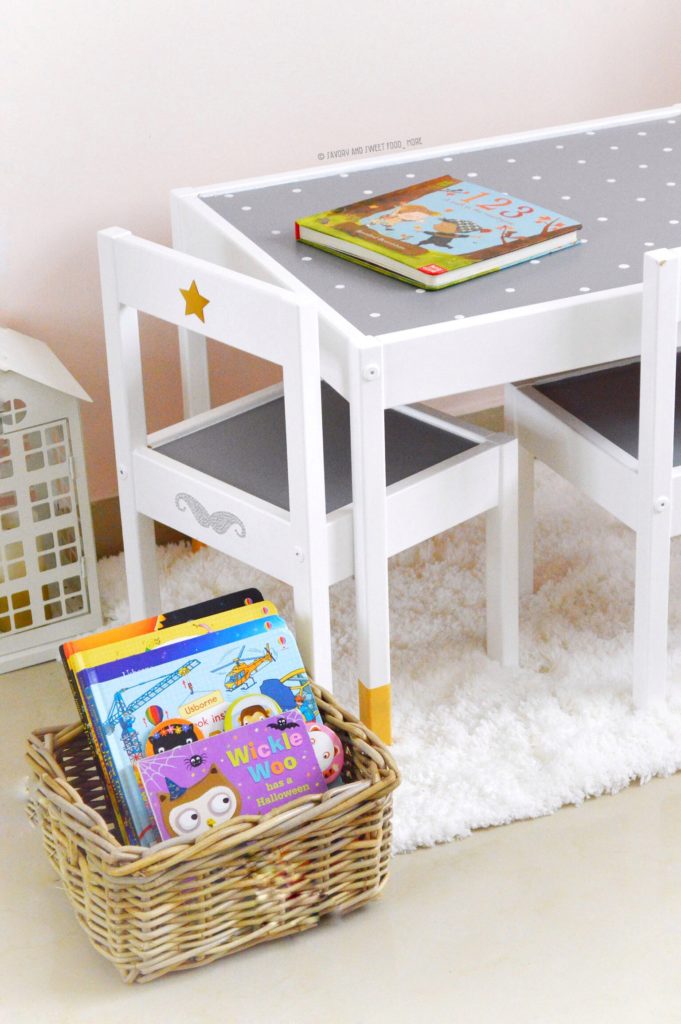
- Measure about 12 cm from the bottom of the table leg upwards and wrap a cello tape around the leg. Paint a yellow ochre (or any color you like) acrylic paint at the ends. Remove the tape and admire the crisp edges of the yellow paint. Your inner OCD will thank you. 🙂
- When the paint dries completely, start with the contact paper.
- Cut the contact paper according to the size of the table top. (I used a pen knife to cut, you can measure the table top size and cut precisely, I just randomly cut it by placing the contact paper on the surface)
- Stick it on the table. Using credit card, rubber scraper or ruler will help in avoiding bubbles while sticking the paper.
- To make the full set more cute, I stuck a gold star sticker on both chair and a mustache sticker for my boy’s chair and a butterfly wing sticker for my little girl’s chair.

Very nice
You are soo talented Masha Allah
Awww thank you so much 🙂